Initial setup
Before you get started
- If you're already using WhatsApp Business on a phone, you'll need to delete your account from there before you can link WhatsApp to Connect. You can't use WhatsApp Business and WhatsApp in Connect at the same time.
- Make sure you've backed up your WhatsApp Business account and made a note of any important information or ongoing conversations. None of this data will be migrated to Connect.
- We would advise completing most of this setup process first, then deleting your existing WhatsApp Business account just before you need to verify the phone number in the Meta developer portal.
- You'll receive a verification code by text message or phone call, so you'll need access to the phone number you want to add.
Tip: WhatsApp configuration is only available to admin users. The configuration you set here will apply to all WhatsApp users in your organisation.
Register as a Meta developer
Tip: If you haven't already registered as a Meta developer, you can do so using your existing personal or business Facebook account.
1. Go to https://developers.facebook.com/async/registration and follow the steps to register a developer account.
Tip: For more detailed instructions on creating a Meta developer account, refer to this Meta support document.
Note: the phone number you provide as part of registering your developer account should be your contact number, not the business number that you're planning to use with WhatsApp.
Create a business app
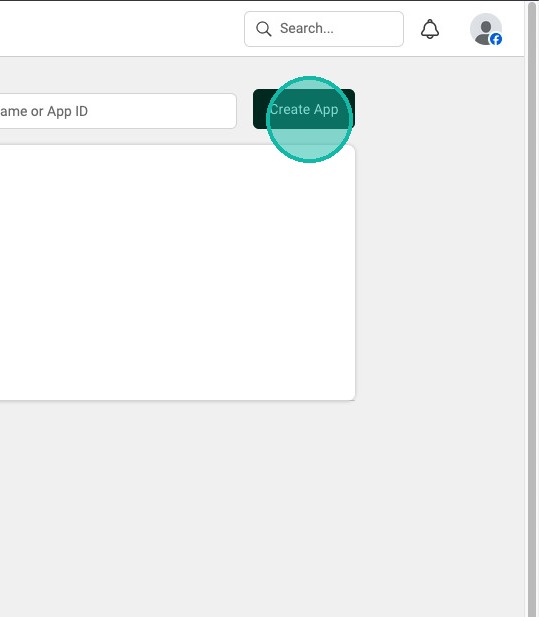
2. From the Meta apps dashboard, click Create App.
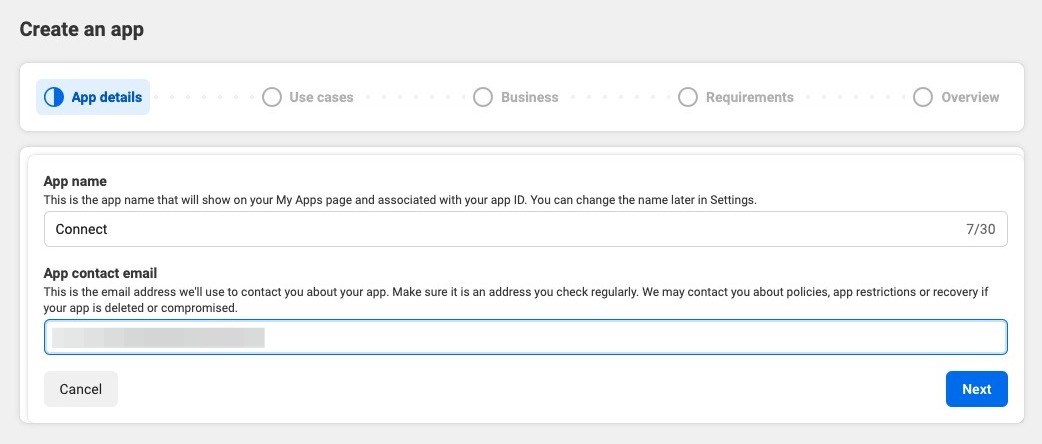
3. Enter an app name (we suggest calling it Connect), and enter a contact email address. Click Next.
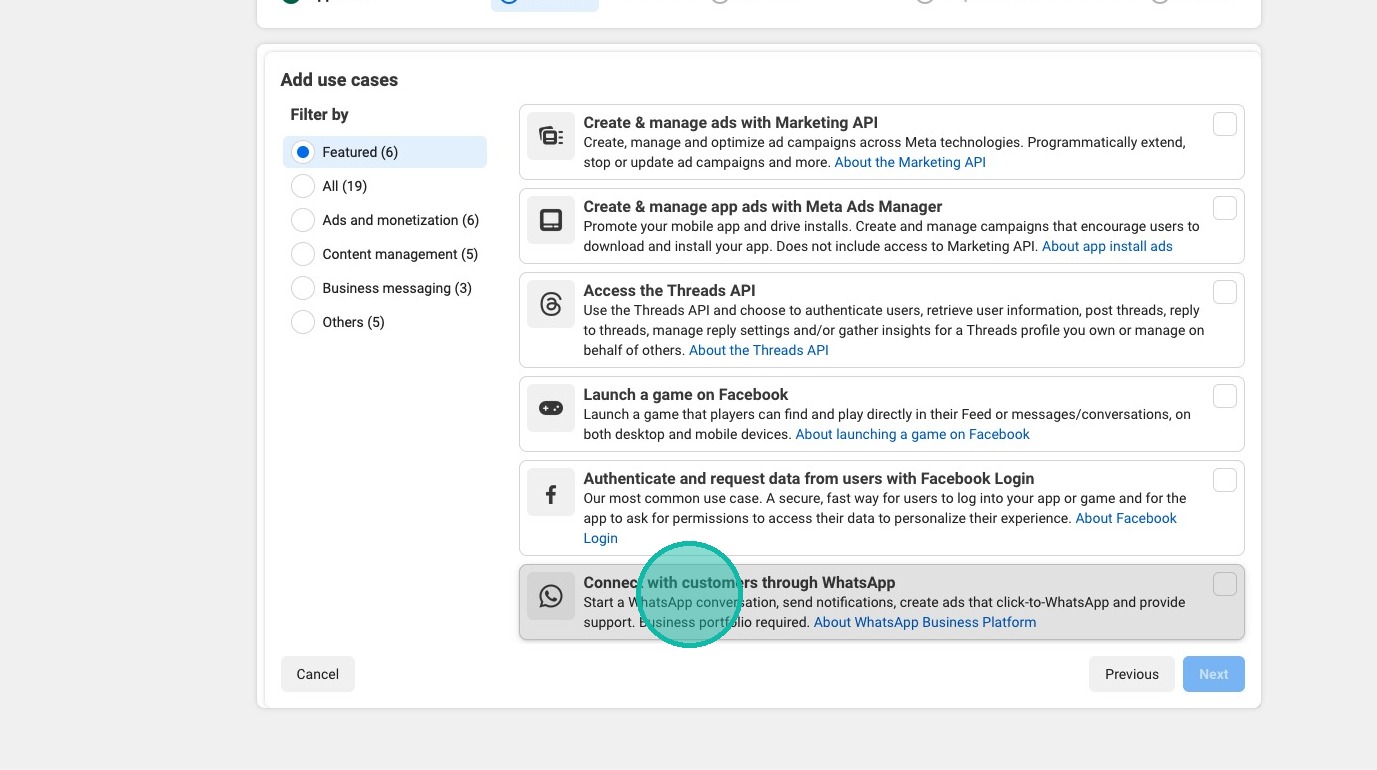
4. Under "Add use cases", select "Connect with customers through WhatsApp. Click Next.
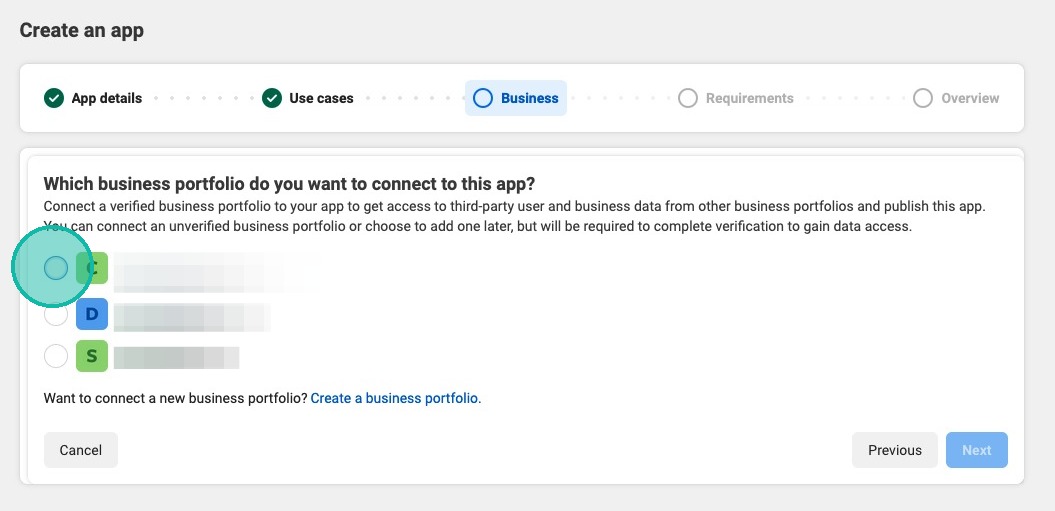
5. Select the business portfolio you want to link WhatsApp to.
If you're already using other Meta services, you should select the same business portfolio here. If you create a new portfolio specifically for WhatsApp, Meta will probably block access to it until you've sent them verification documents.
Once selected, click Next.
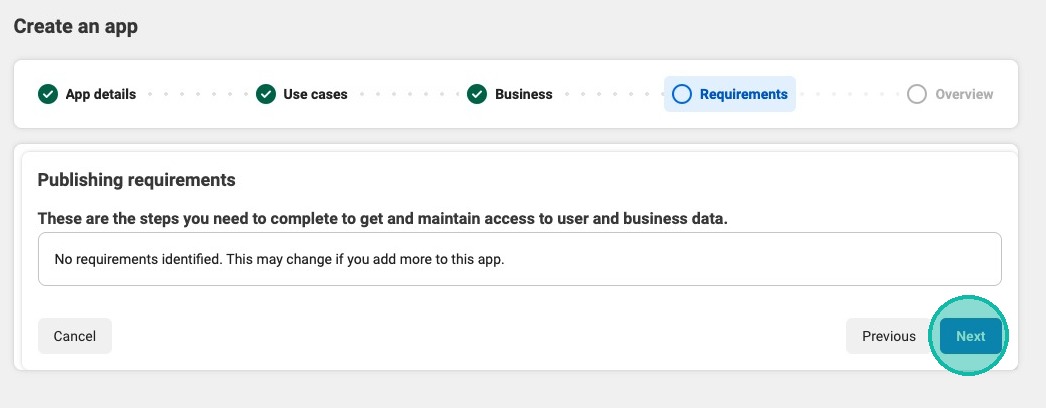
6. Under Requirements, click Next.
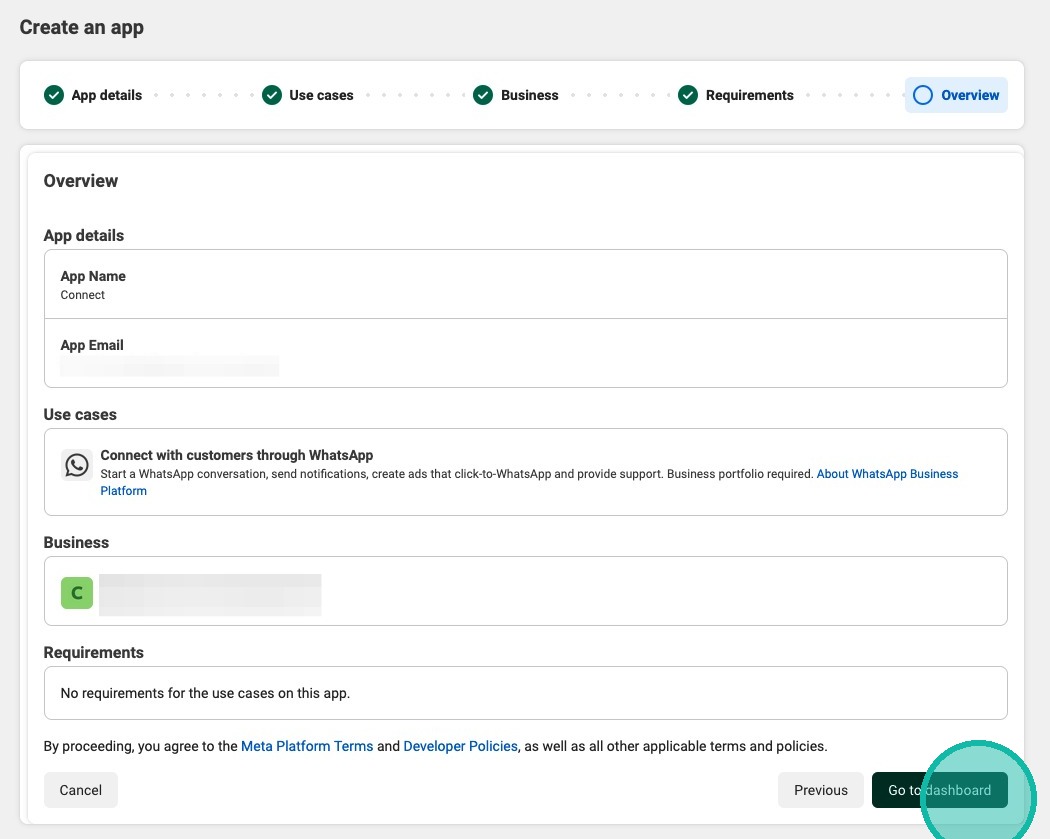
7. On the Overview step, click Go to dashboard
Configure webhooks
Tip: For the next few steps, you'll need to switch between the Meta developer portal and Conect to copy and paste various bits of information, so make sure you keep them both open in separate tabs or windows.
8. Go to https://connect.cosoft.co.uk/apps
9. Click Configure WhatsApp
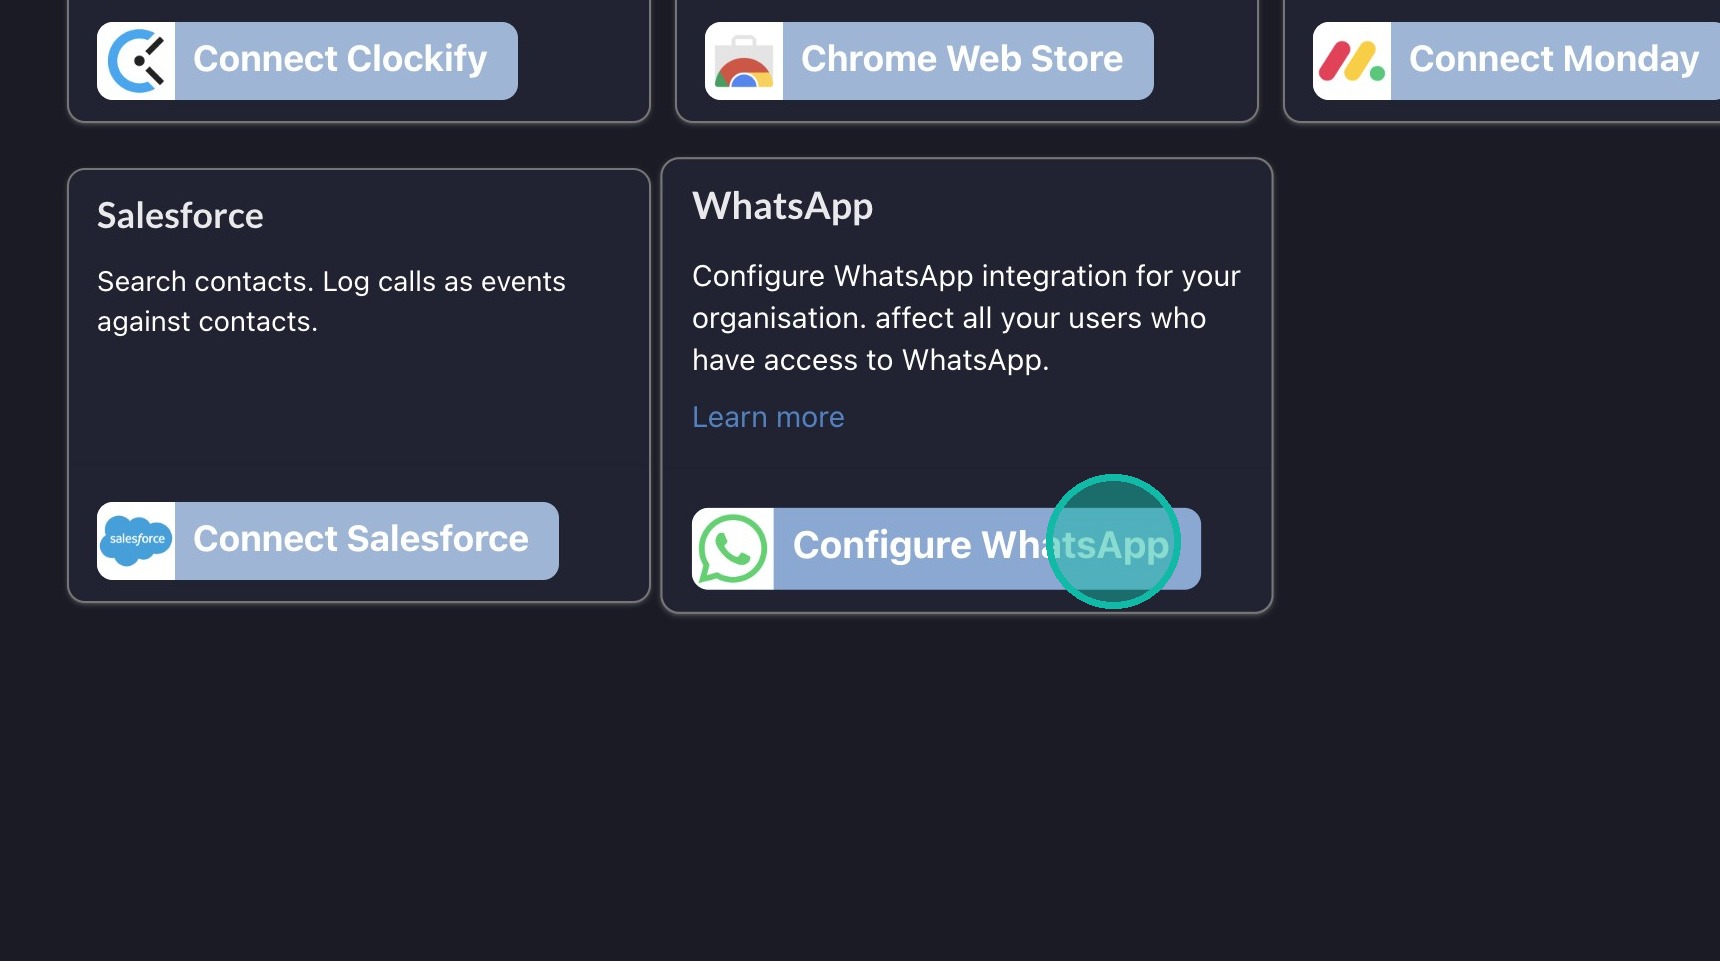
Alert: If you're not set up as an admin in Connect, you won't see the Configure WhatsApp option.
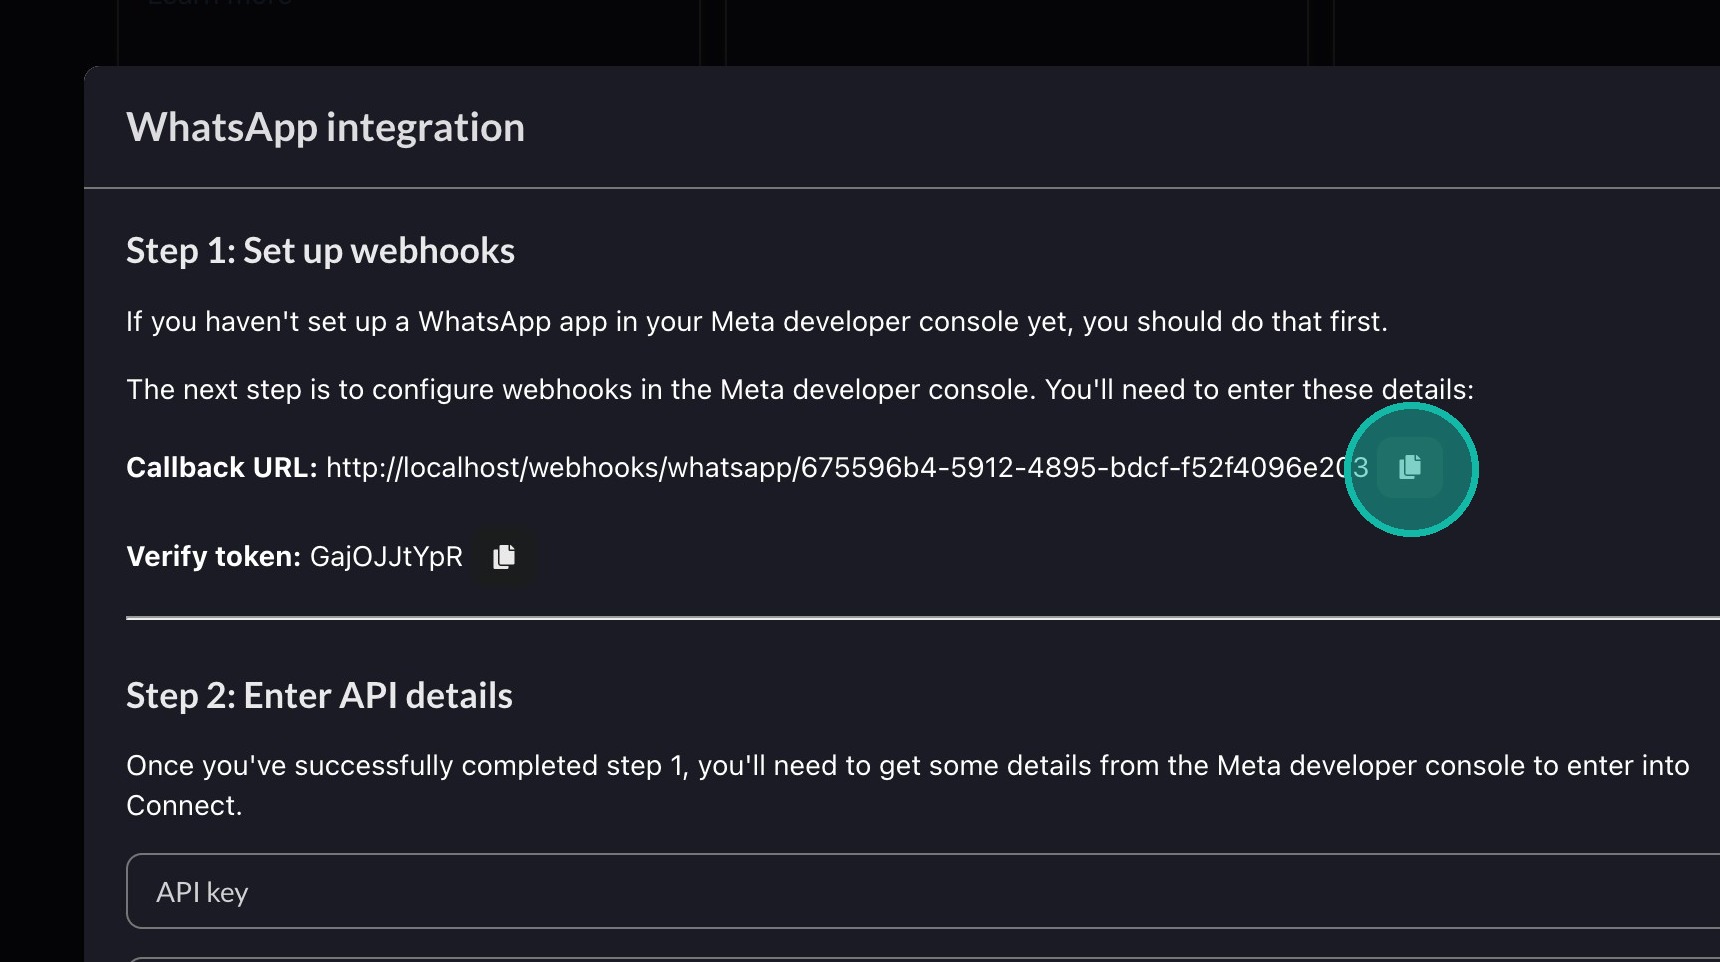
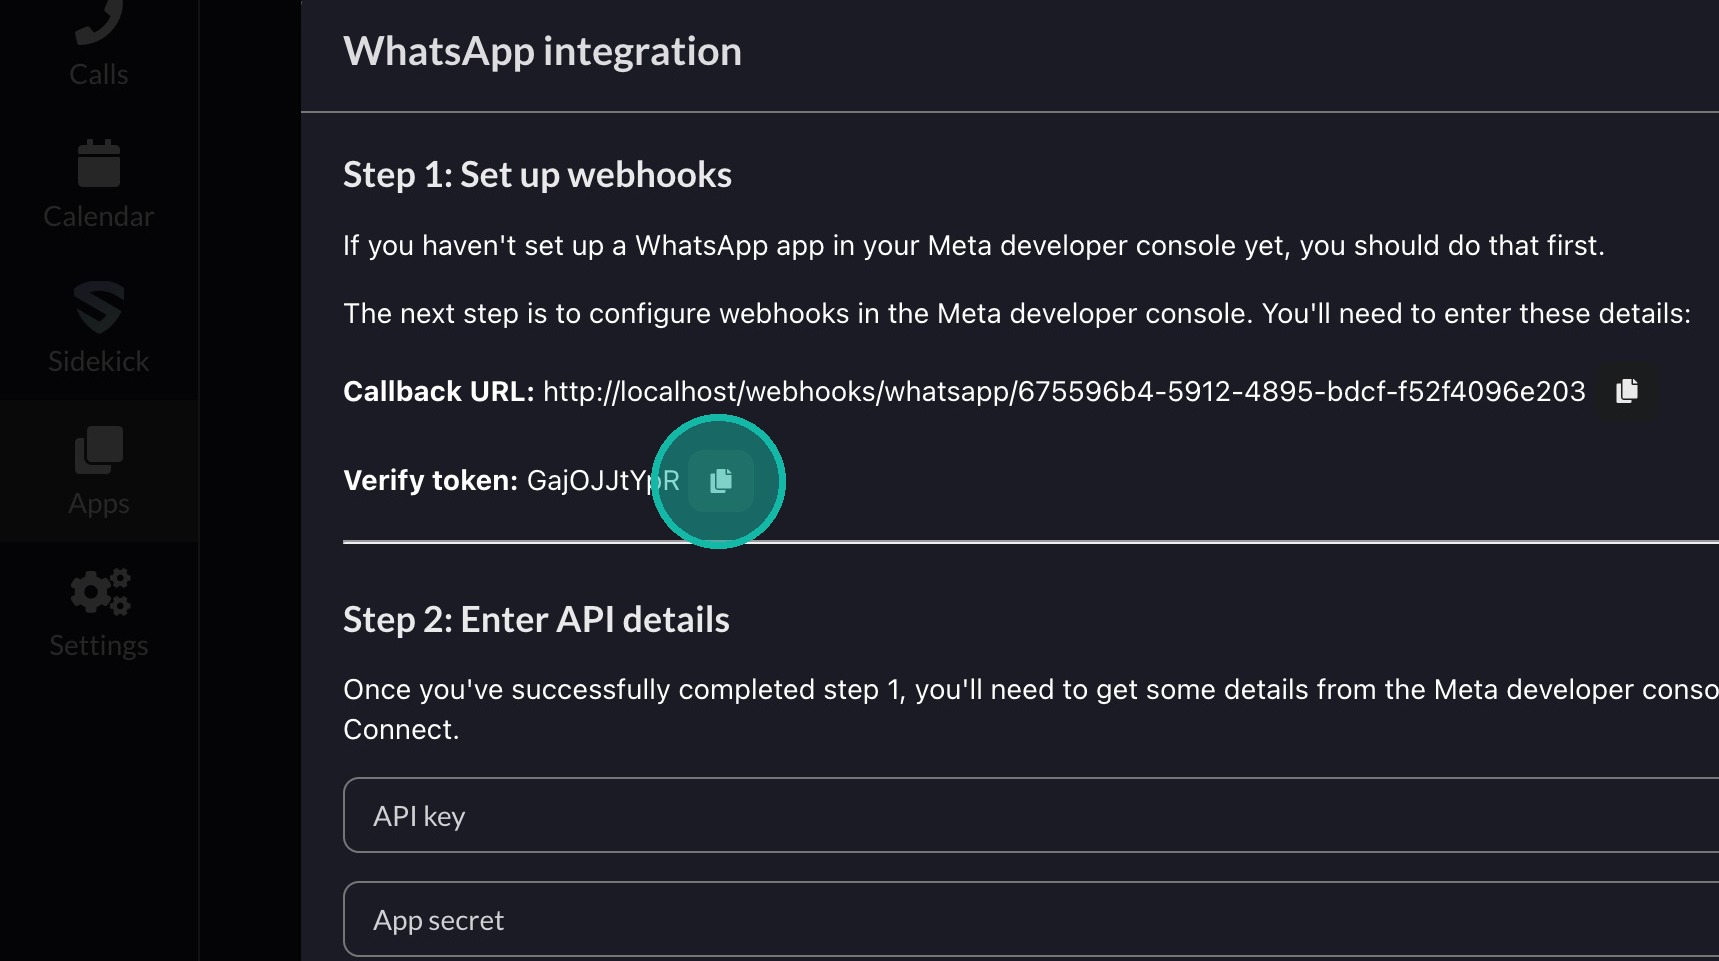
10. Copy the callback URL.
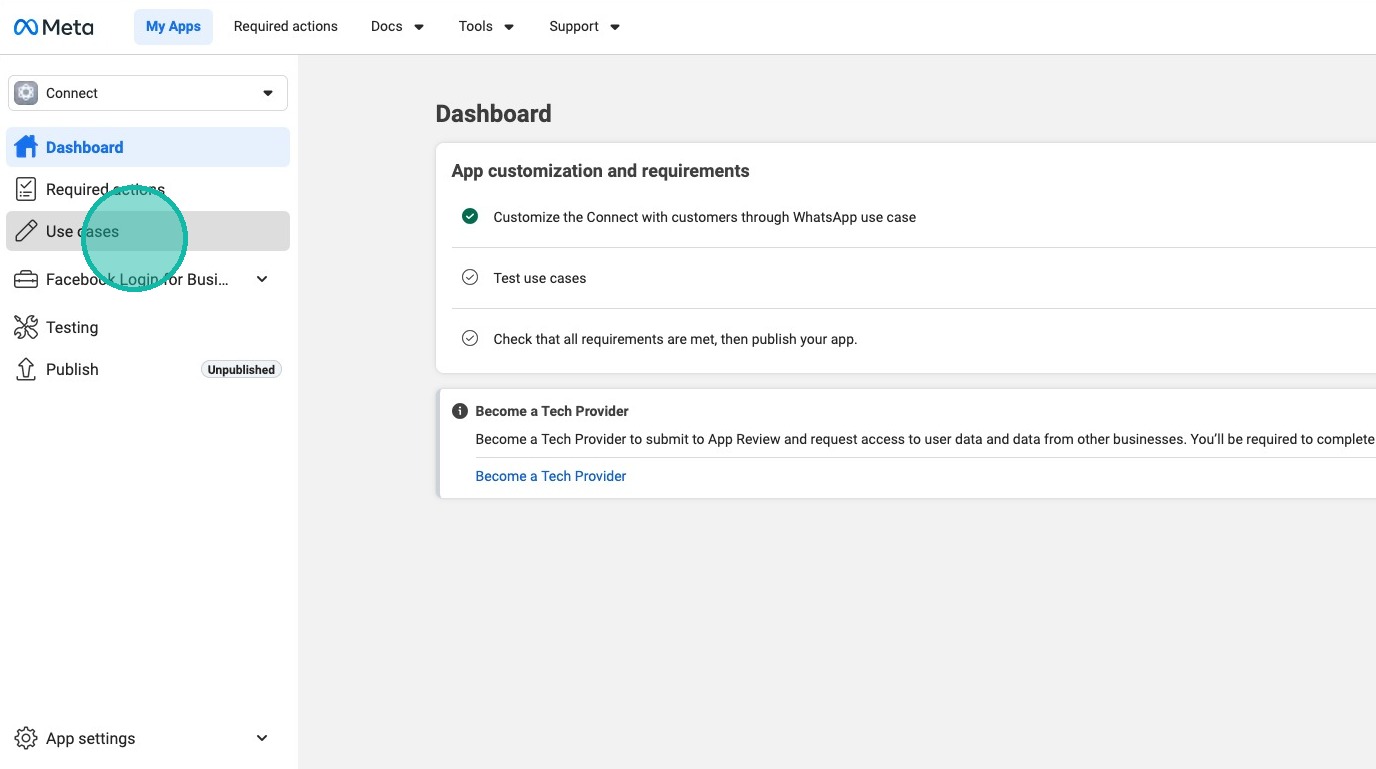
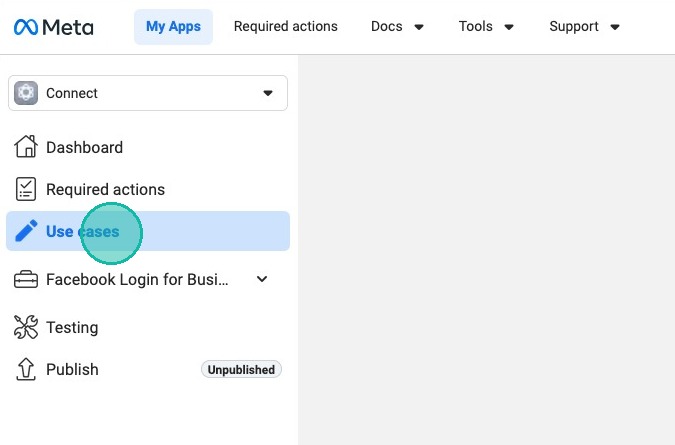
11. Back in the Meta developer console, from your app dashboard, click Use cases
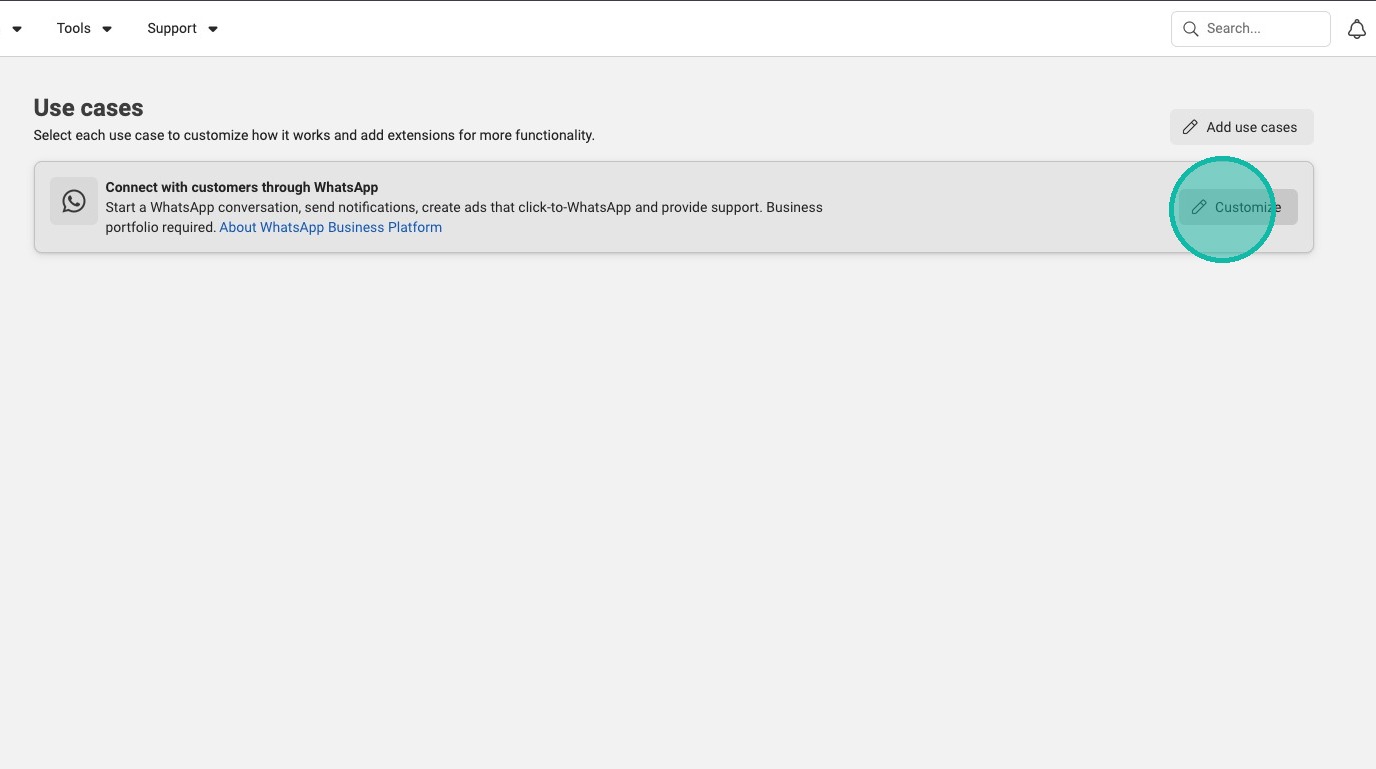
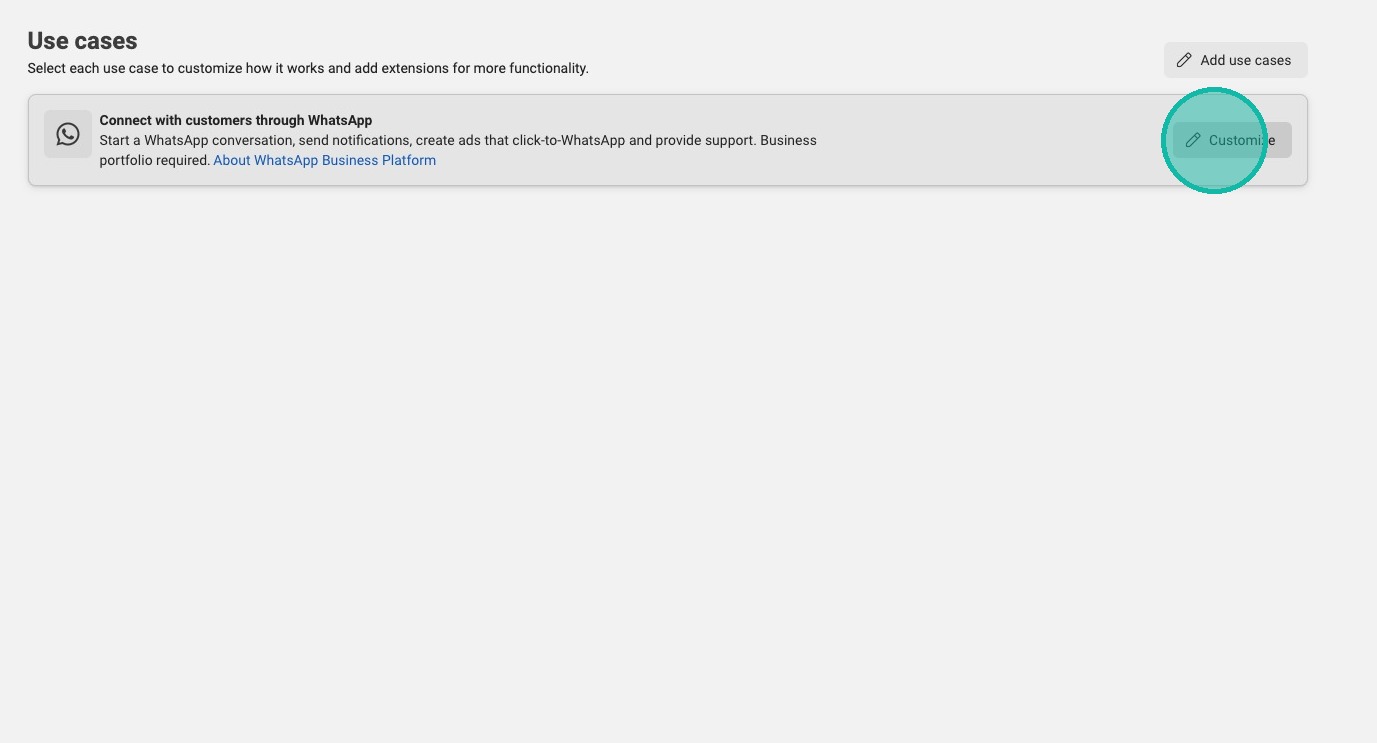
12. Next to Connect with customers through WhatsApp, click Customize
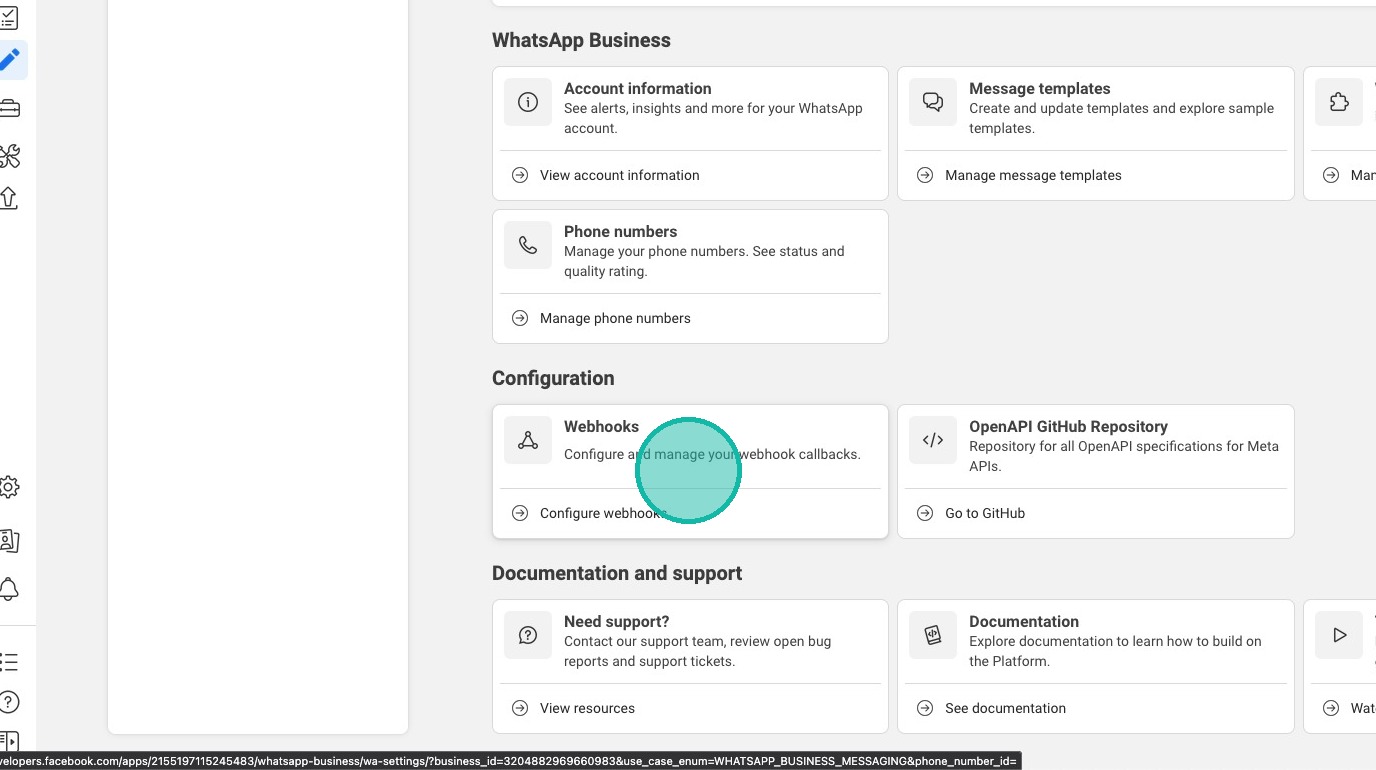
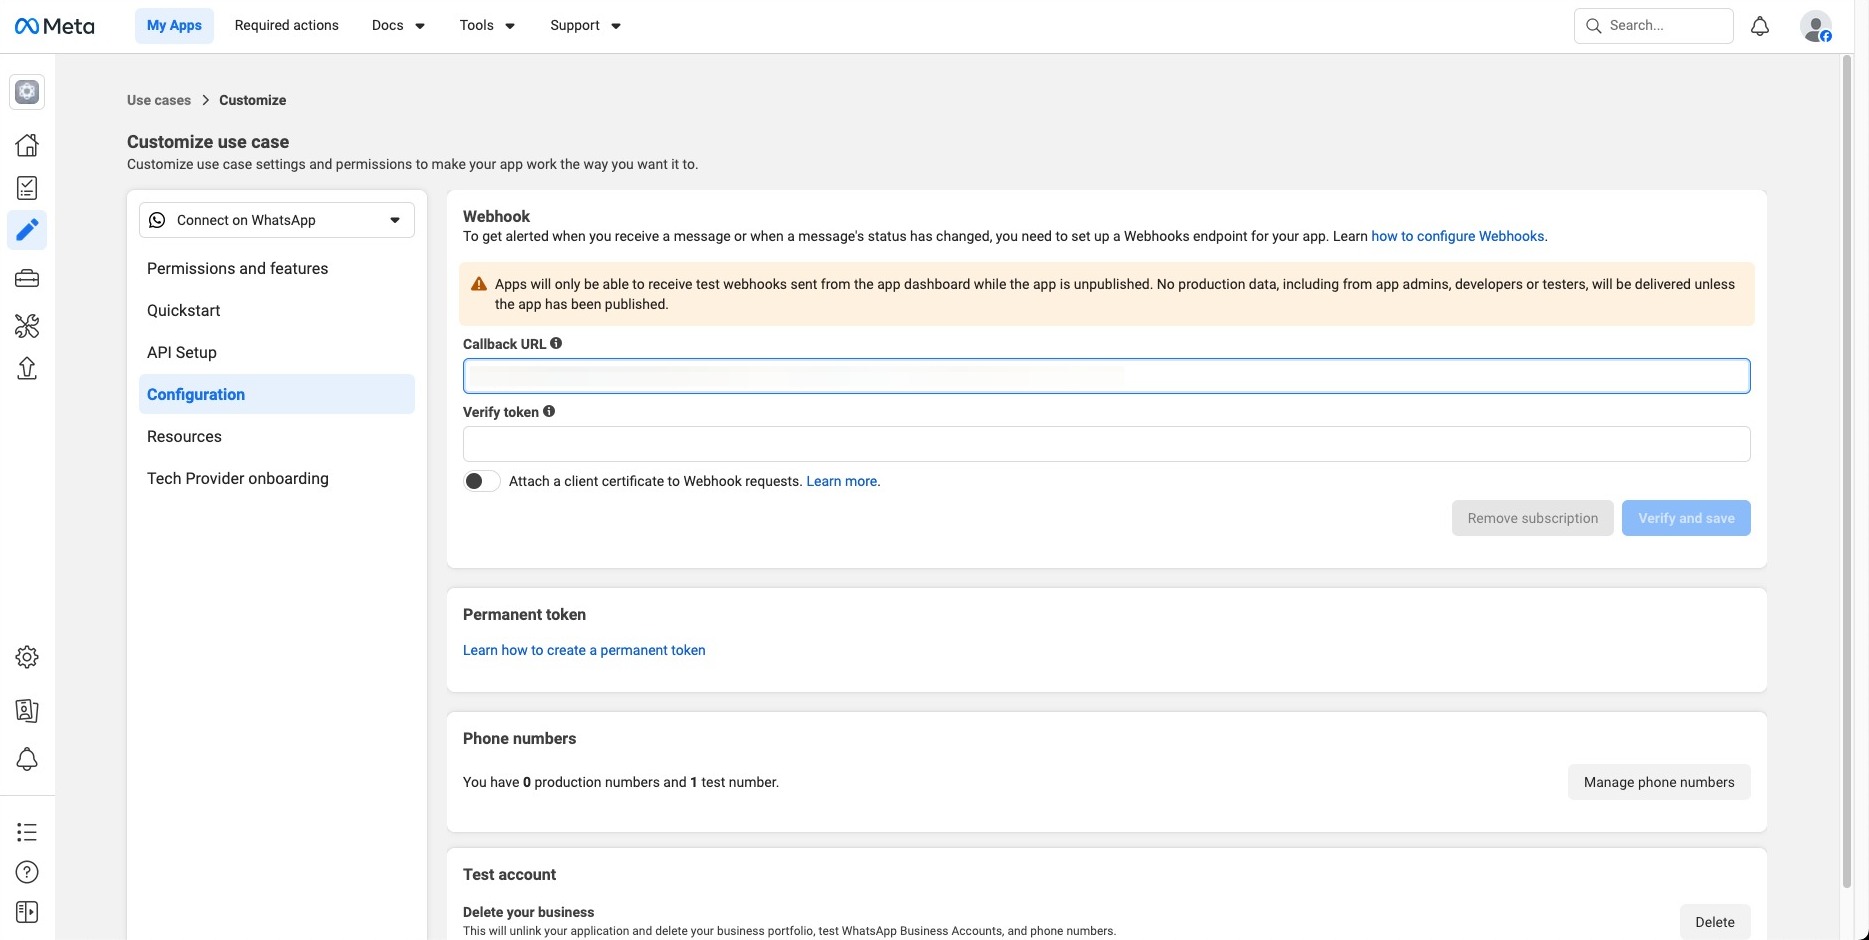
13. Scroll down to Configuration and click Webhooks
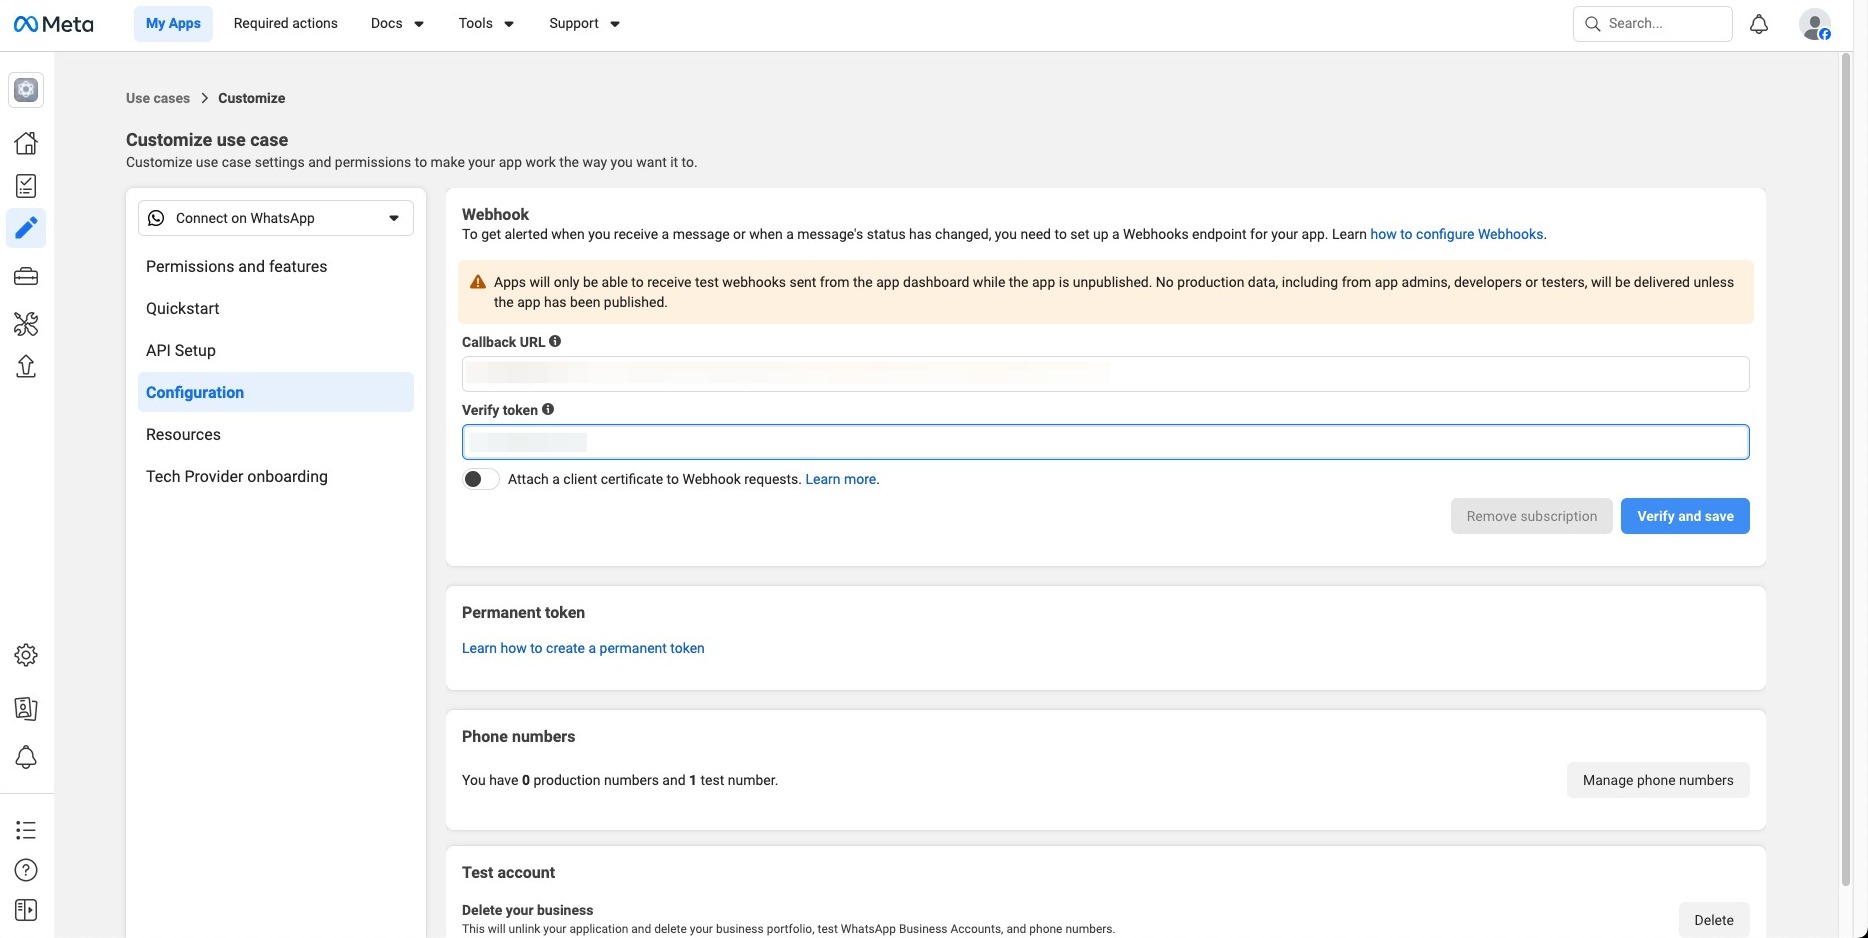
14. In the Callback URL field, paste the callback URL that you just copied from Connect.
15. Switch back to Connect and copy the verify token.
16. Switch back to the Meta developer portal and paste the verify token.
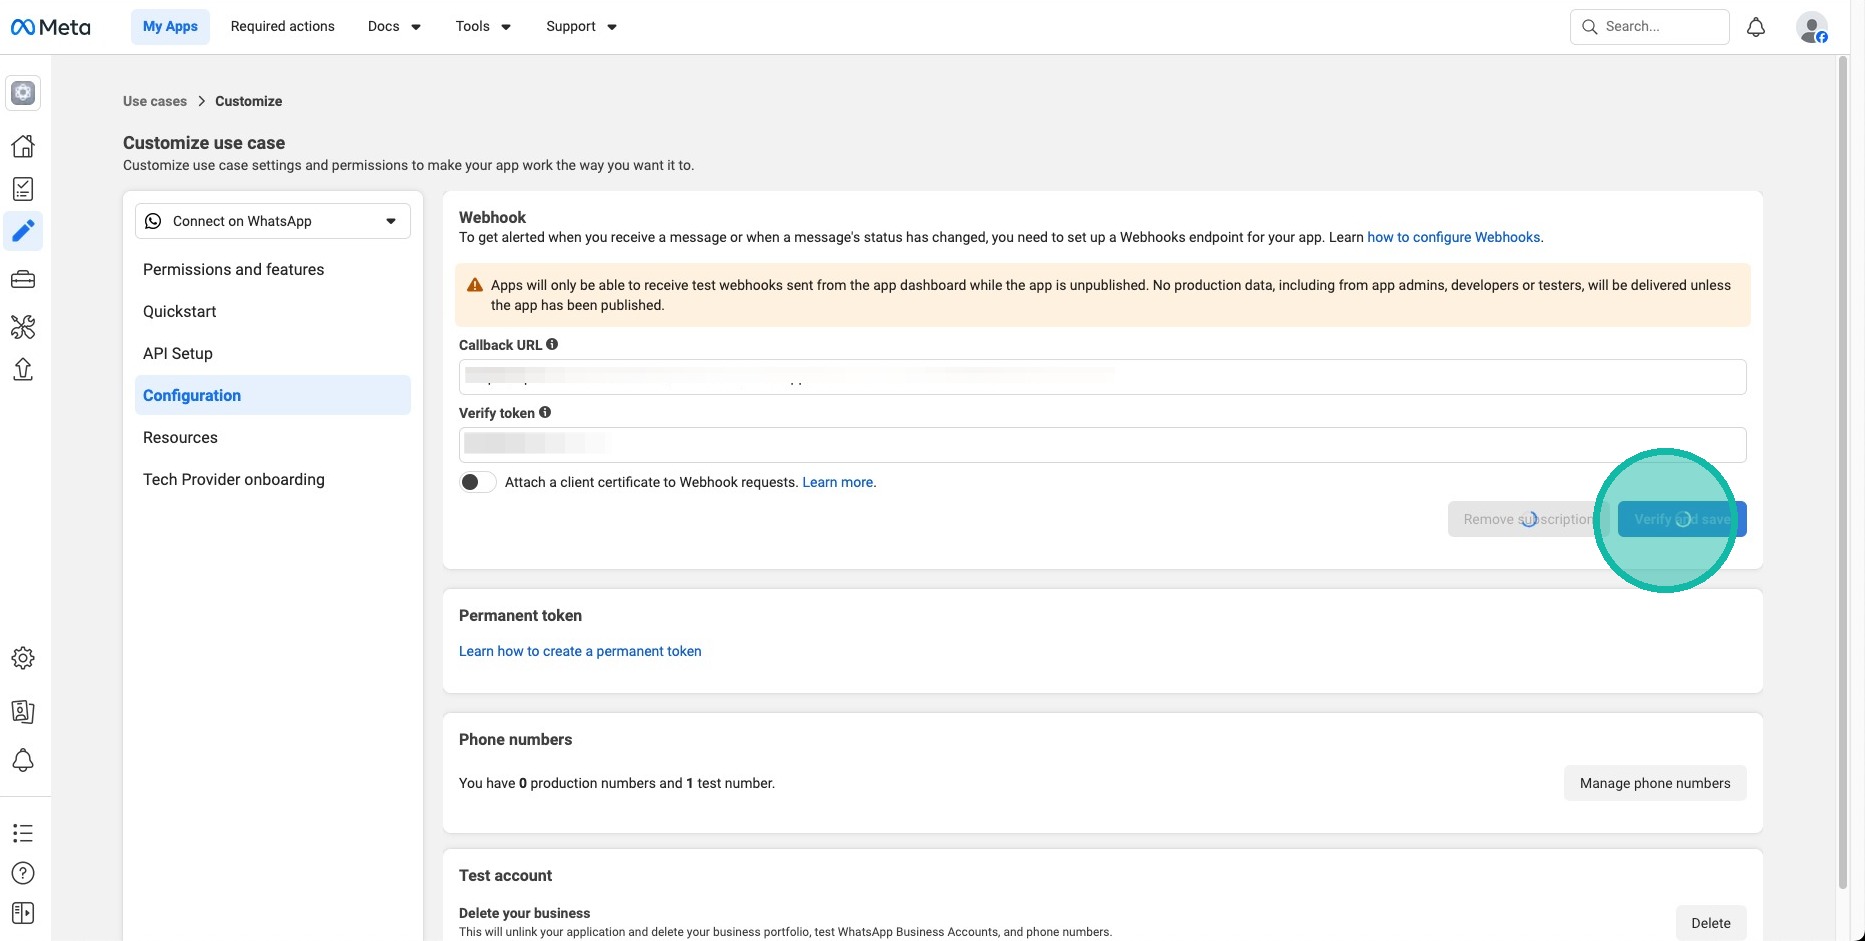
17. Click Verify and save
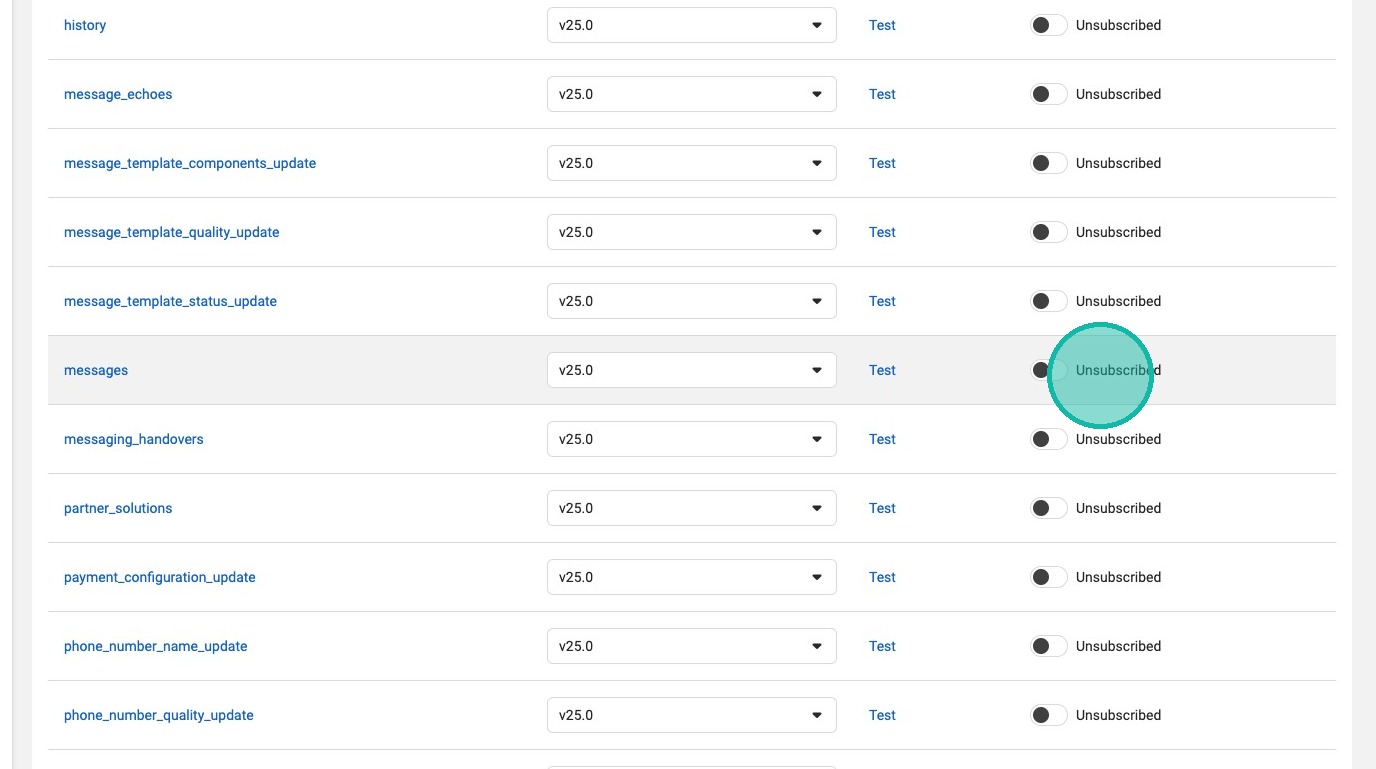
18. Scroll down to the Messages webhook and click the toggle to subscribe
5. Add a system user and generate an API key
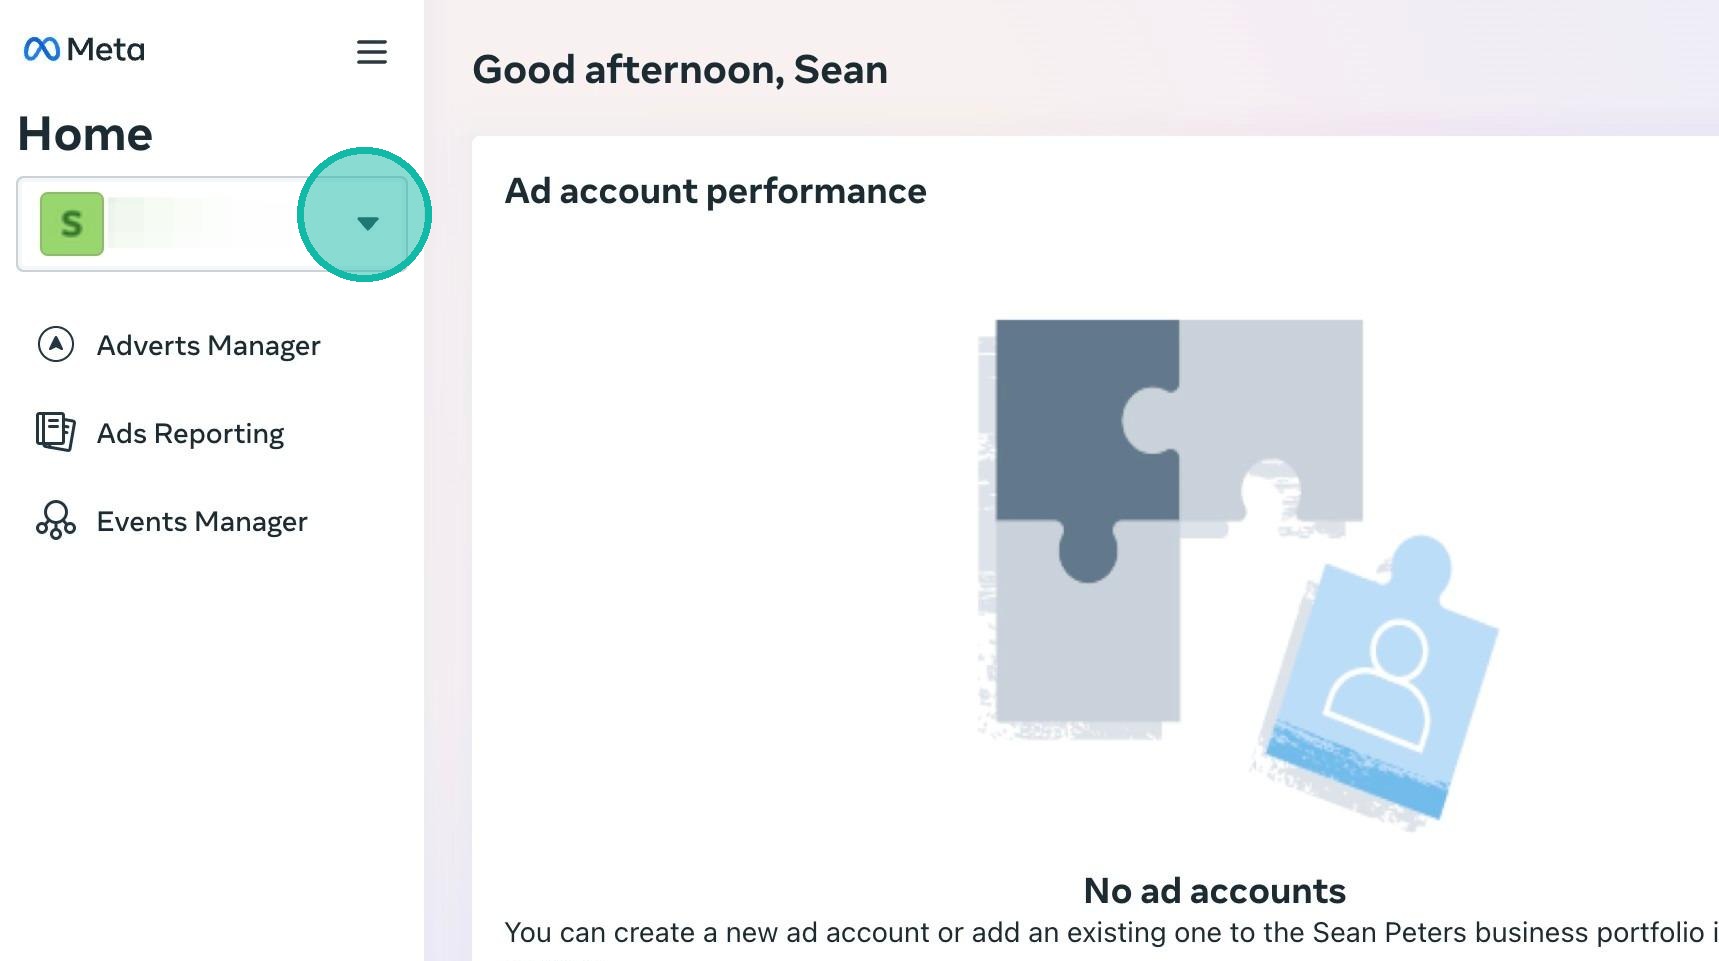
19. Go to https://business.facebook.com/home/accounts in a new tab (this is a different URL from the Meta developer portal you've been using already).
Click account the dropdown at the top-left.
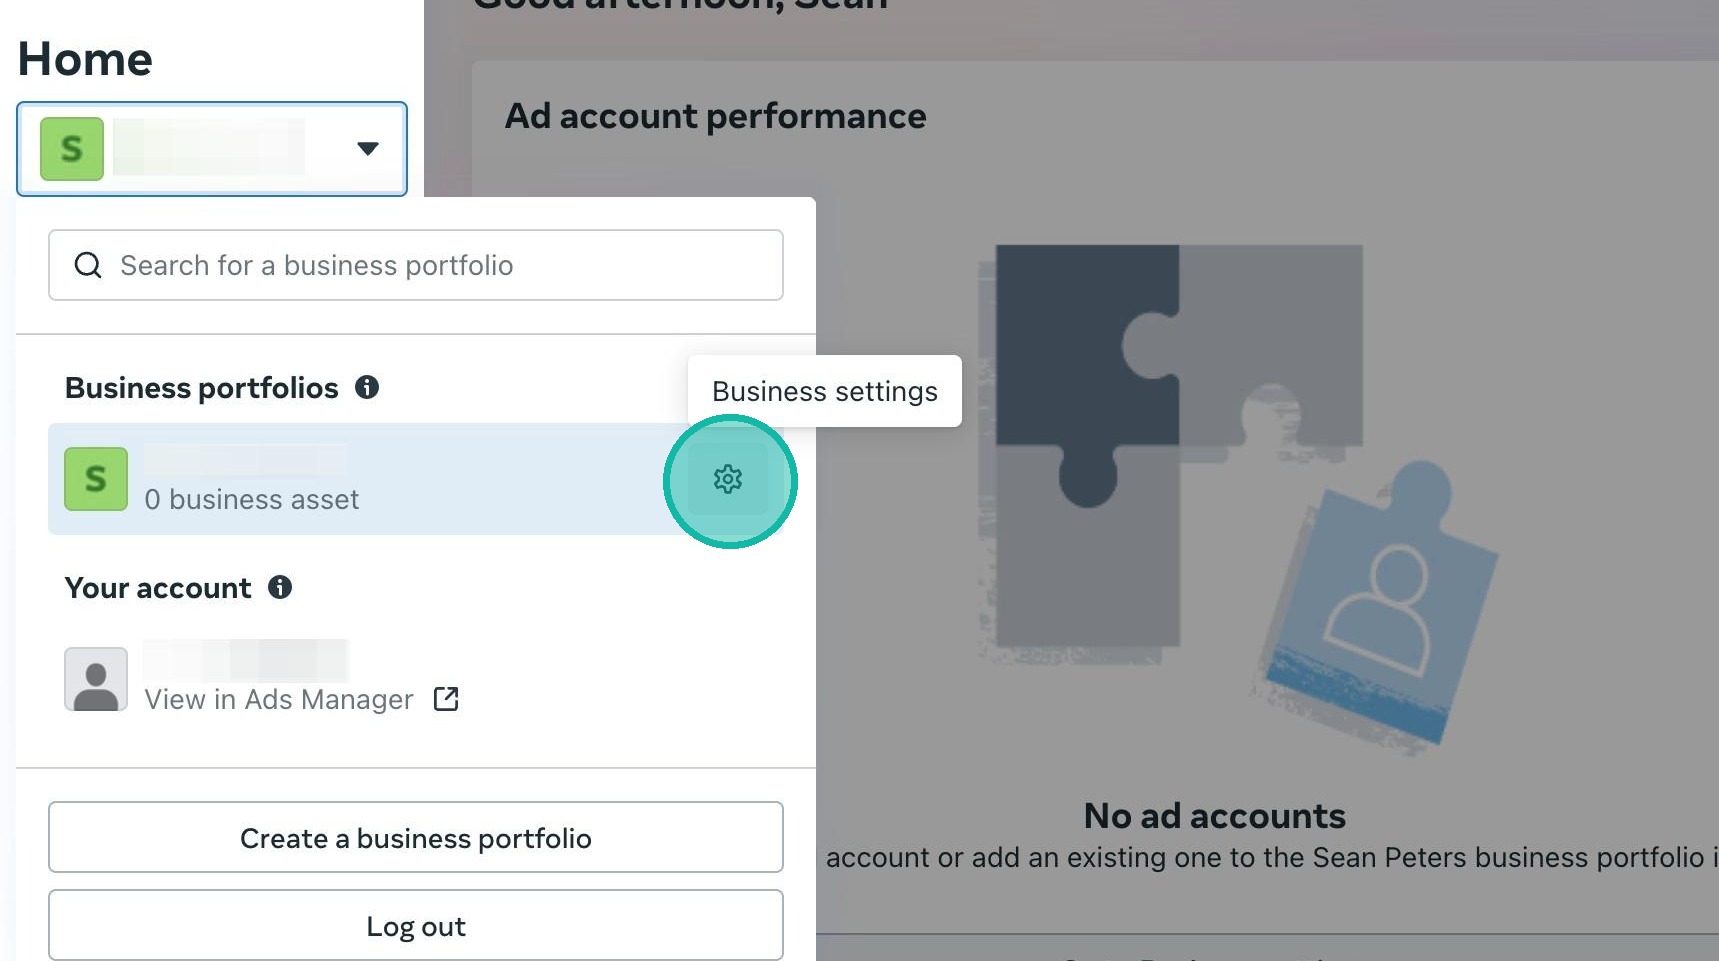
20. Click the settings cog next to the business portfolio that you're linking WhatsApp to.
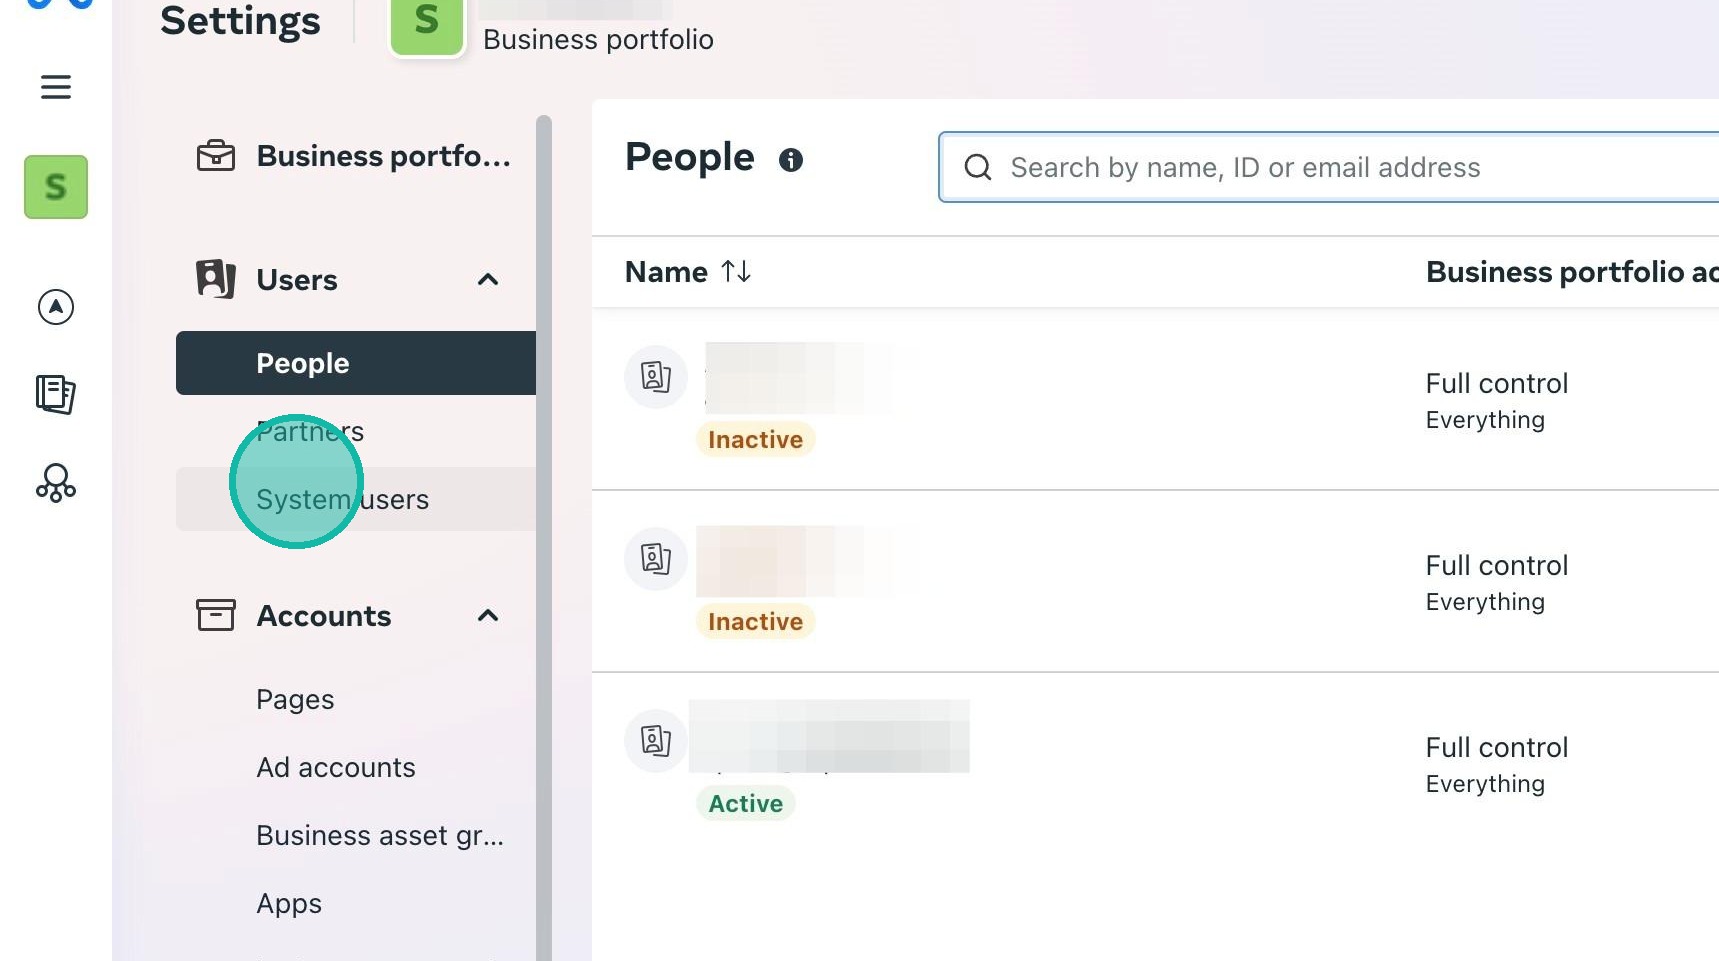
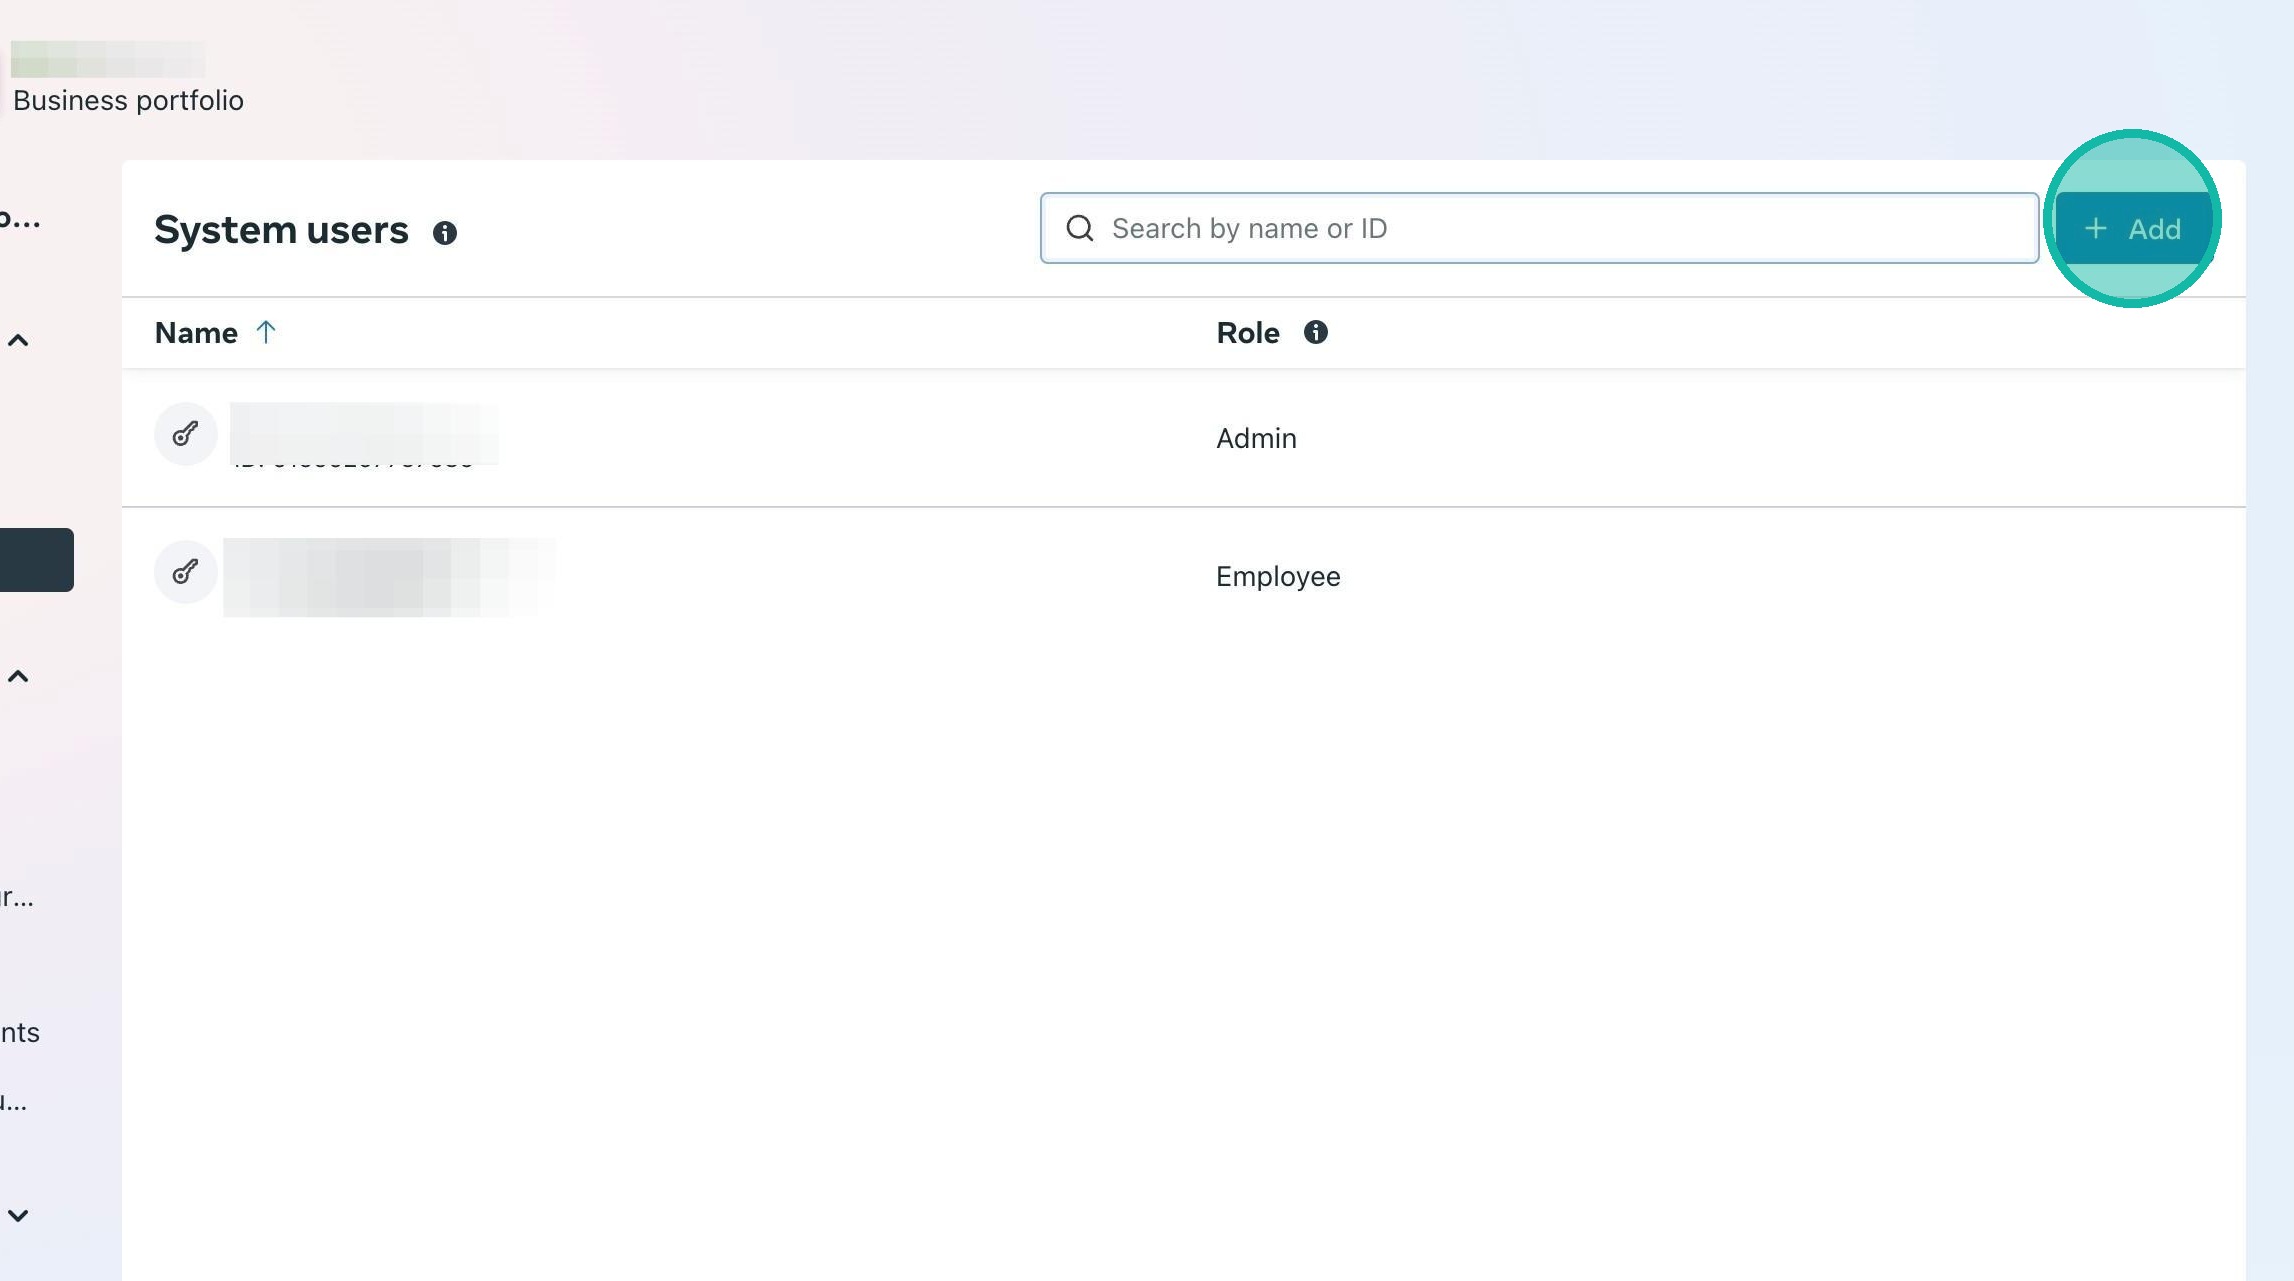
21. Click System users.
22. Click Add
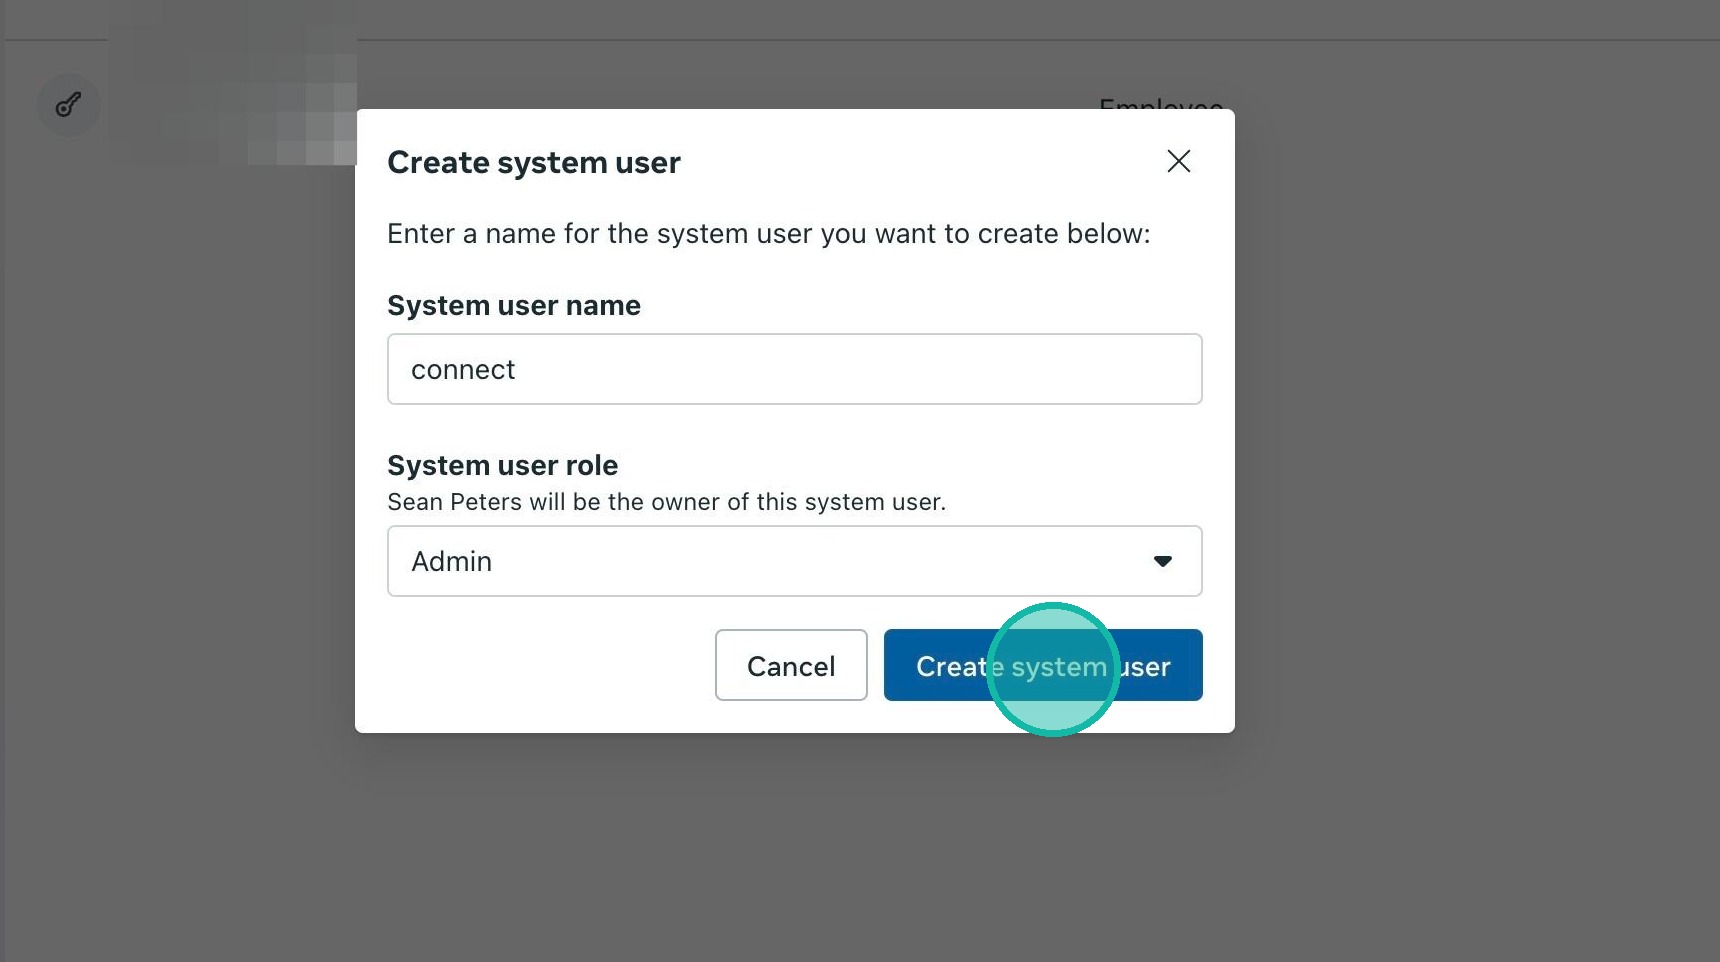
23. Enter connect as the system user name and select Admin as the system user role.
Click Create system user.
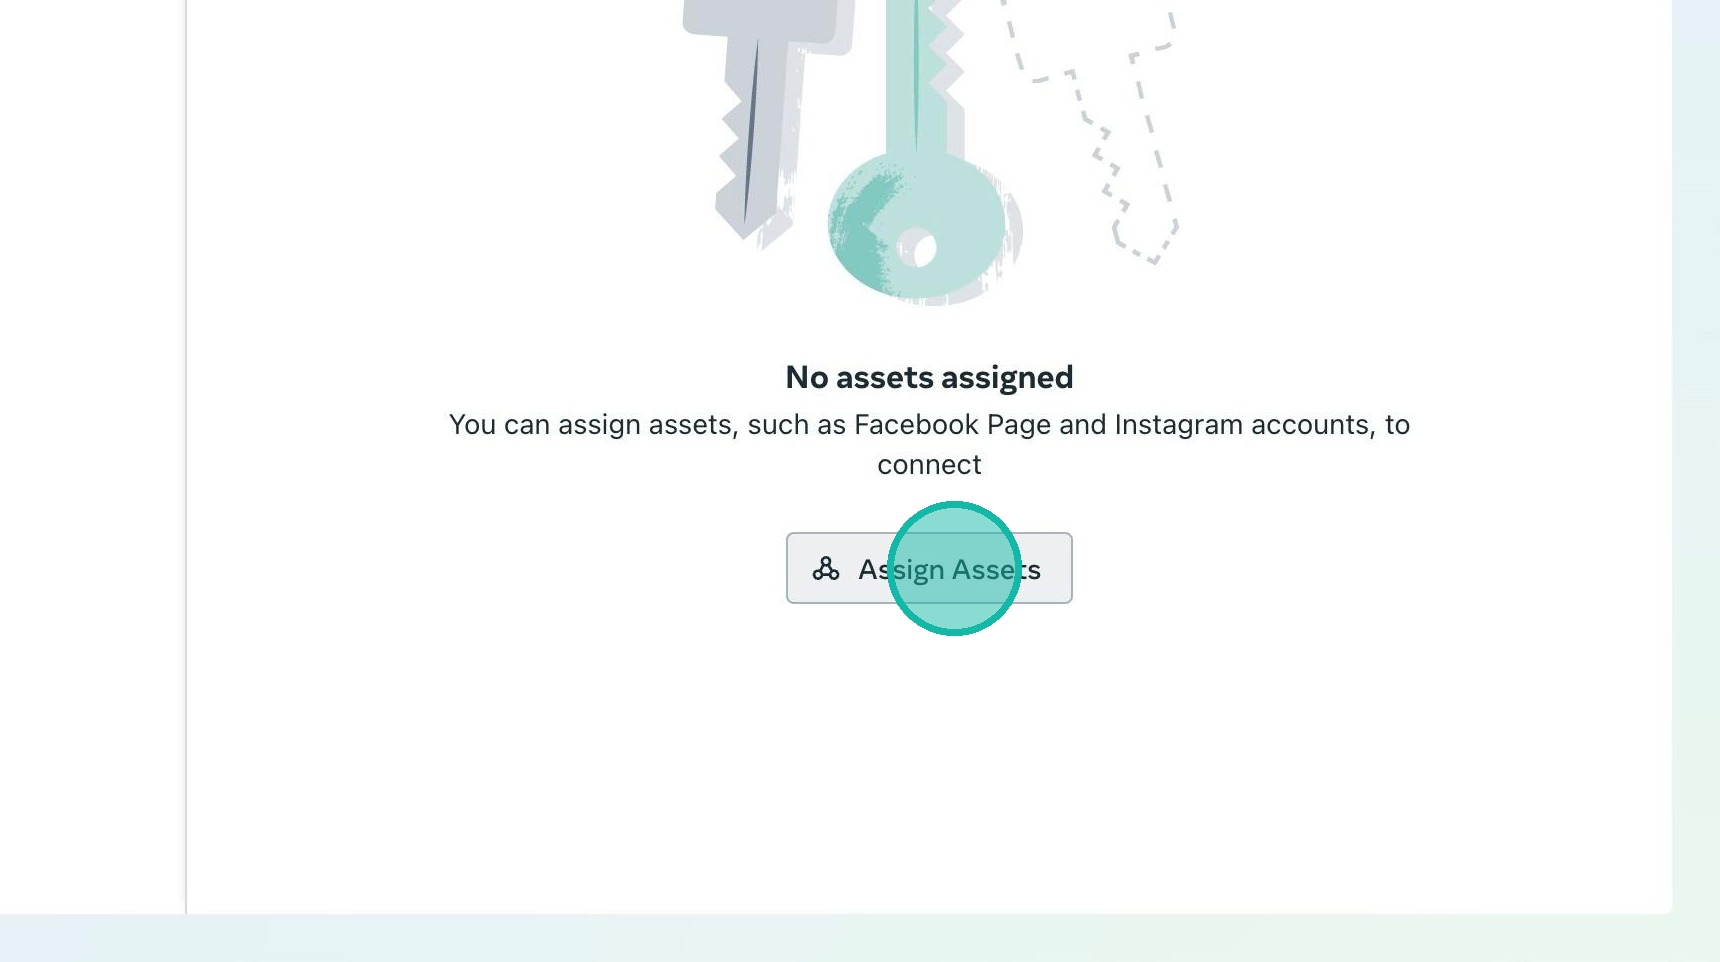
24. Click Assign Assets
25. Tick the Connect app you created earlier, then select Manage app under Full control.
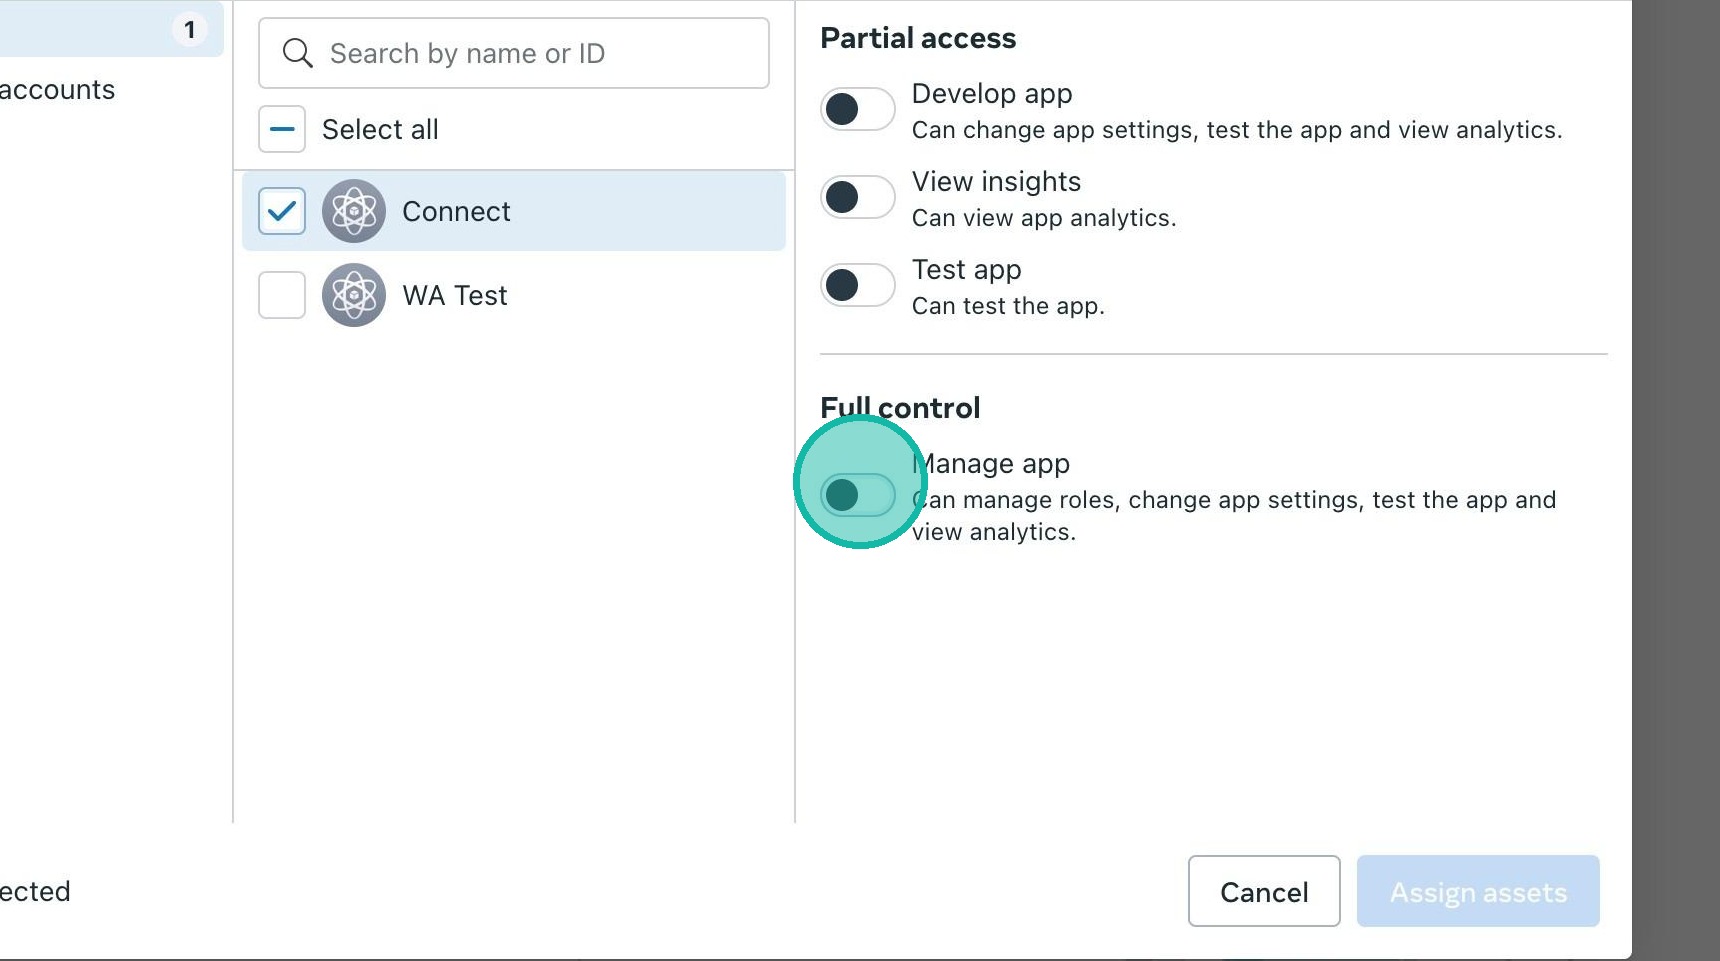
26. Click Assign assets
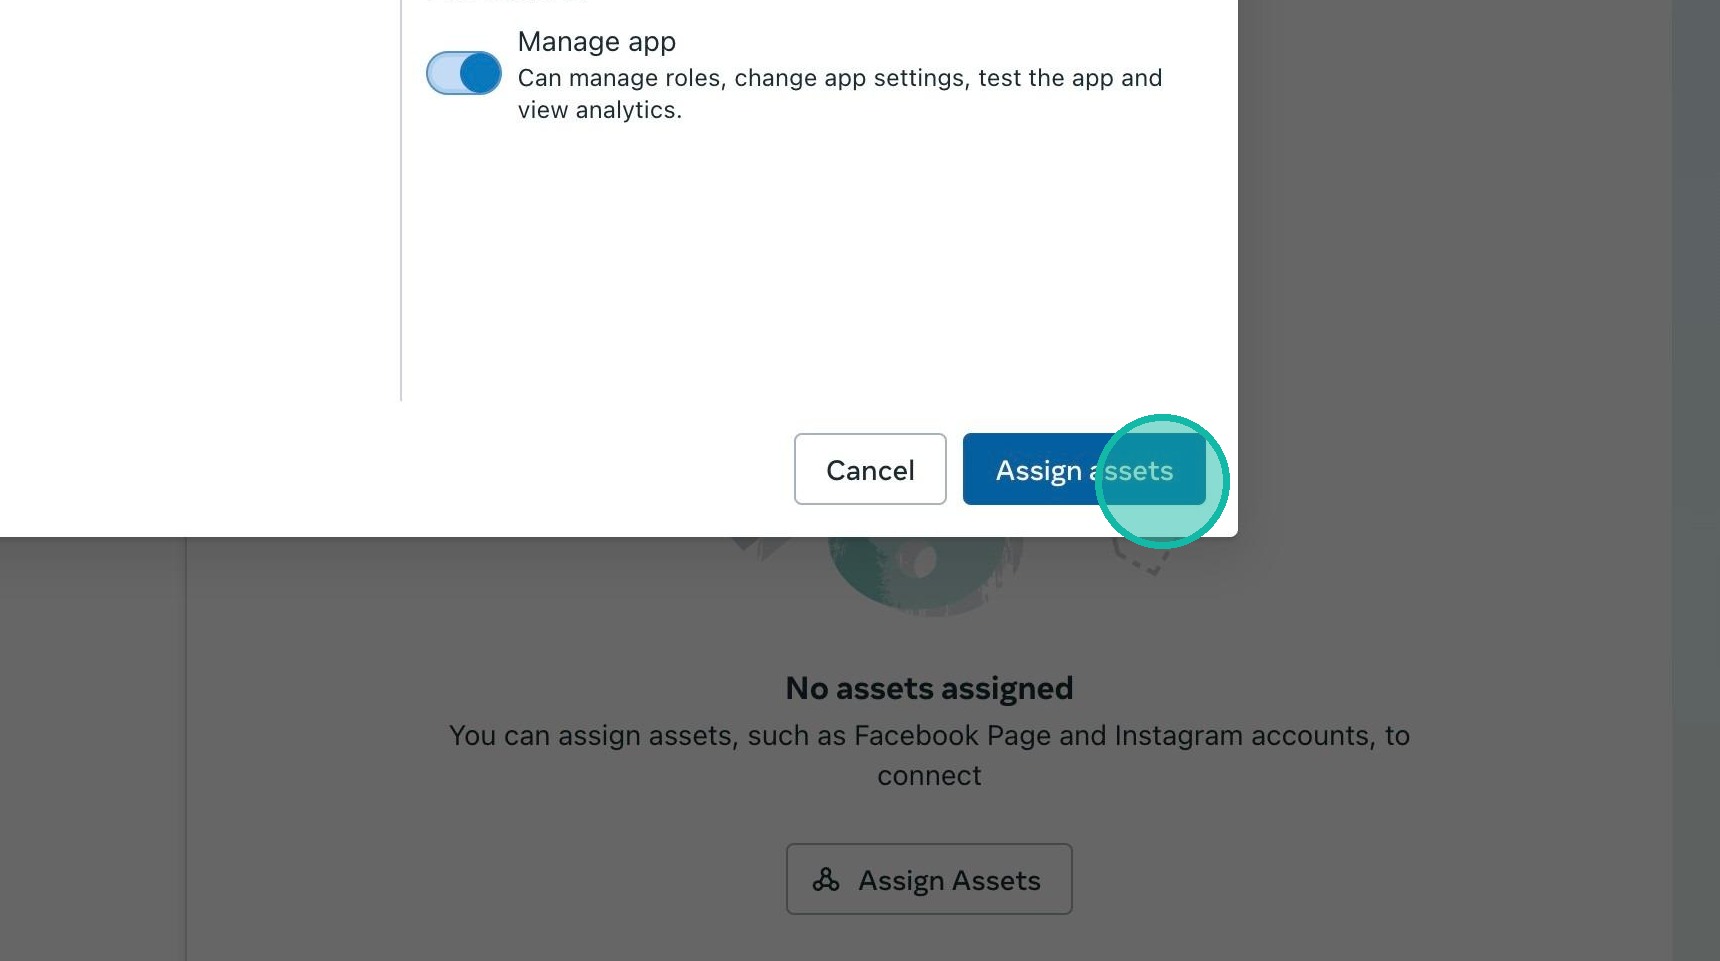
27. Click Done
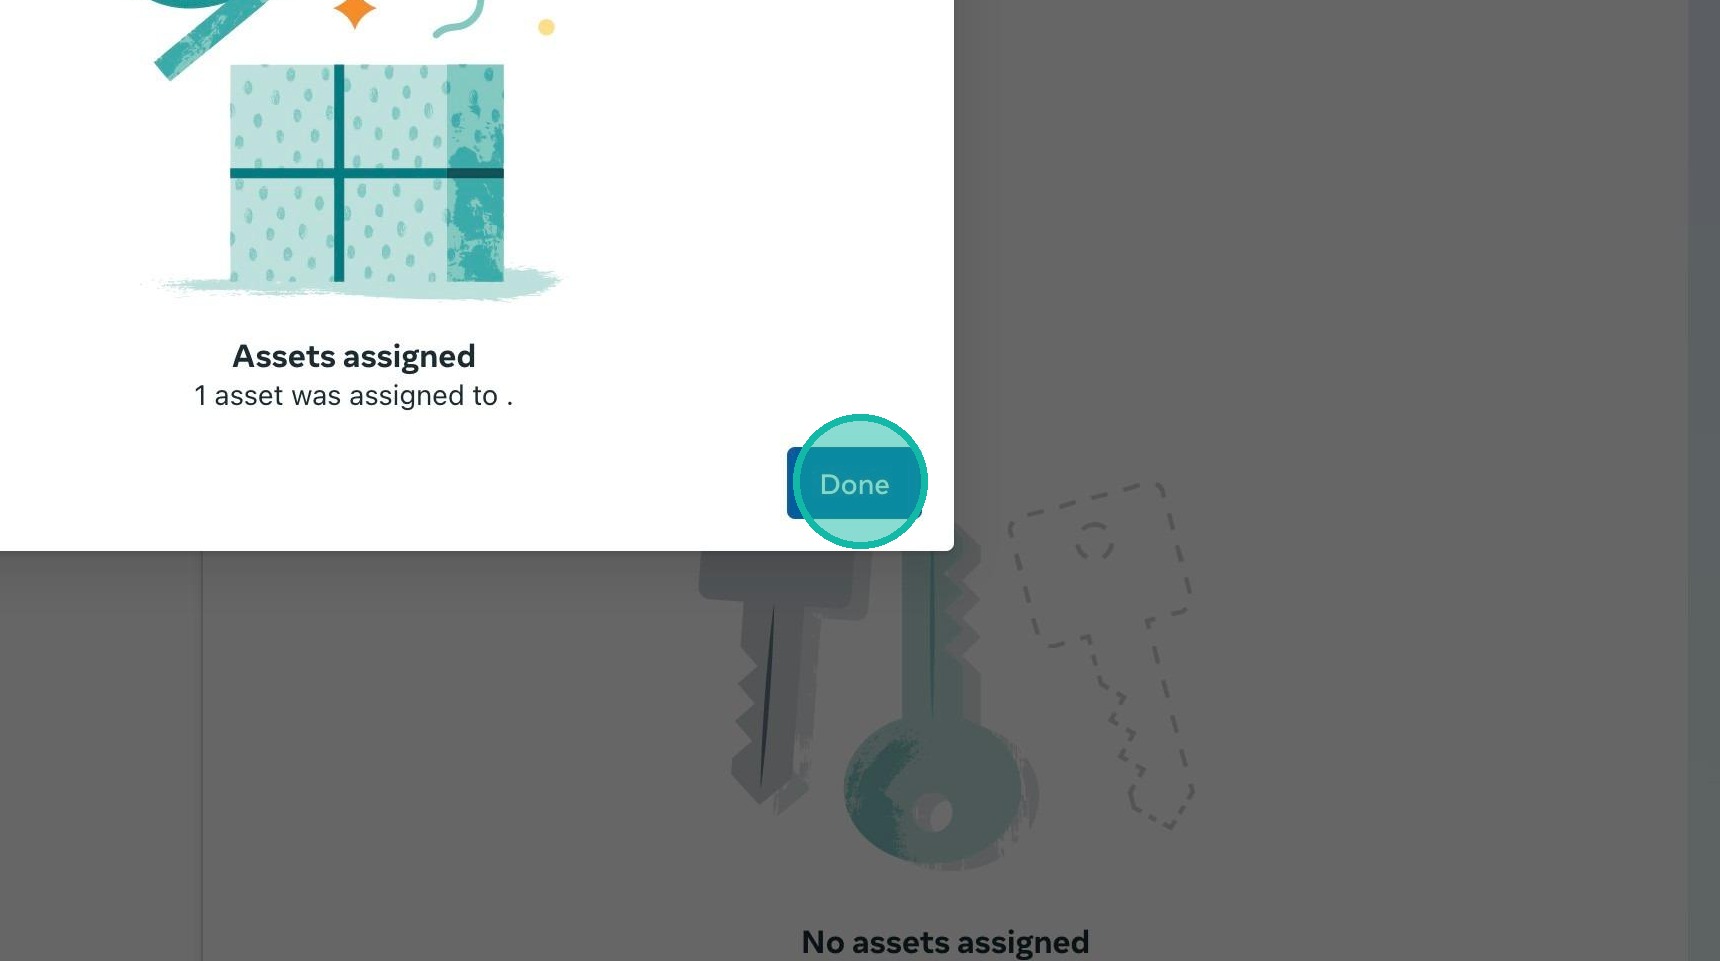
28. Click Generate token
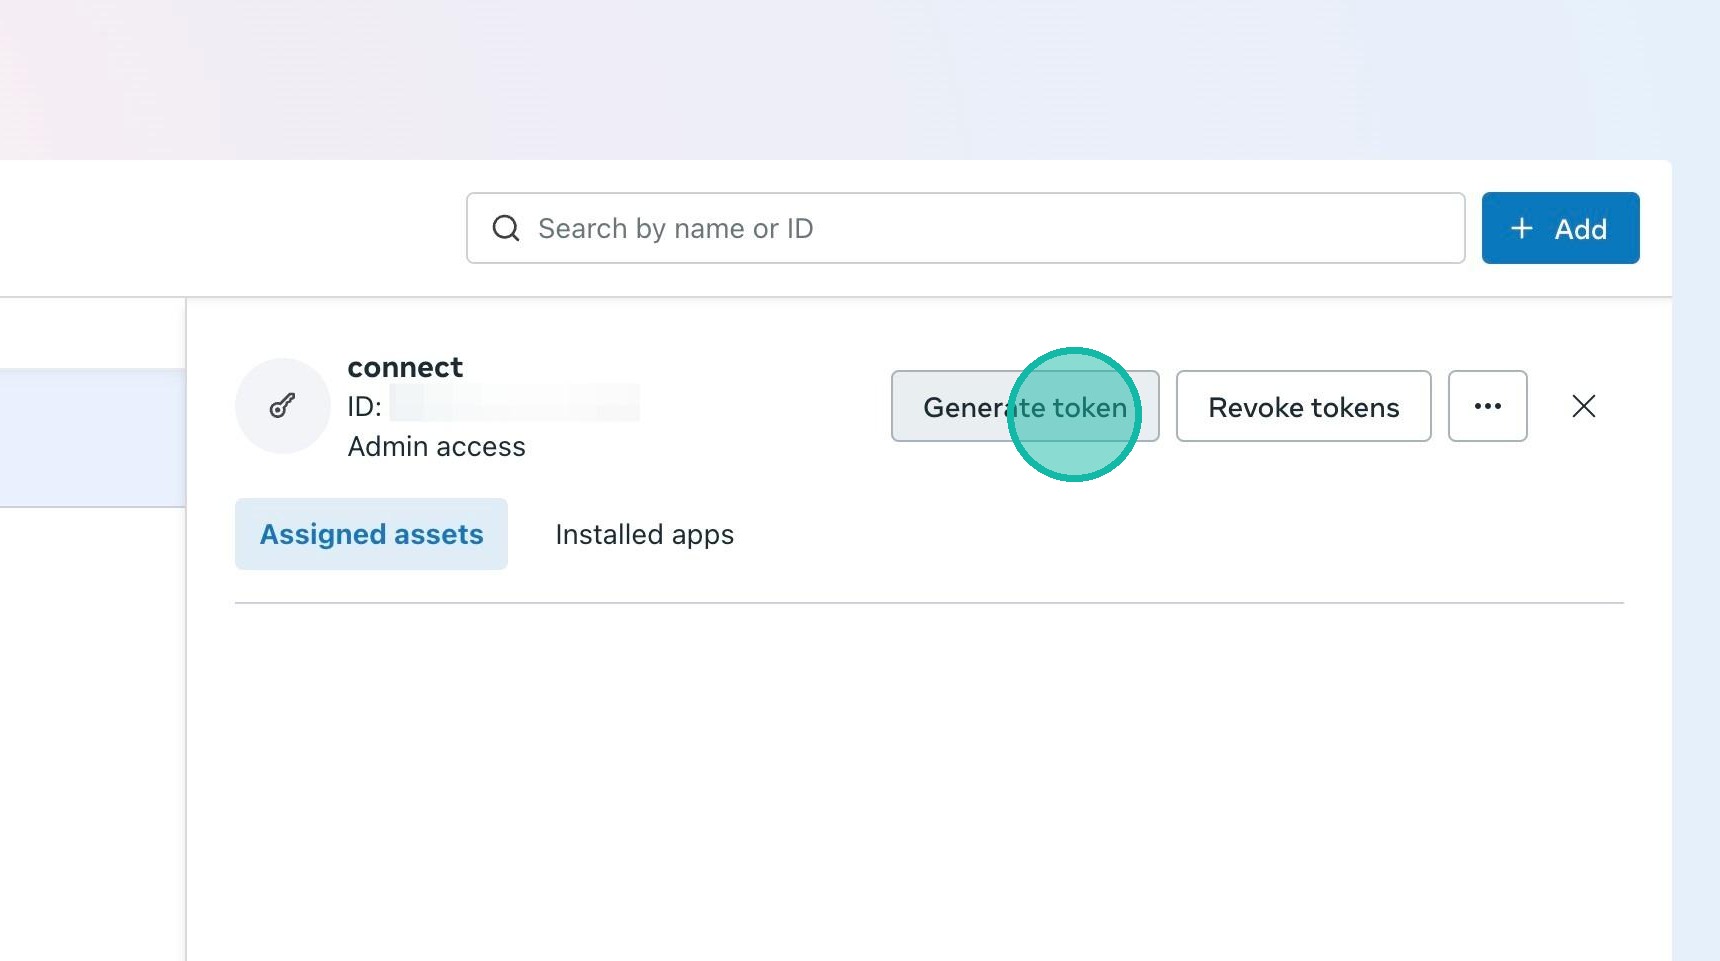
29. Select your Connect app from the dropdown and click Next.
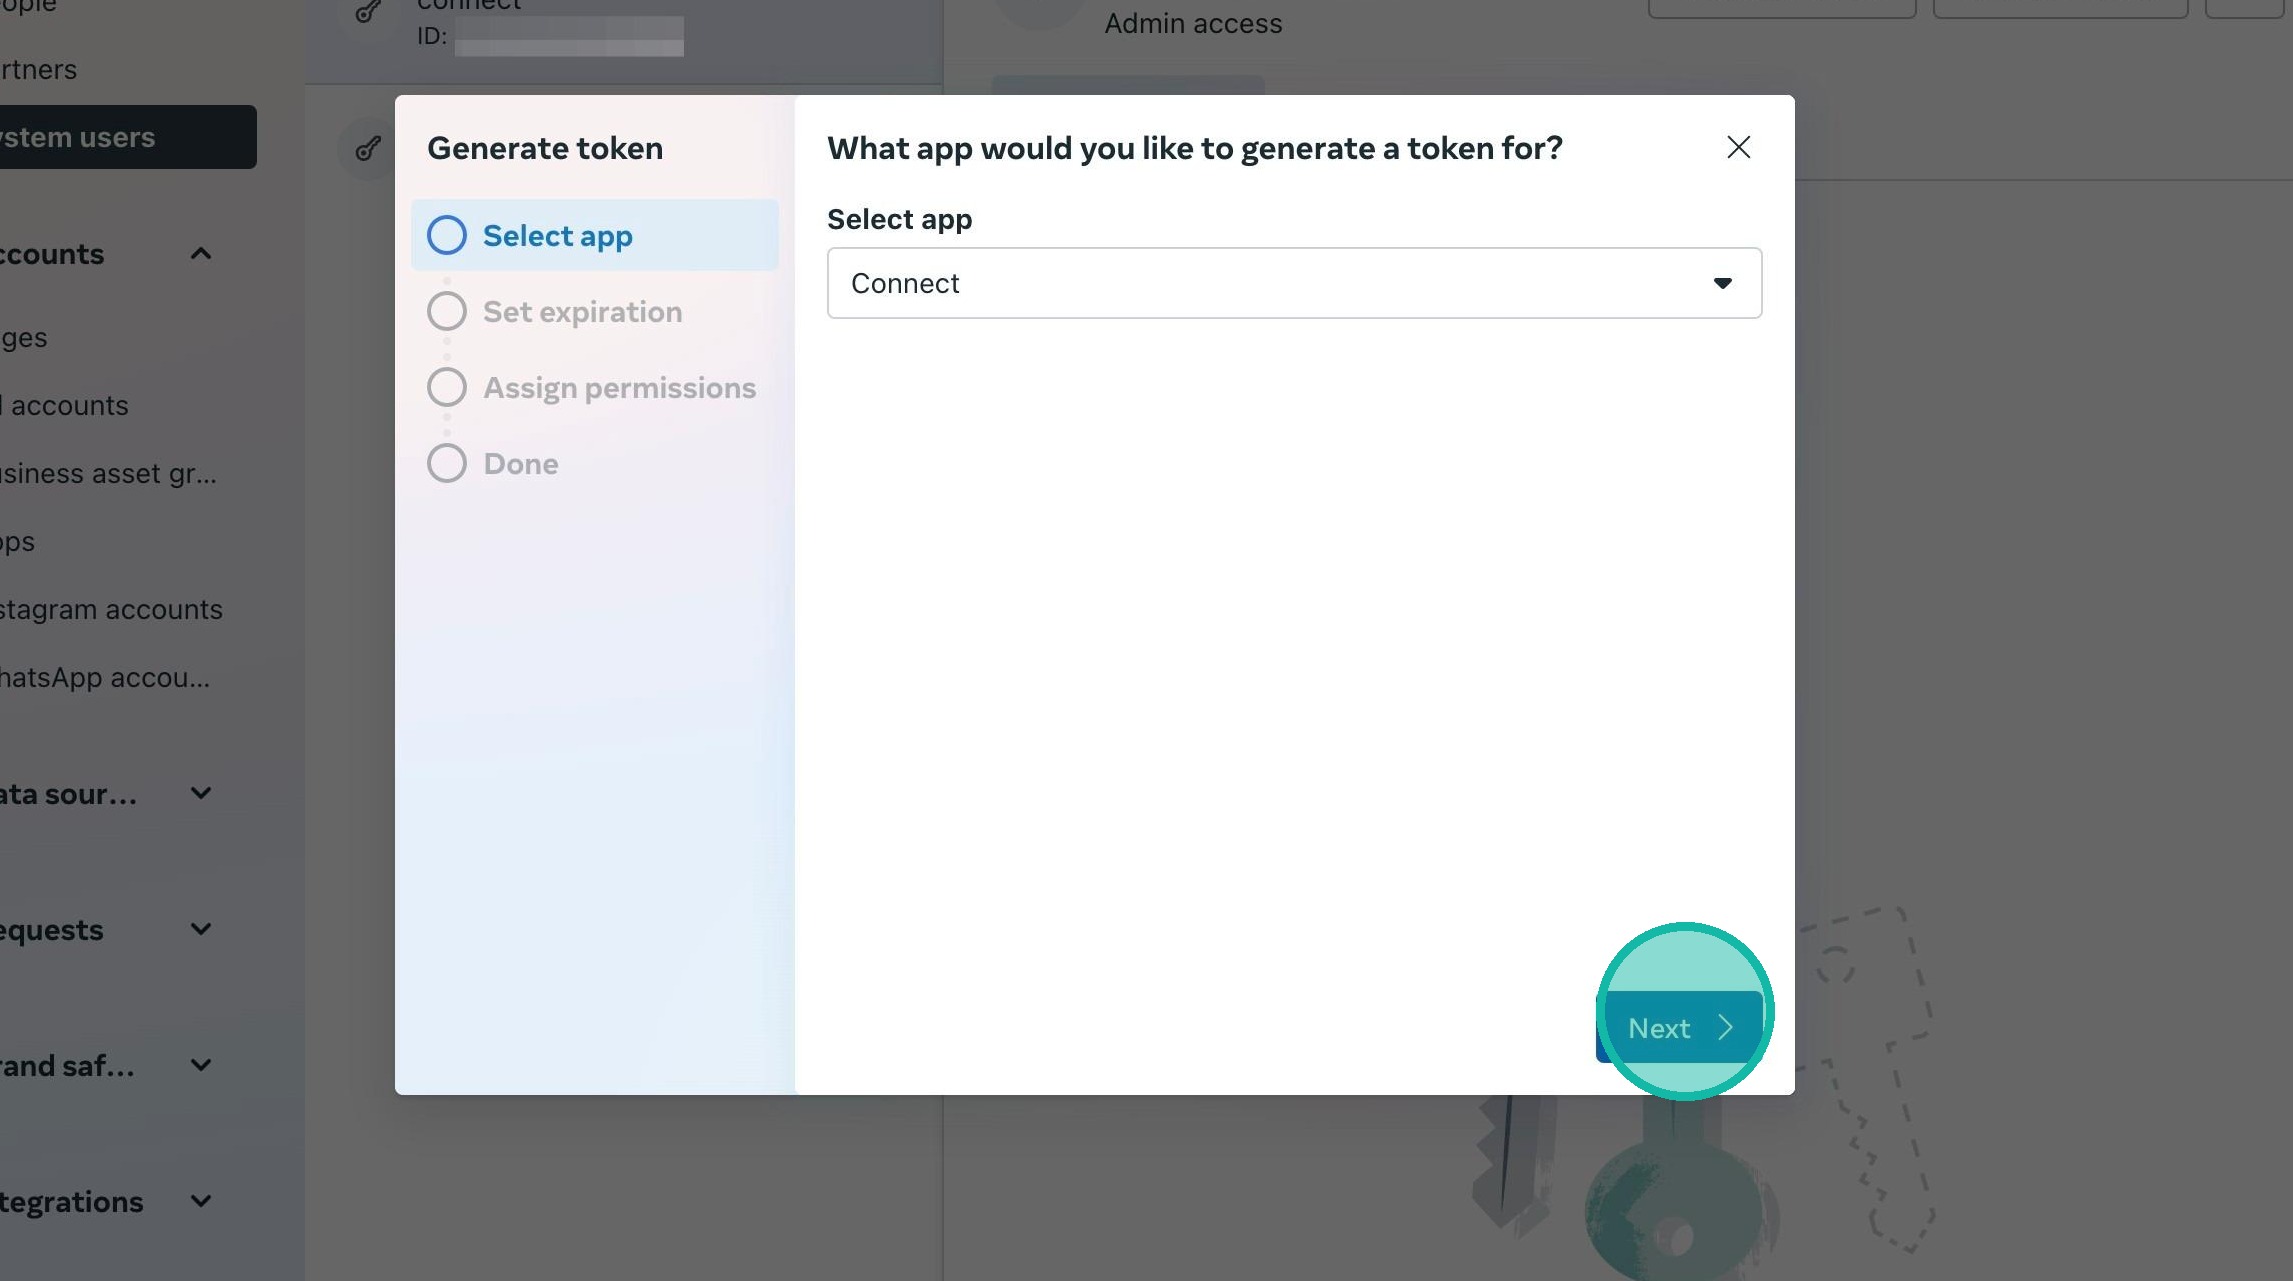
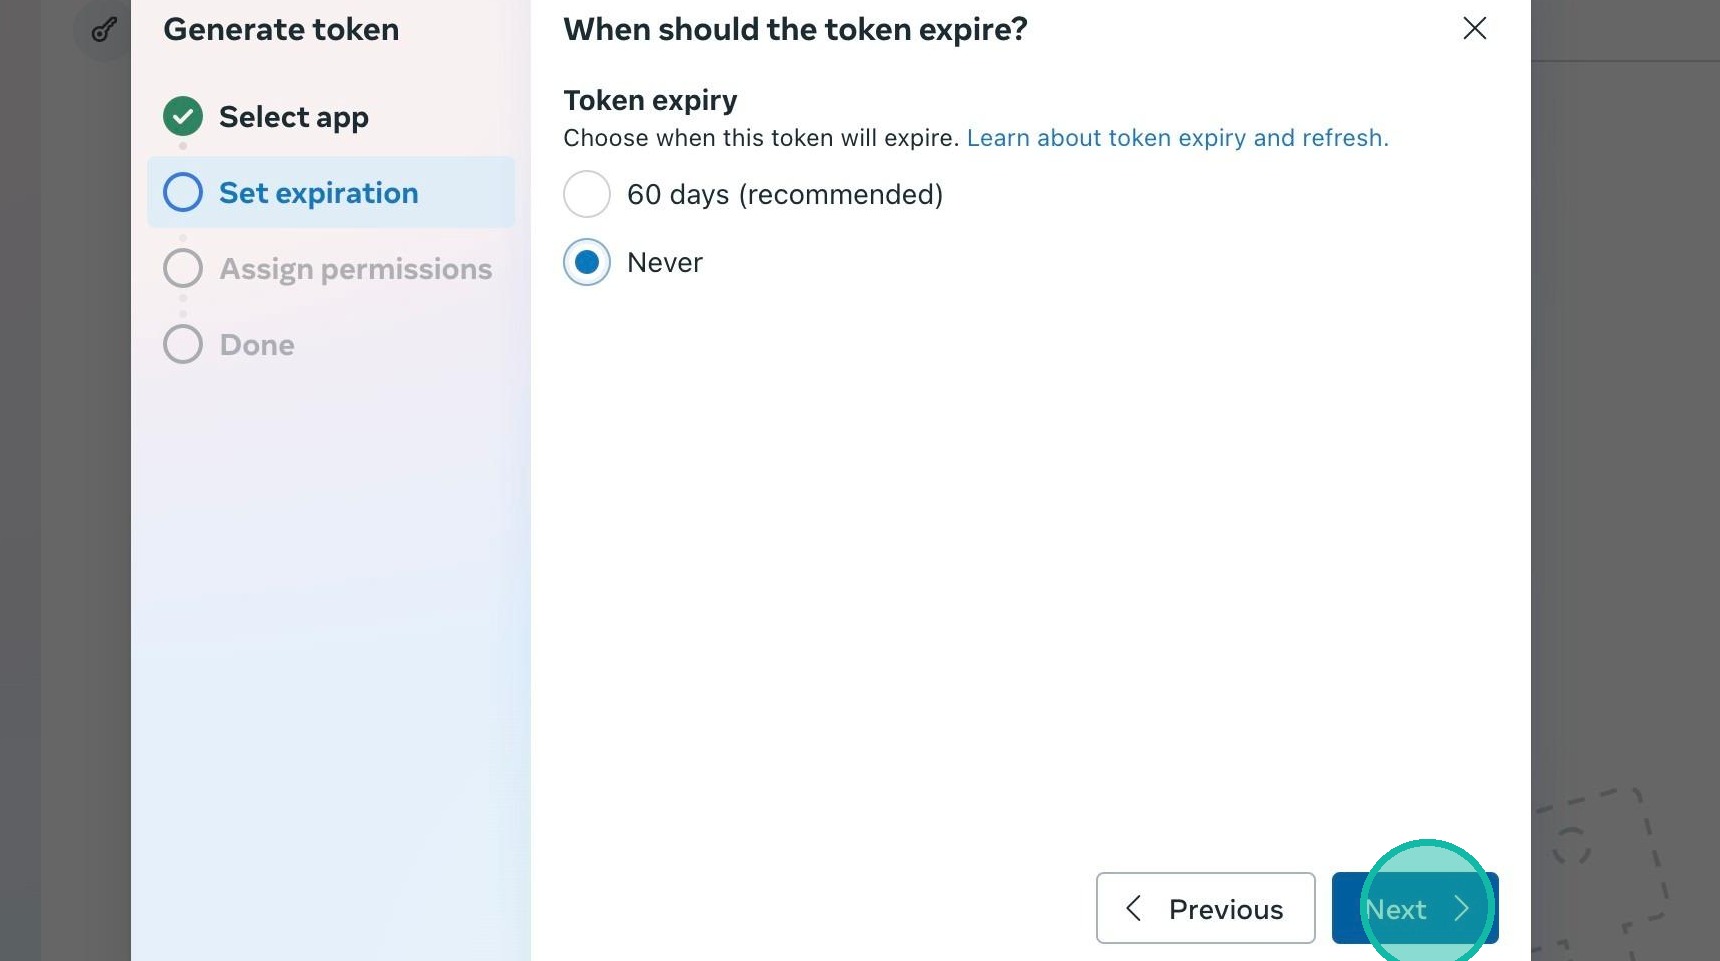
30. Select Never for token expiry then click Next.
31. Click the dropdown and search 'whatsapp'. You need to tick both the whatsapp_business_messaging and whatsapp_business_management permissions.
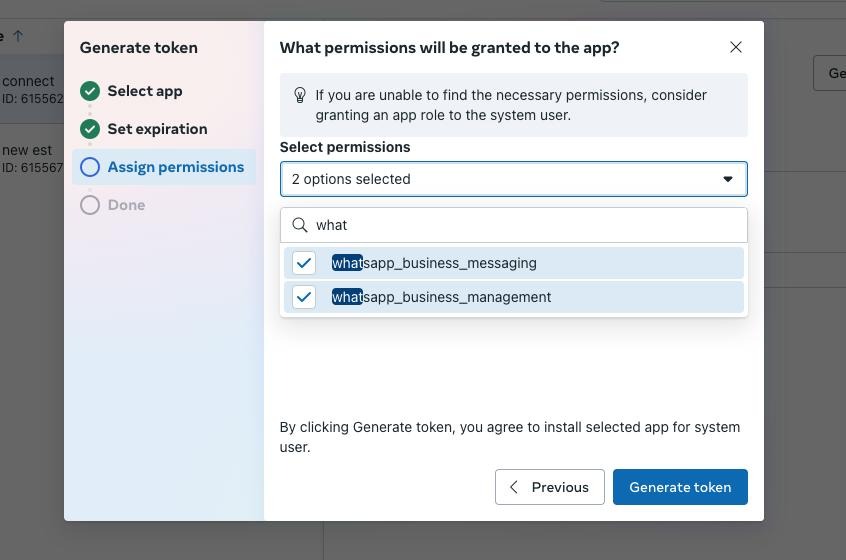
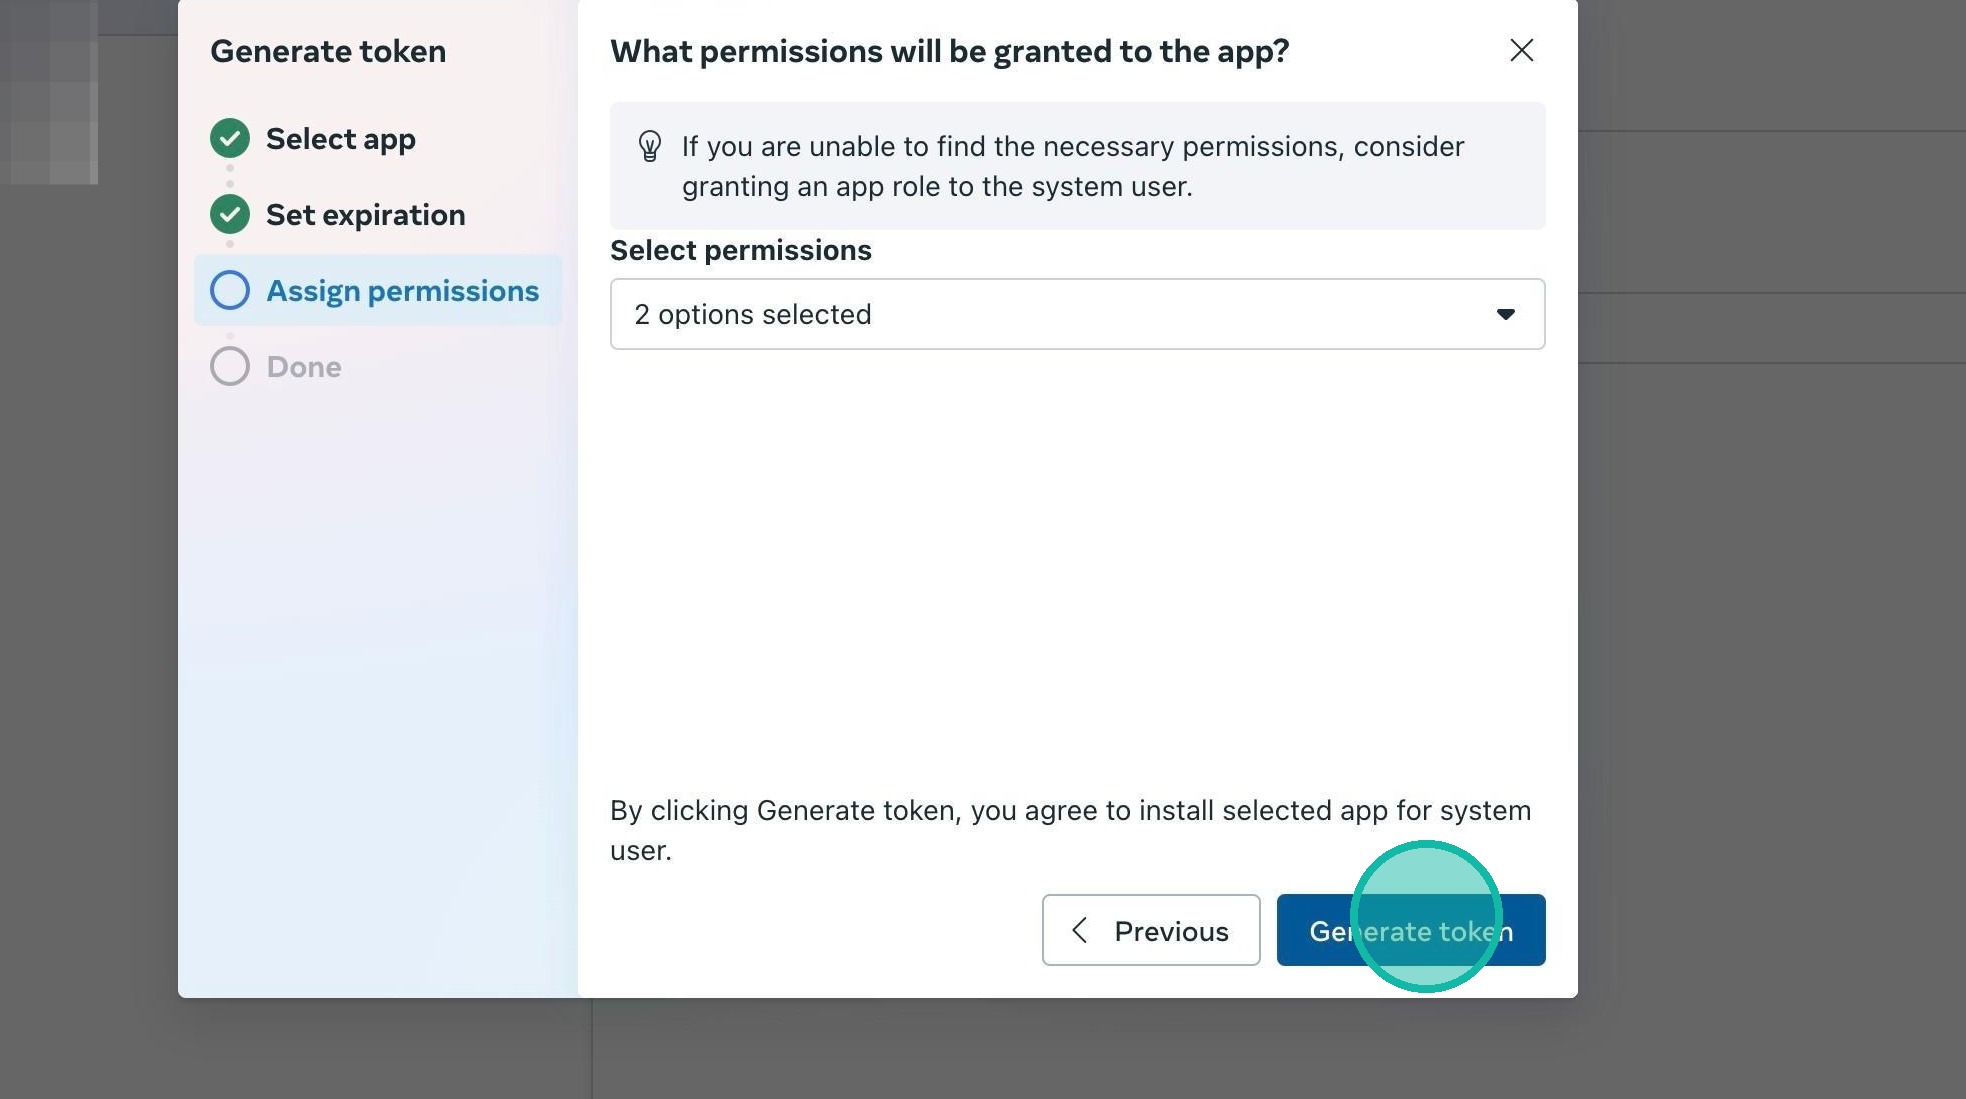
32. One you've ticked both of the permissions (check that the dropdown says '2 options selected'), click Generate token
33. Click Copy
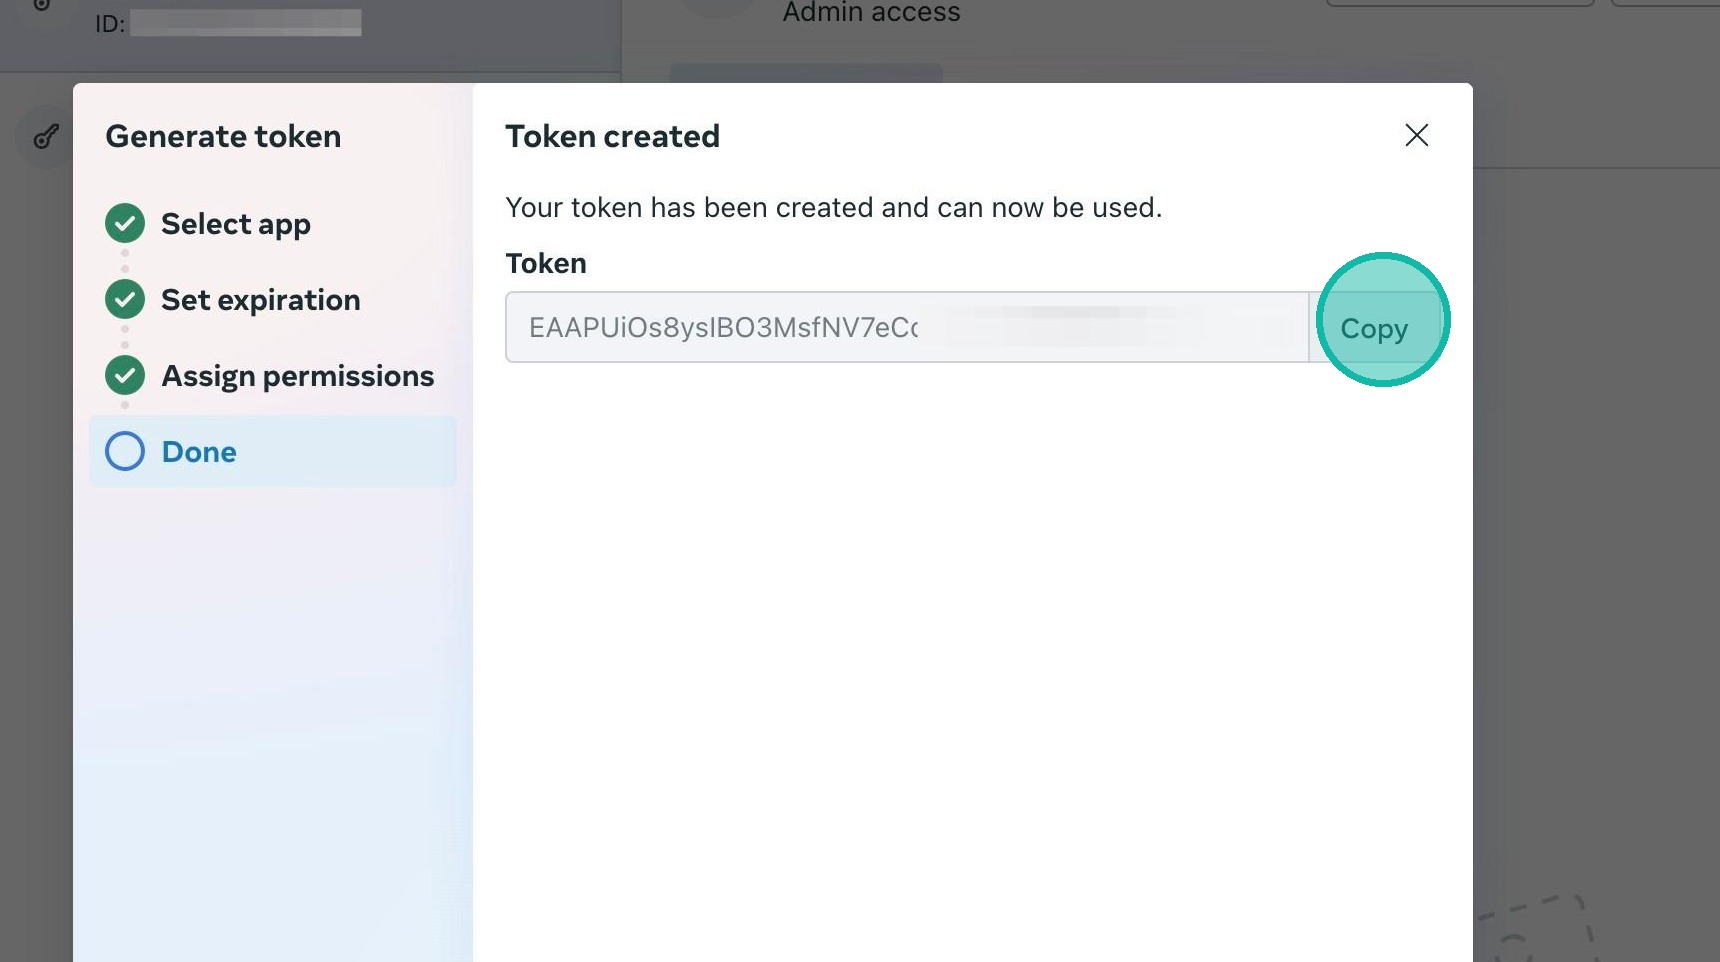
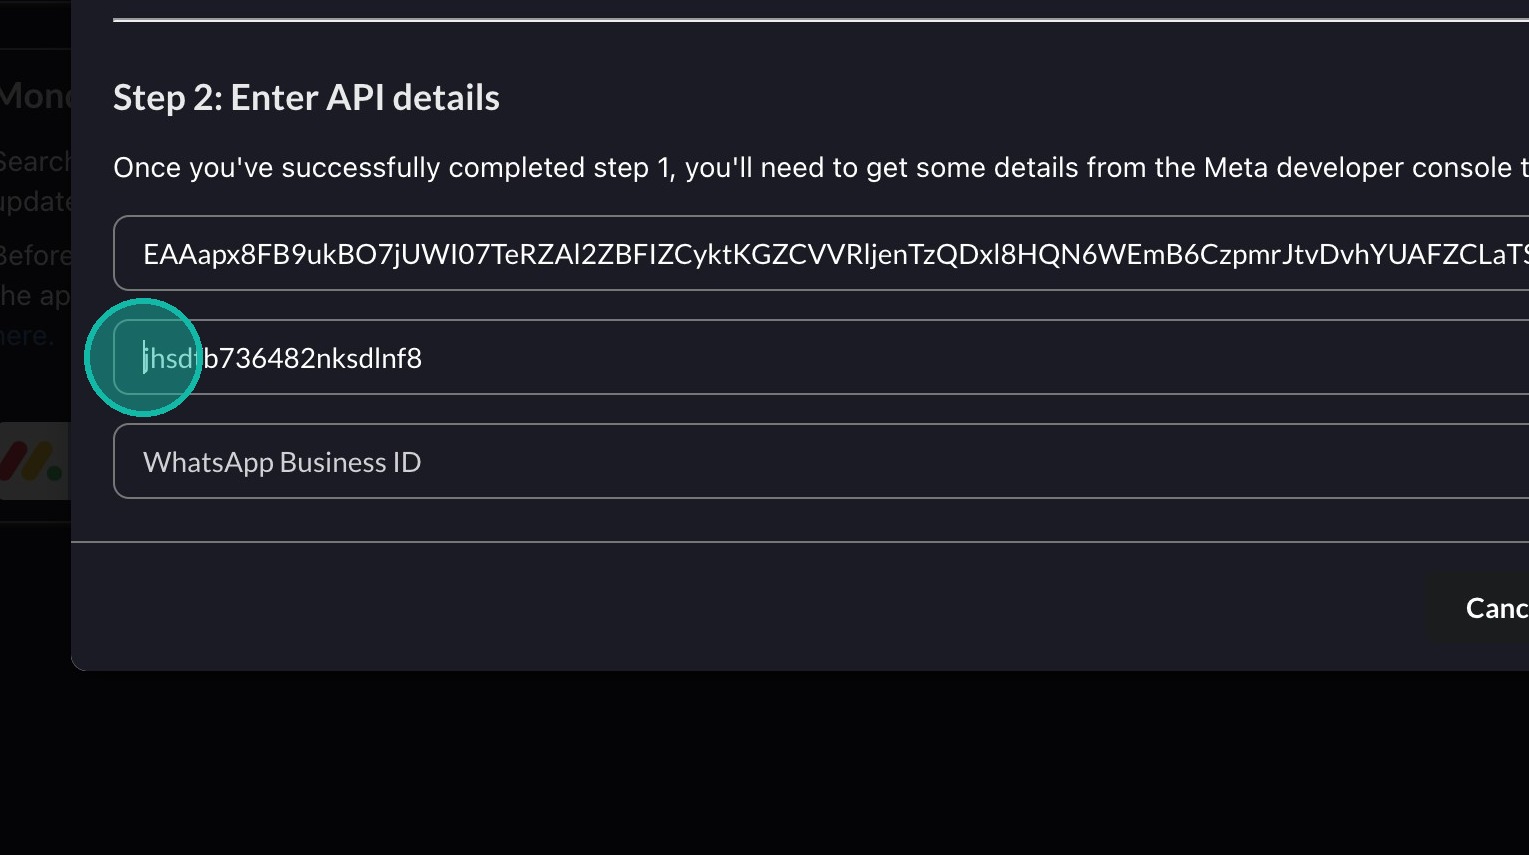
34. Switch back to Connect and paste the API key that you just copied.
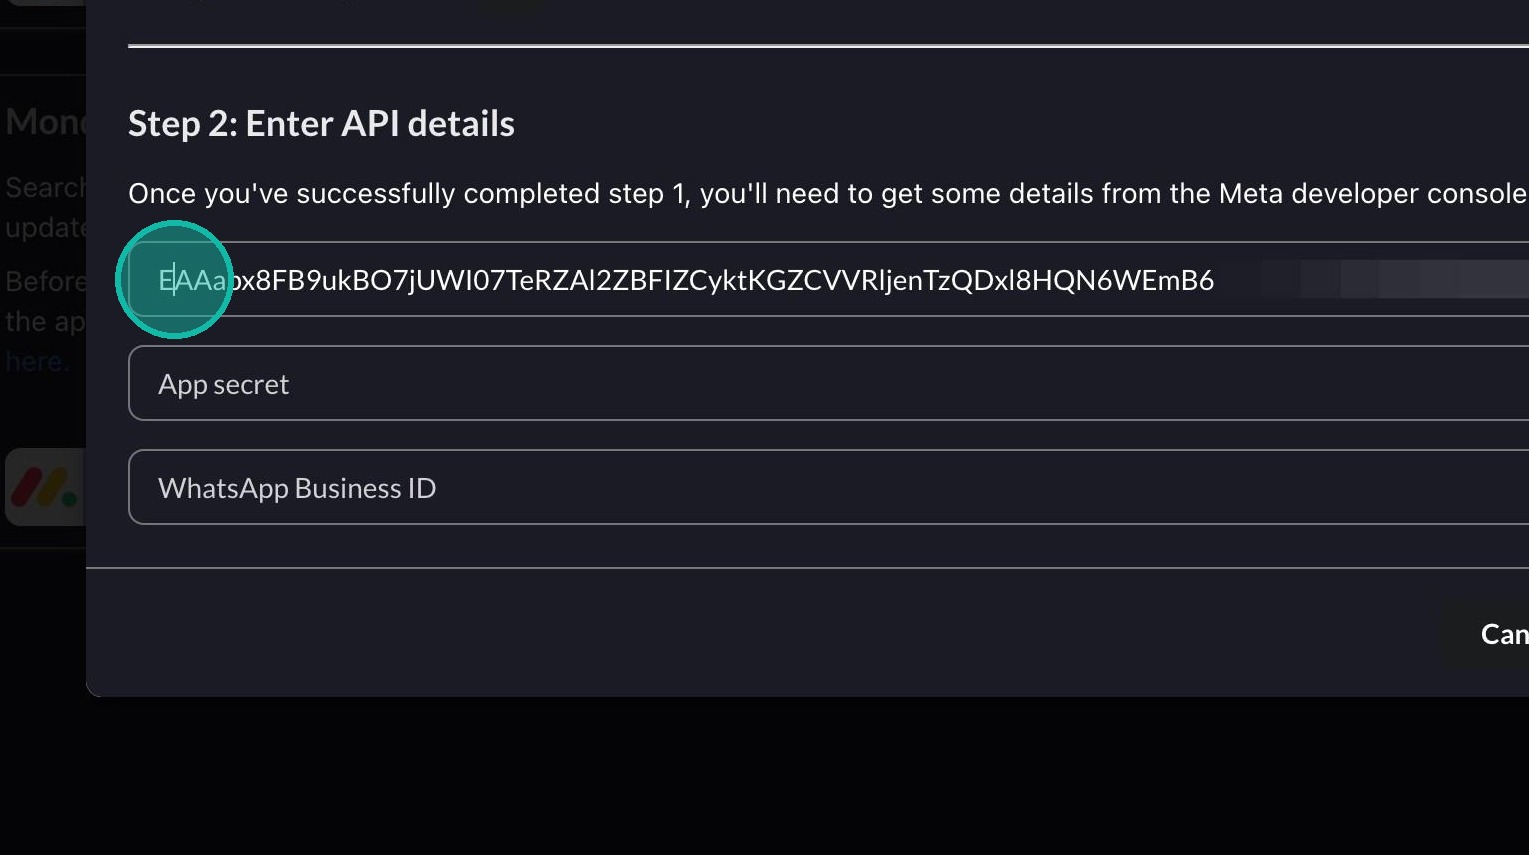
Tip: In case you accidentally close the Connect tab before you manage to enter all the details, you may want to paste the API key, app secret and phone number ID somewhere temporarily as you generate them.
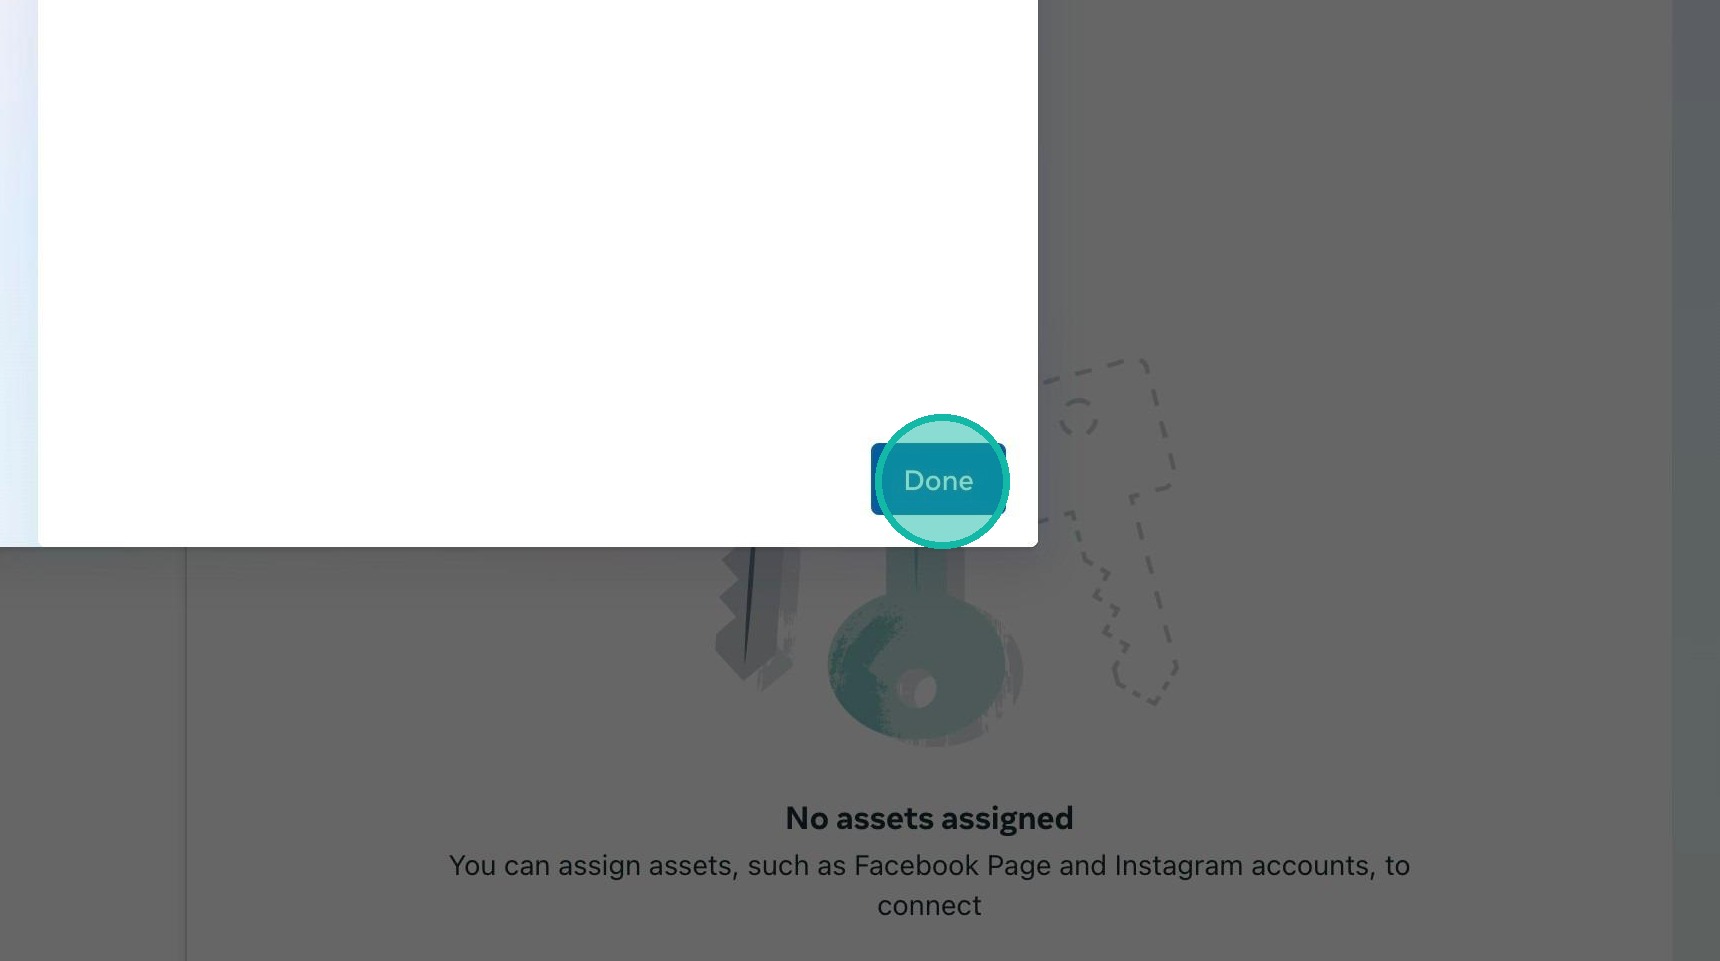
35. Back in the Meta Business Suite tab, click Done.
You don't need to do anything else in this tab, so you can close it now.
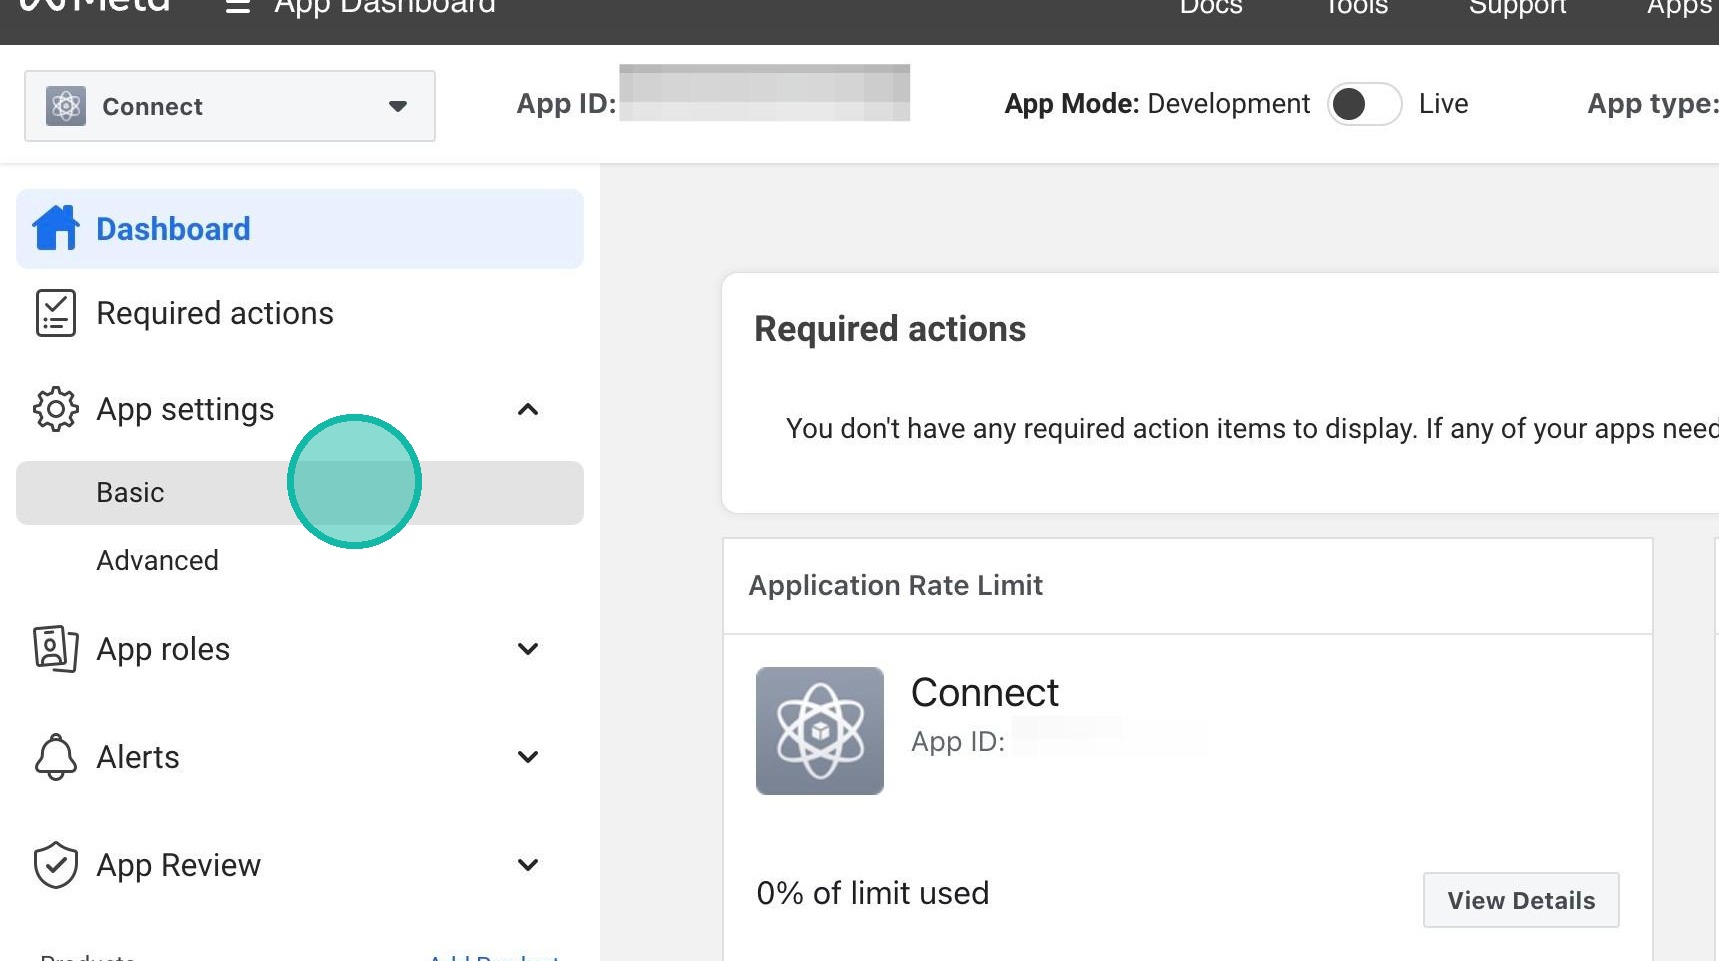
Get your app secret
36. Back in your Meta developer console tab, click Basic under App settings.
37. Click Show next to the App secret field. You'll be prompted for your Facebook account password.
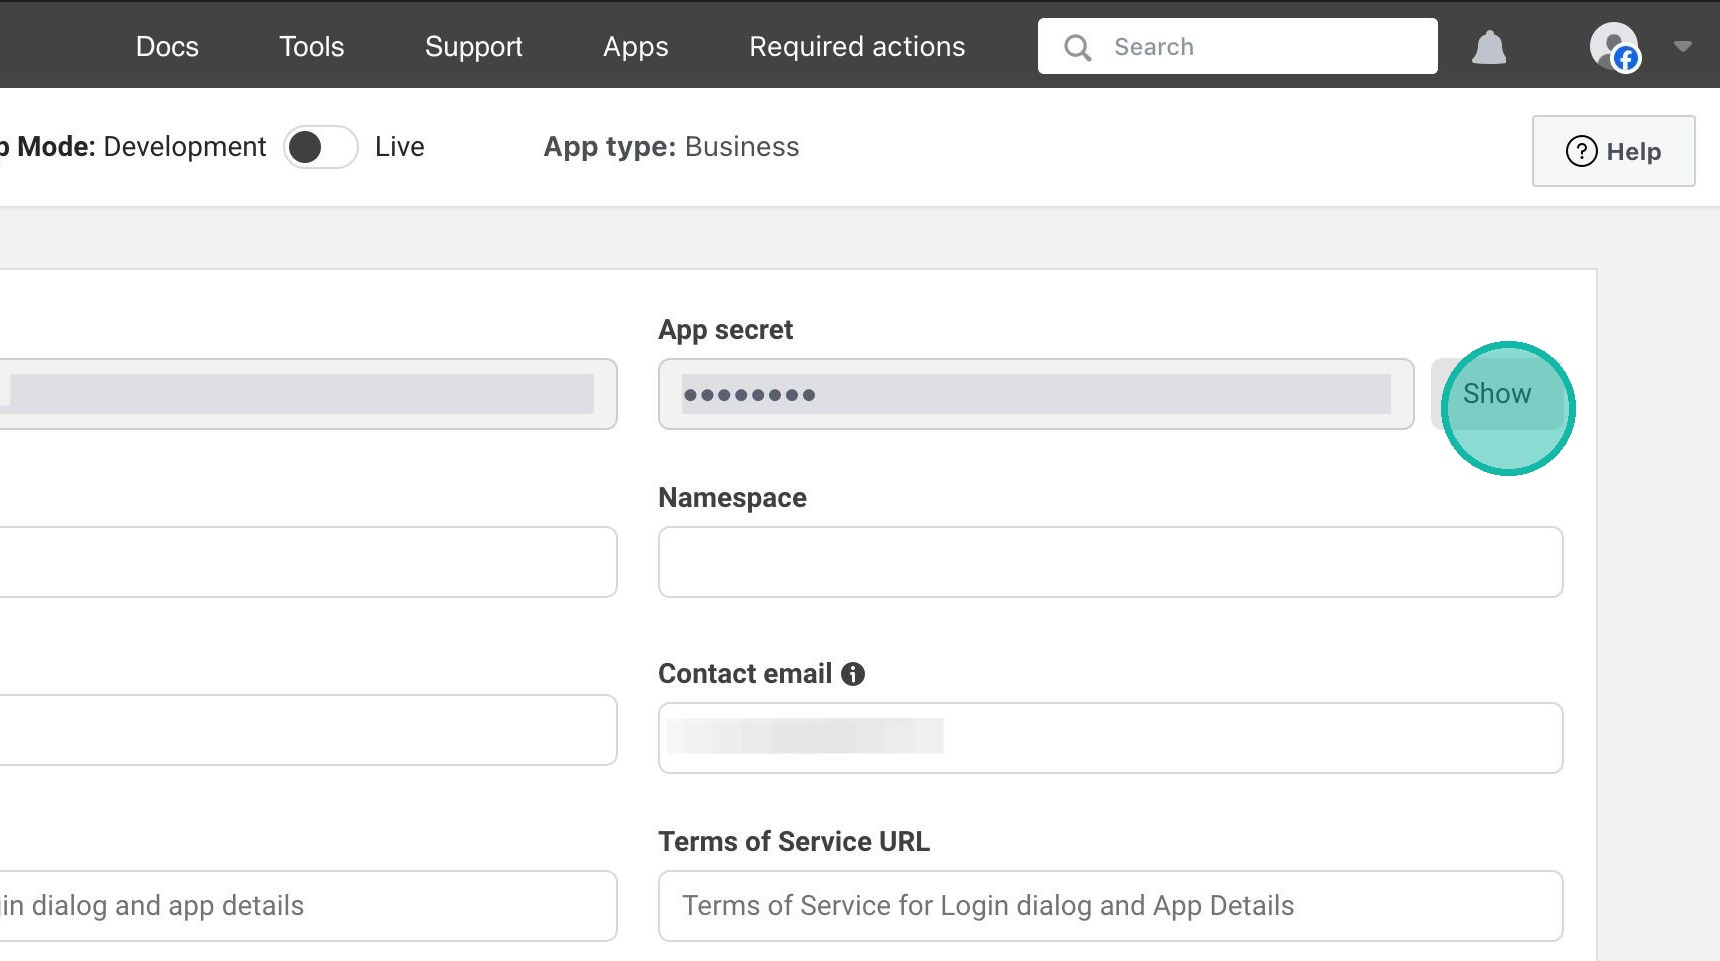
38. Select the App secret value and copy it.
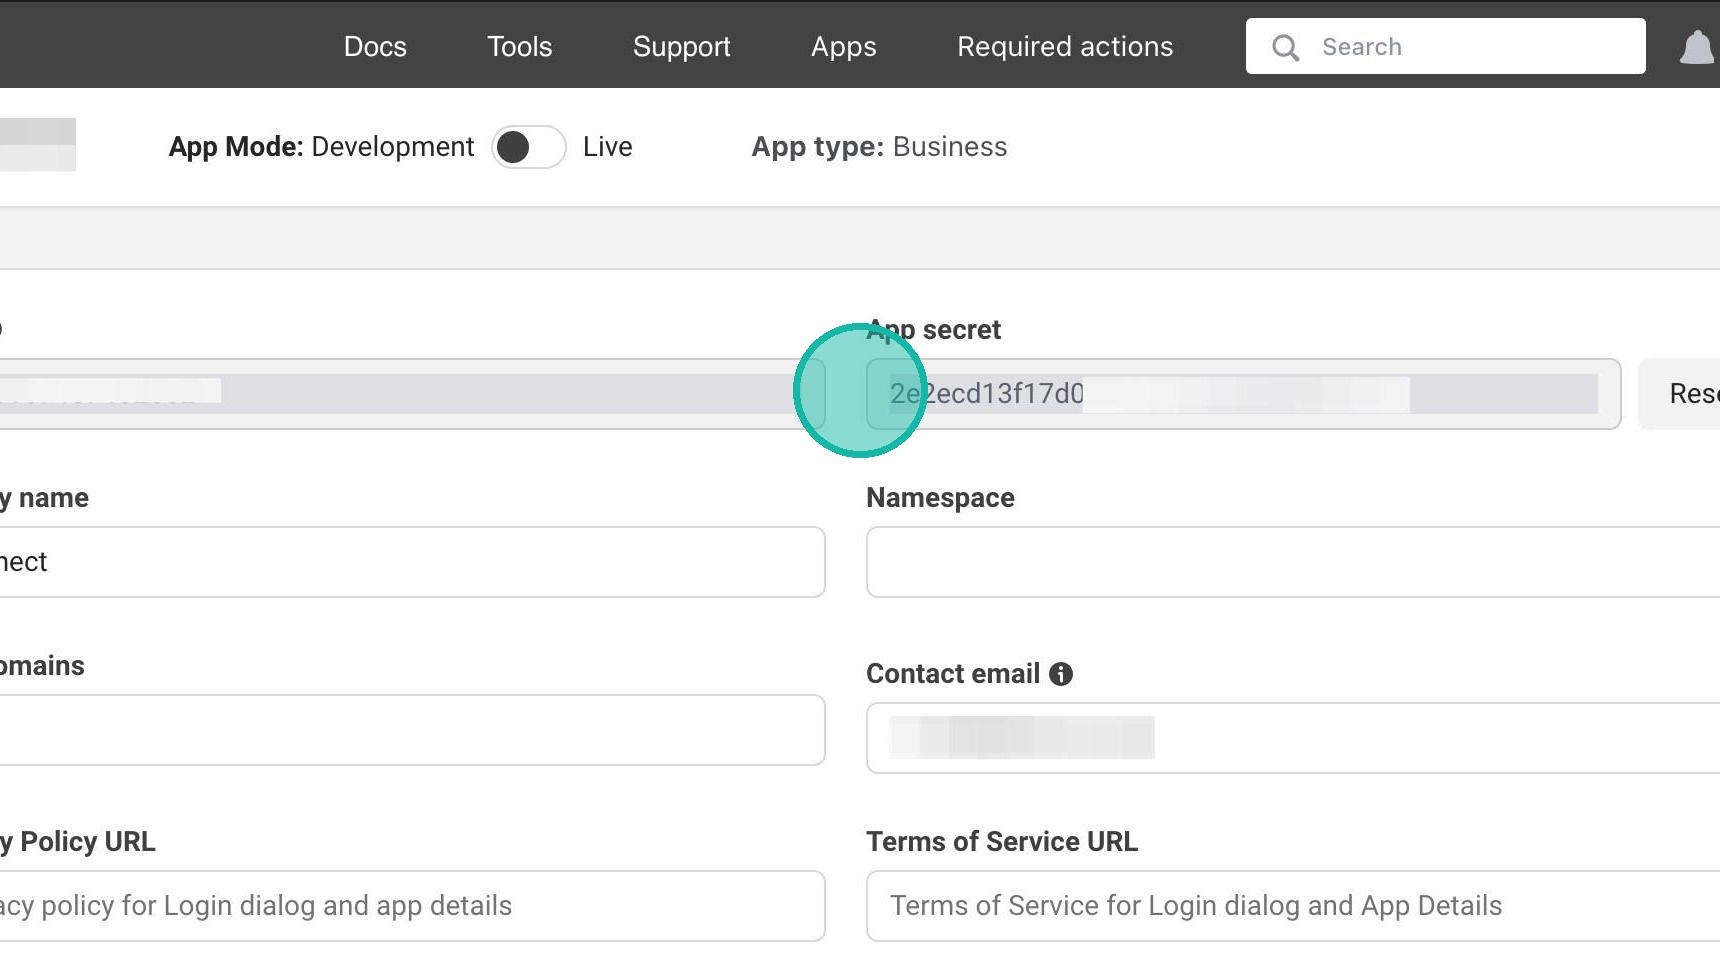
39. Switch back to your Connect tab and paste the app secret you just copied.
Add a phone number
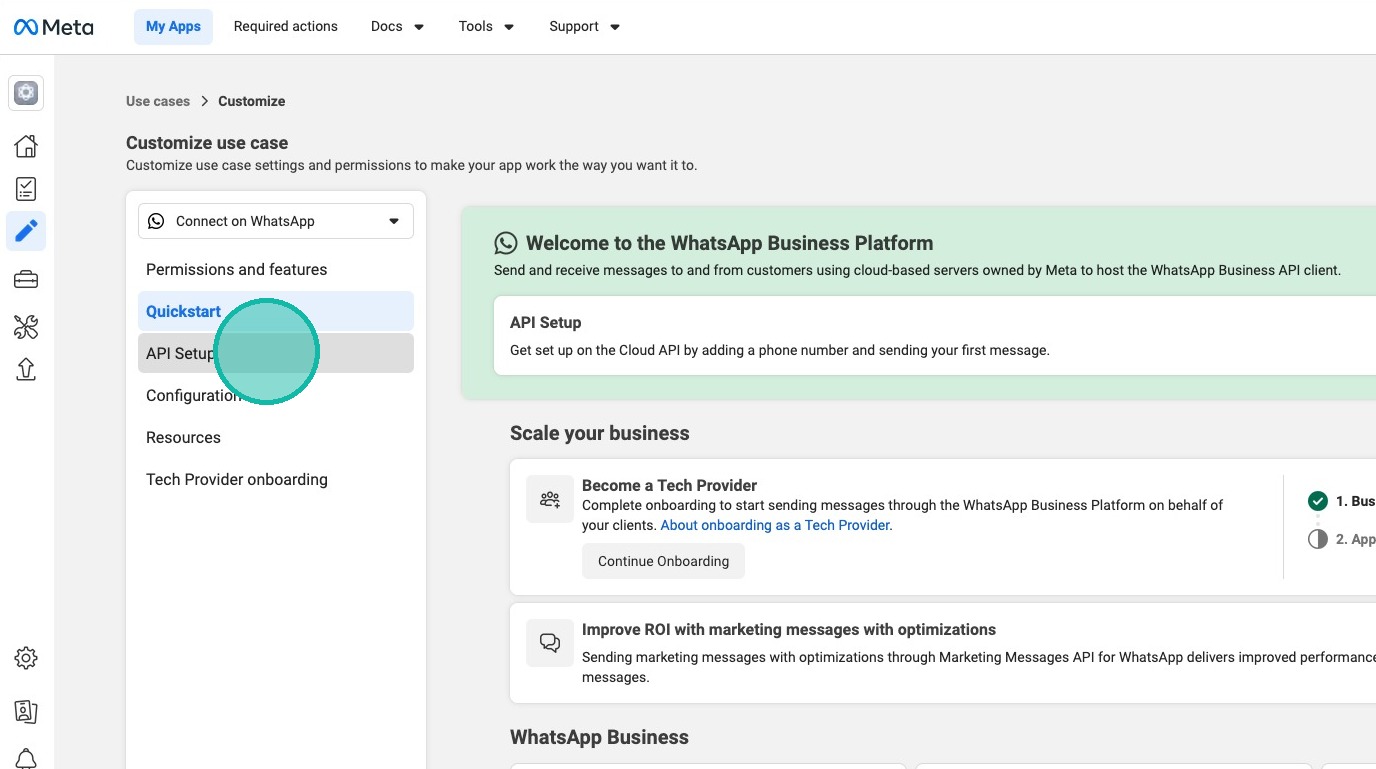
40. From the Meta developer console, click Use cases
41. Next to Connect with customers through WhatsApp, click Customize
42. Click API Setup
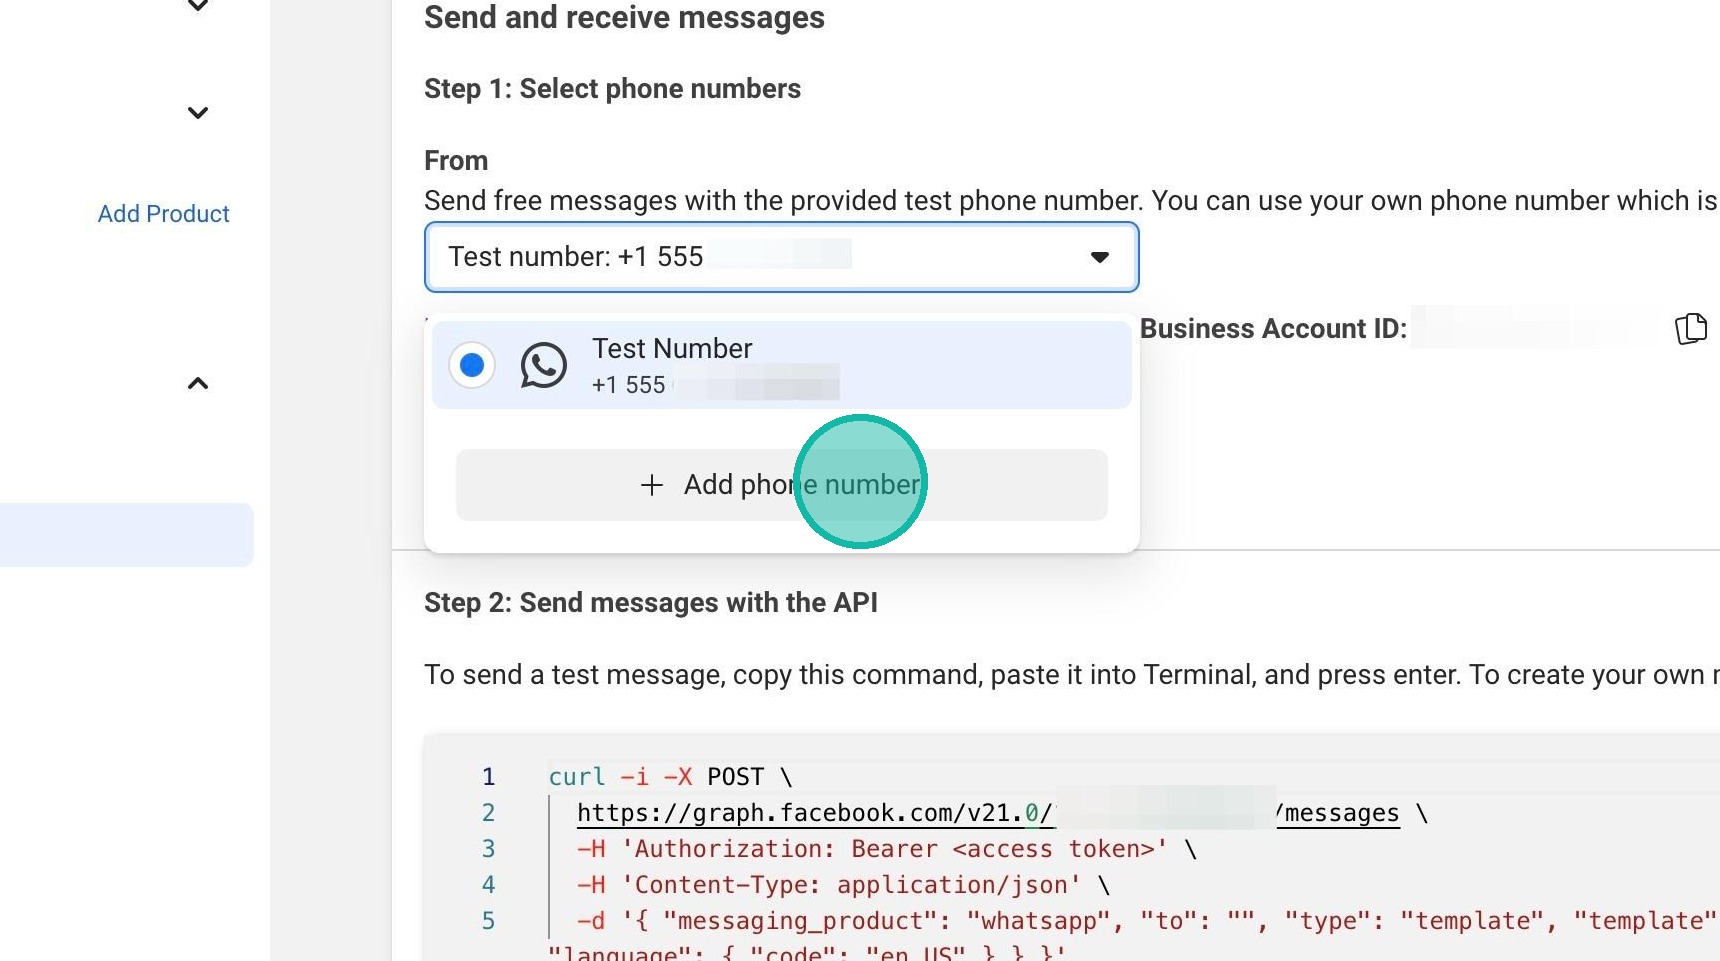
43. Click the phone number dropdown, then click Add phone number.
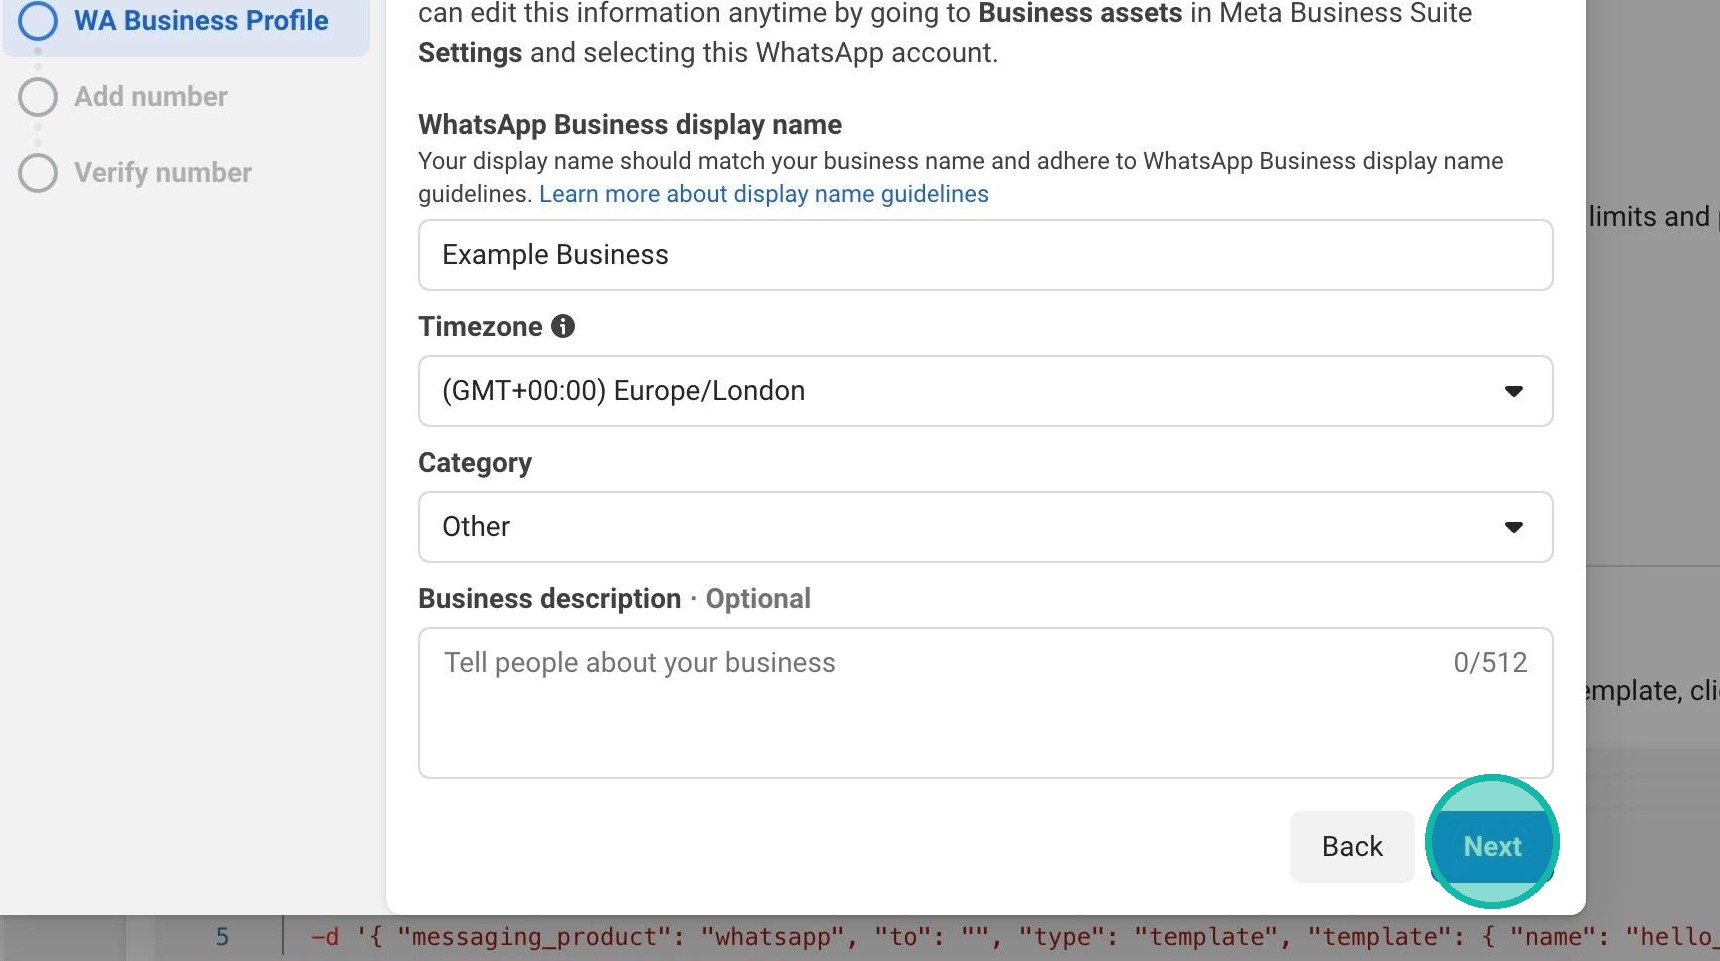
44. Enter your business details then click Next.
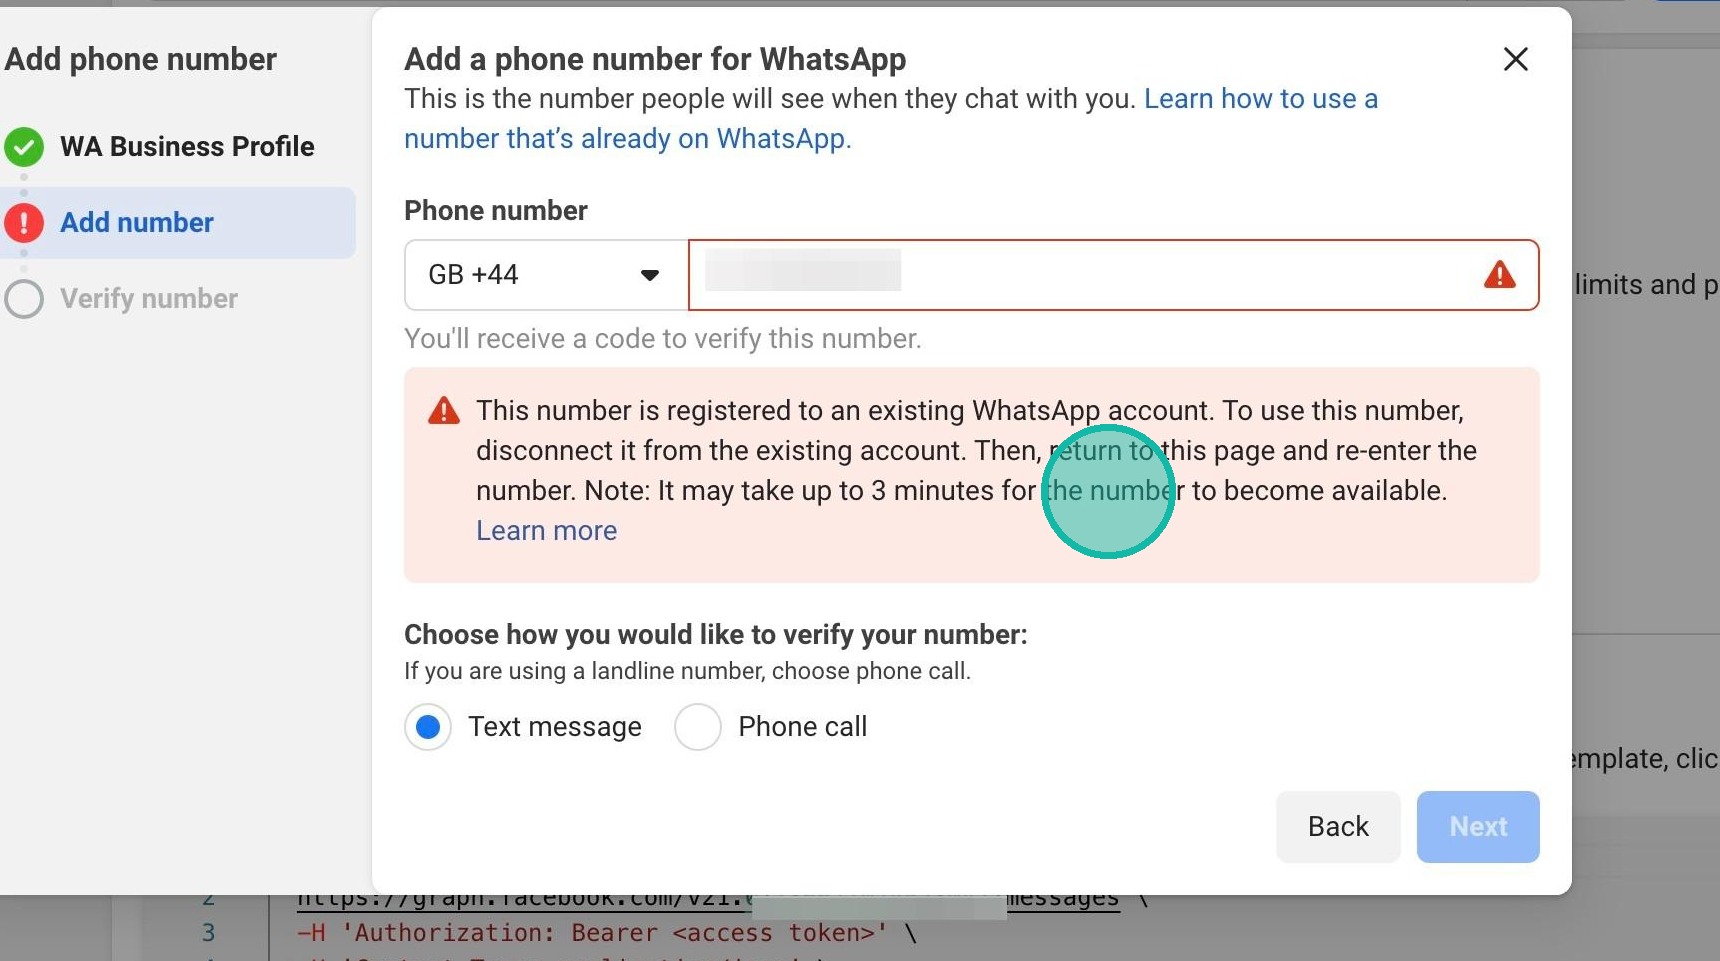
45. Enter the phone number you want to use and click Next.
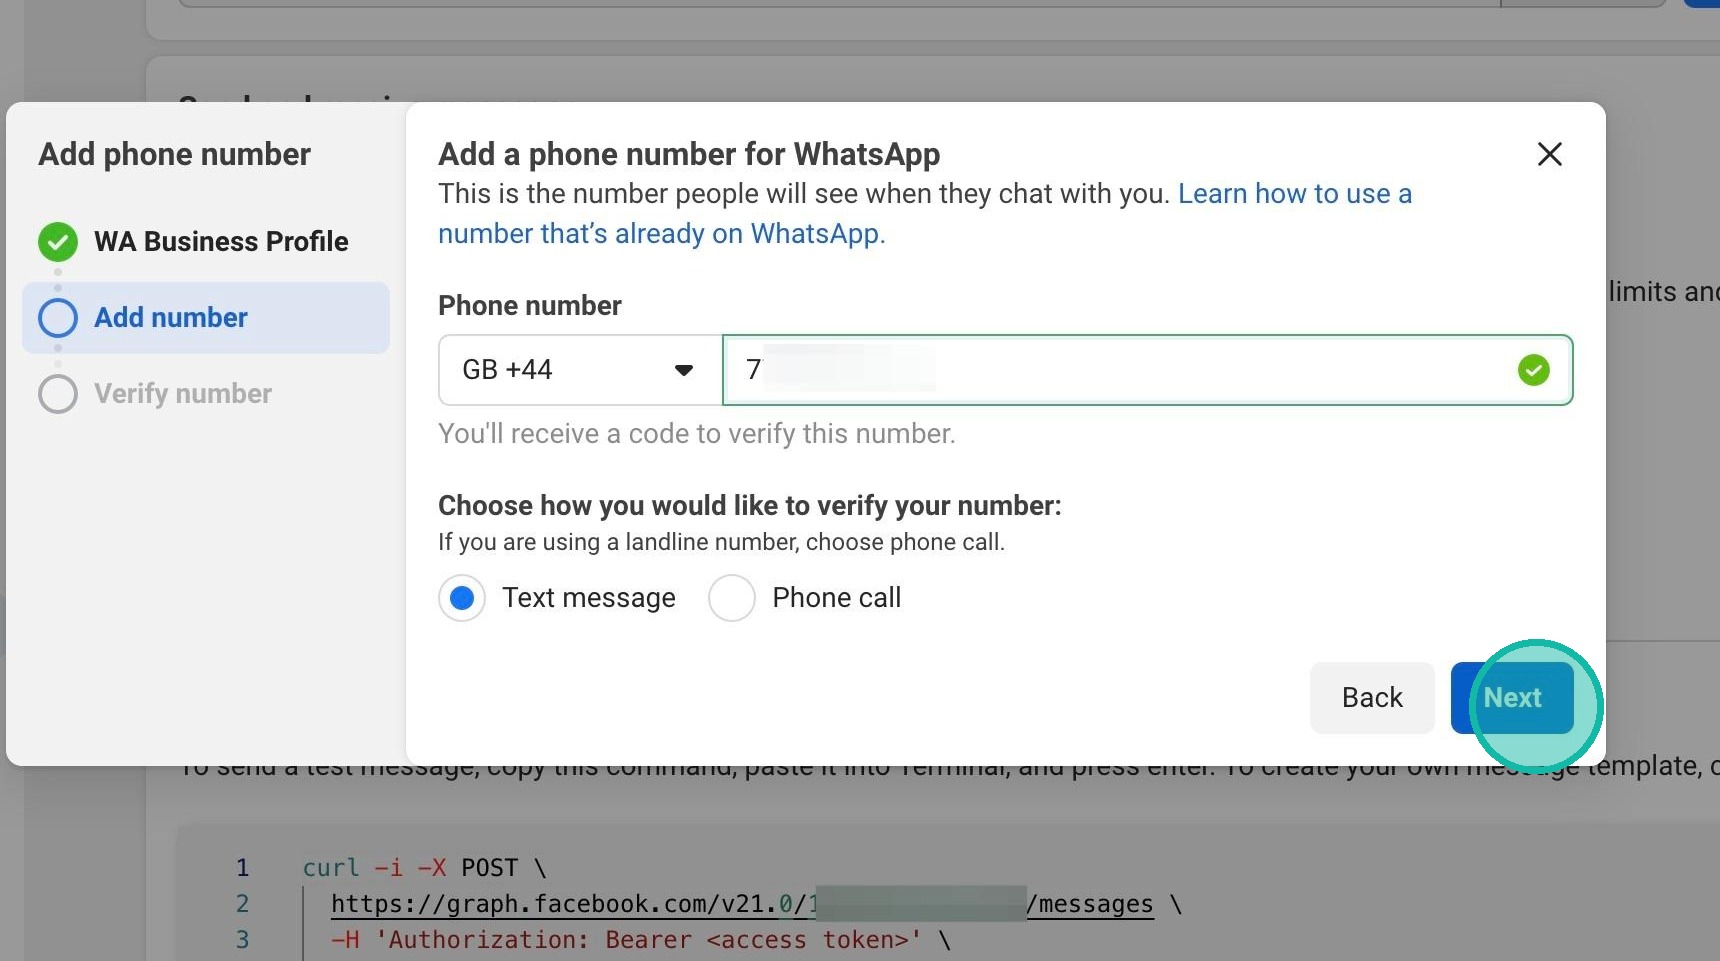
46. If you get an error saying that the number is already registered, you'll need to follow Meta's instructions to delete it from the existing device.
Tips
- Please read the advice at the top of this guide about backing up your messages before you delete an existing account.
- If you can't click the Next button, delete a digit from the end of the number and re-add it. That should reactivate the Next button.
47. Once you've successfully verified the phone number, check that the new number is selected in the From dropdown, then copy the WhatsApp Business Account ID.
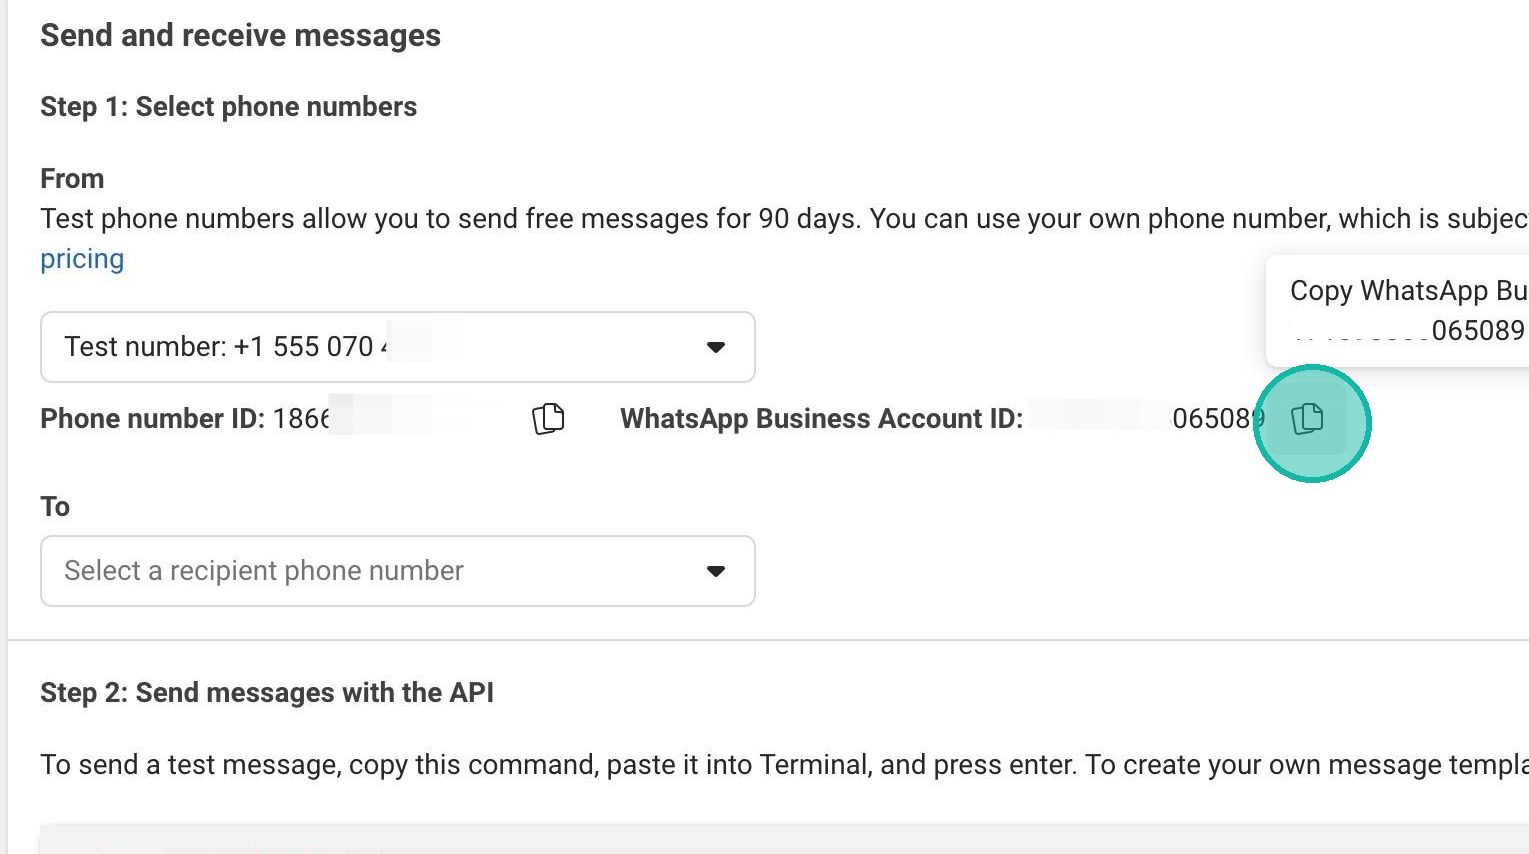
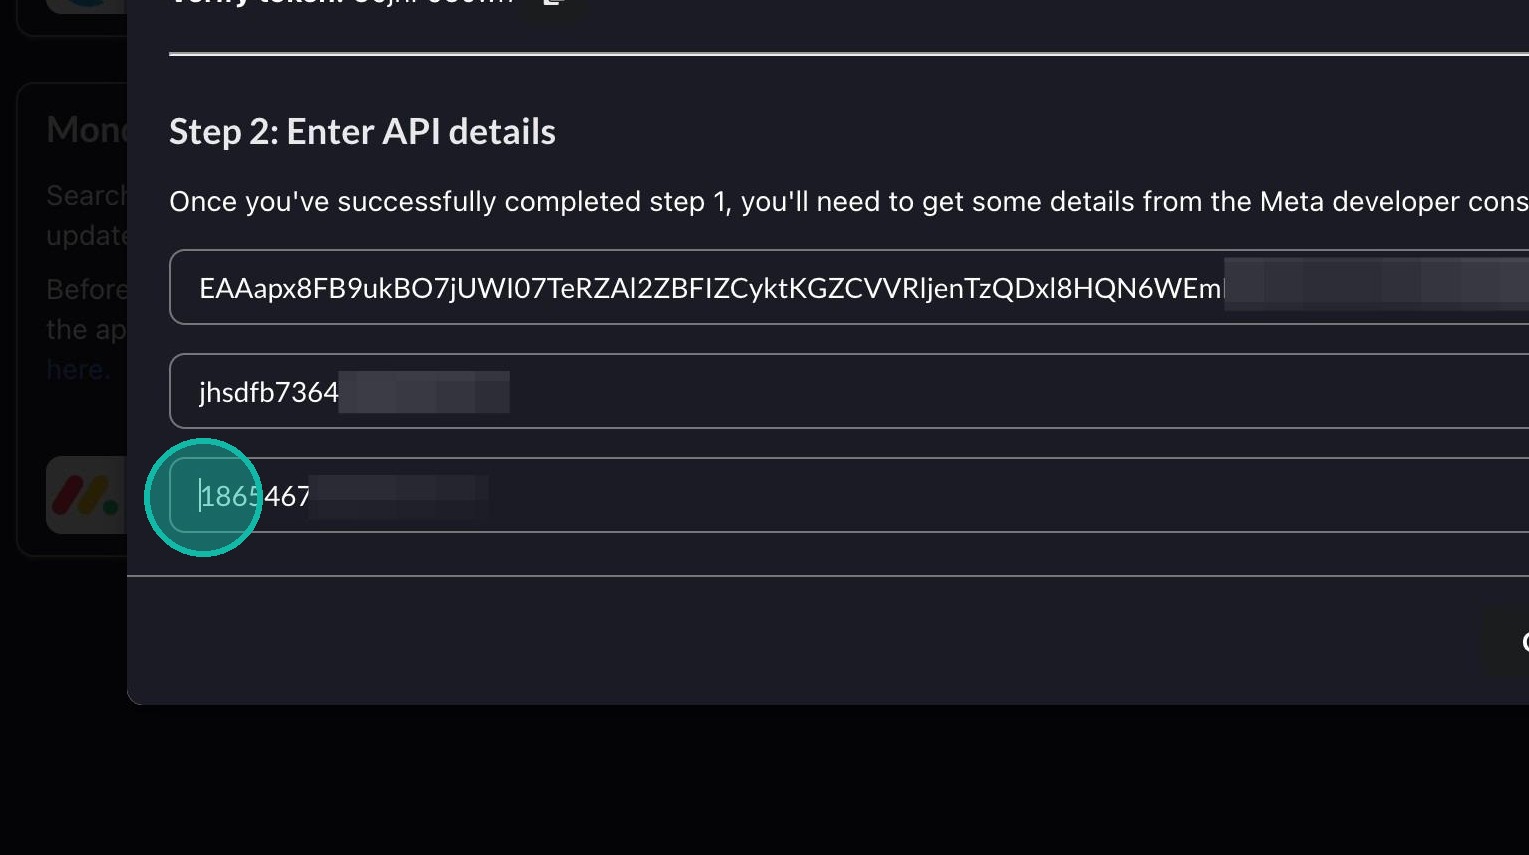
48. Back in Connect, paste the WhatsApp Business Account ID you just copied.
Tip: Make sure you've copied the Business Account ID, not the phone number ID (they're next to each other on the WhatsApp admin page and can easily be confused).
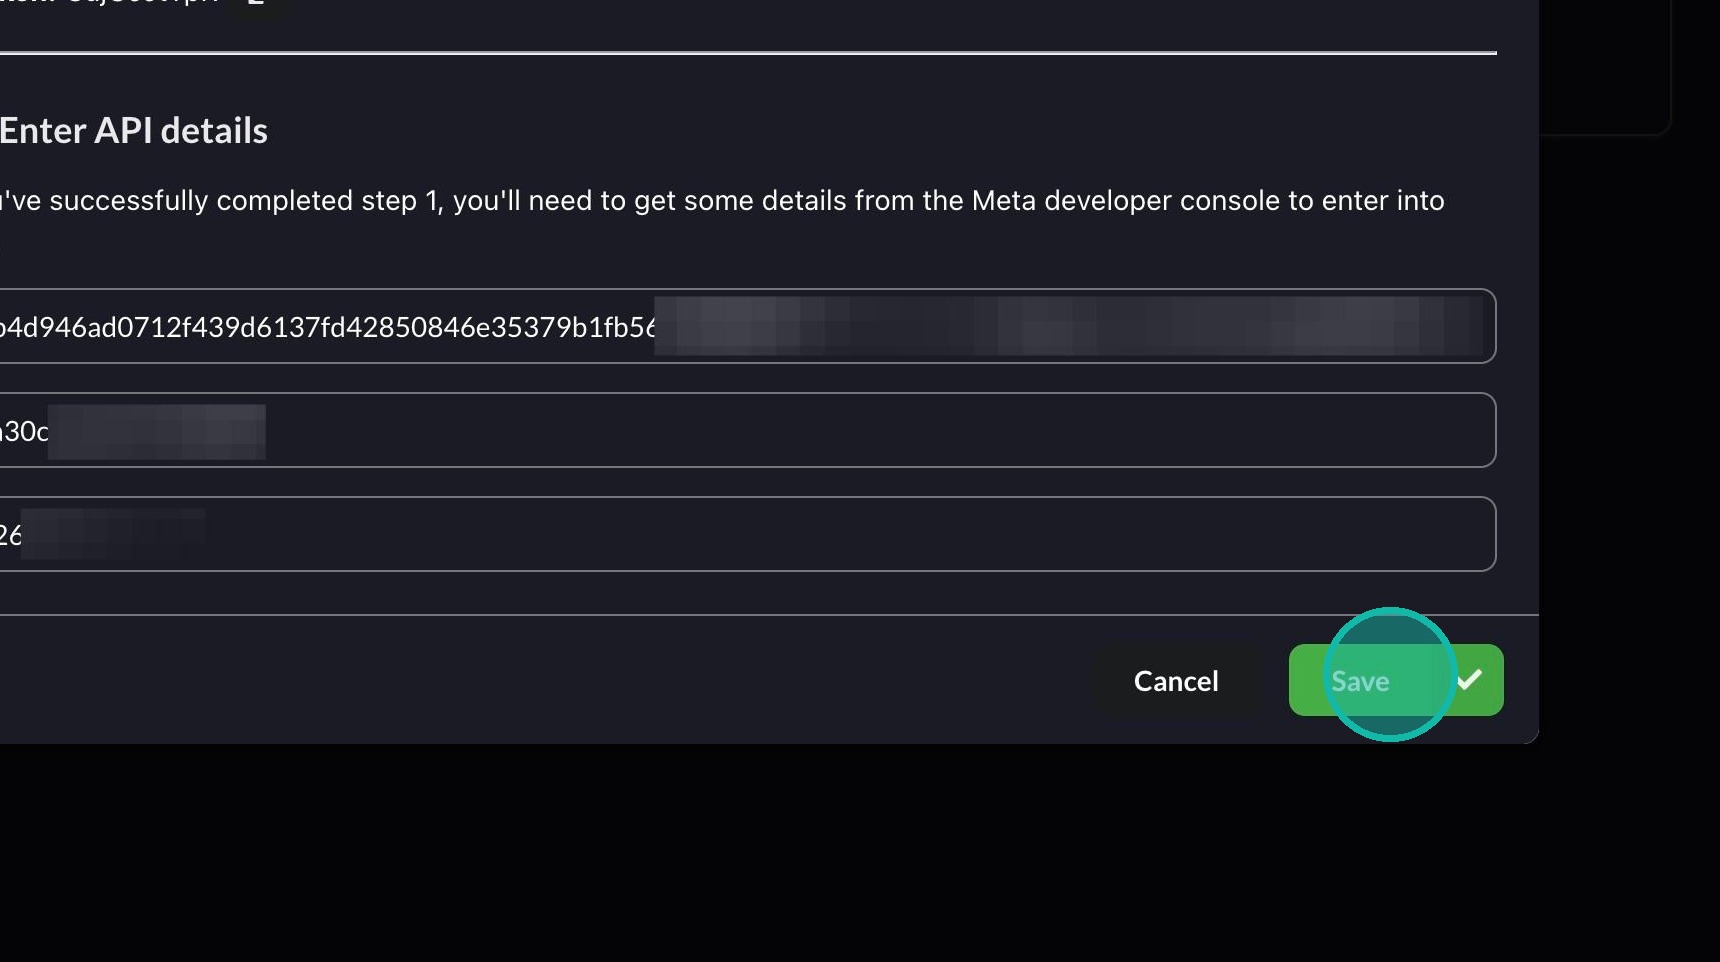
49. Click Save
Add the phone number to Connect
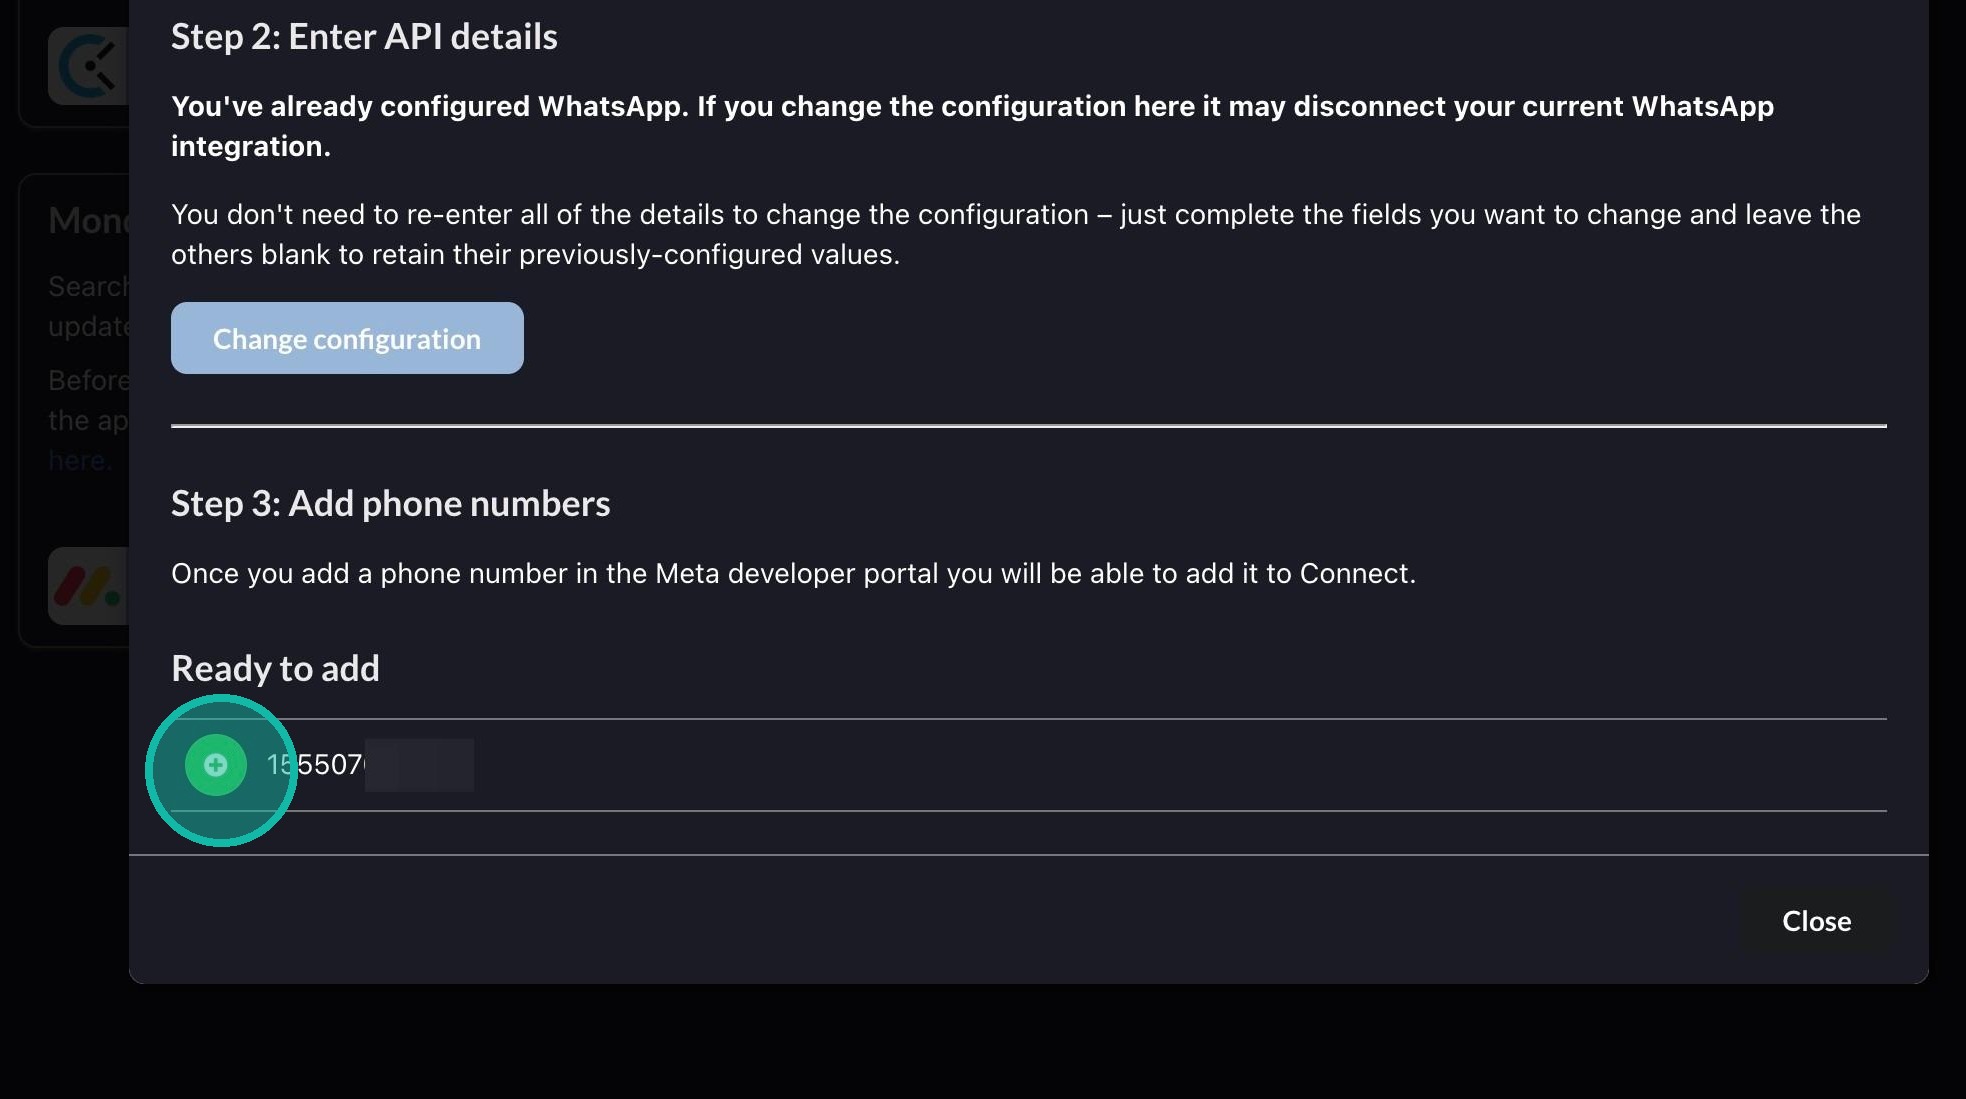
50. You should now see your phone number in the 'Ready to add' section of the WhatsApp admin settings in Connect.
Click the green plus button next to the number to add it to Connect.
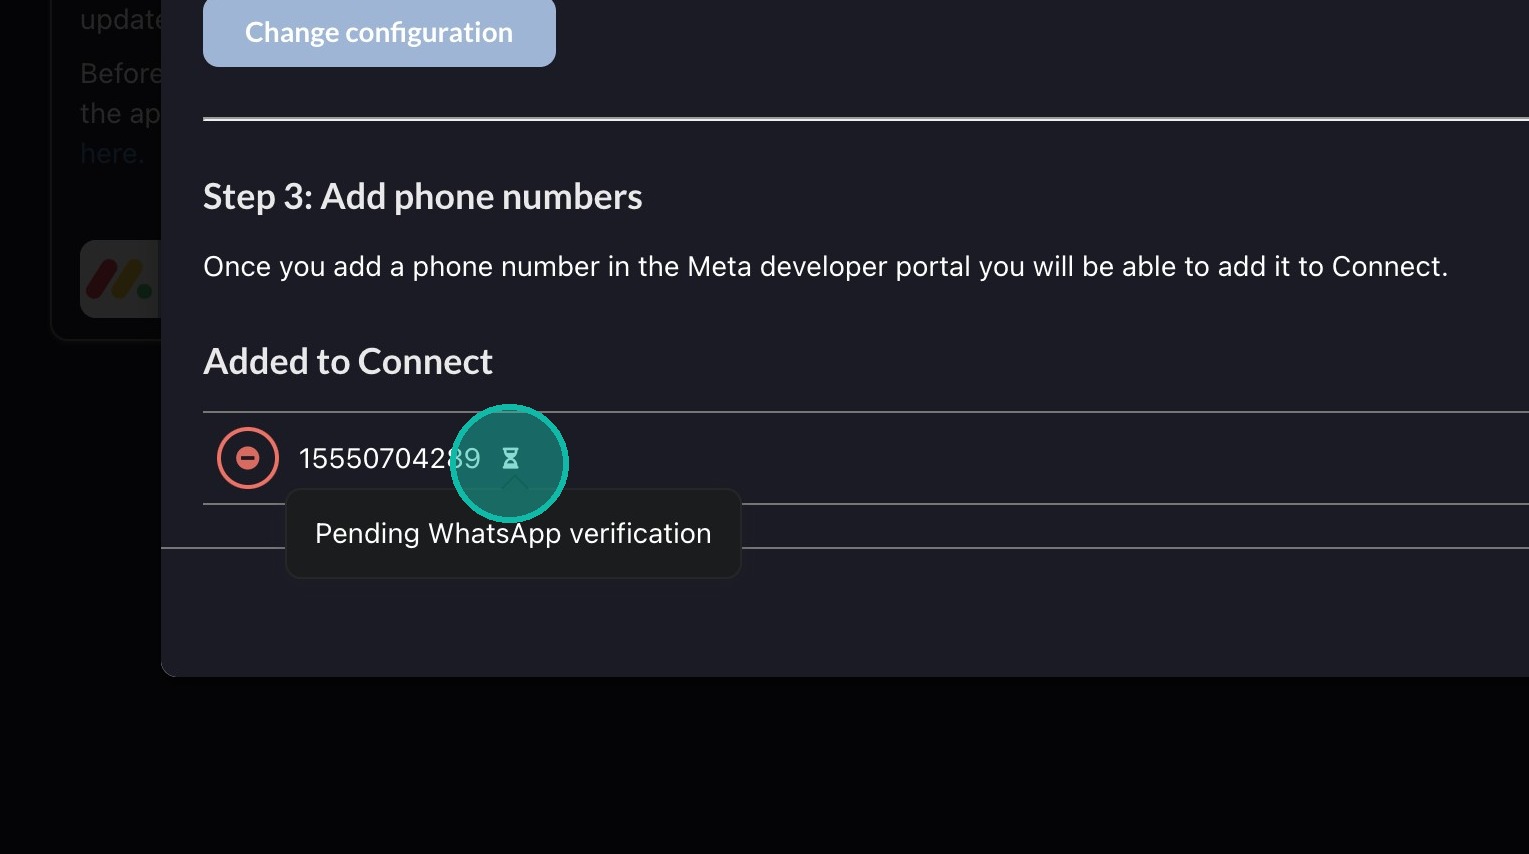
51. Once the number has been added, you may see an icon next to it indicating that the number is still being verified by WhatsApp. This will disappear once the number is successfully verified.
If you see any messages about your API key or WhatsApp Business ID, you may need to check that you definitely assigned the correct permissions for the API key. It can take a few minutes for changes to filter through from WhatsApp, so if you see any error messages it may be worth waiting 10 minutes, refreshing the page and seeing if they're still there.
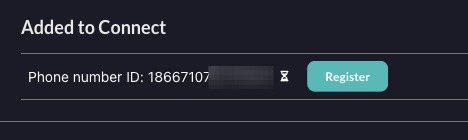
52. If you see a button marked "Register" next to the phone number, click this button.
53. You will be presented with the below:
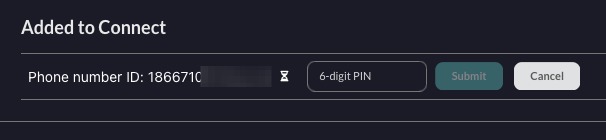
54. If your verified business phone number has two-step verification enabled, set this value to your number’s 6-digit two-step verification PIN.
If your verified business phone number does not have two-step verification enabled, set this value to a 6-digit number. This will be the newly verified business phone number’s two-step verification PIN.
Publish your app
55. From the Meta developer console, click Publish
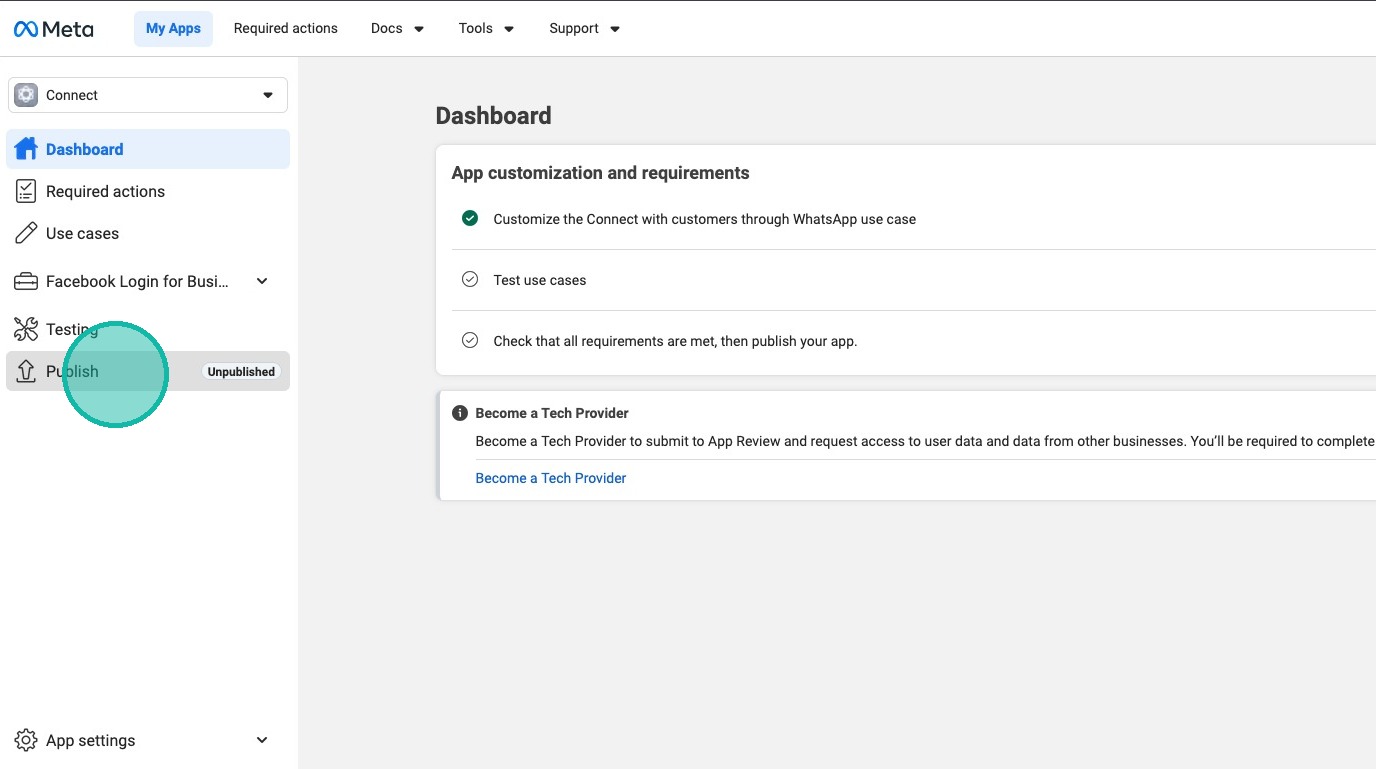
Alert: At this point, you might be required to follow some instructions from Meta to ensure your business complies with their requirements - these can vary depending on your current configuration.
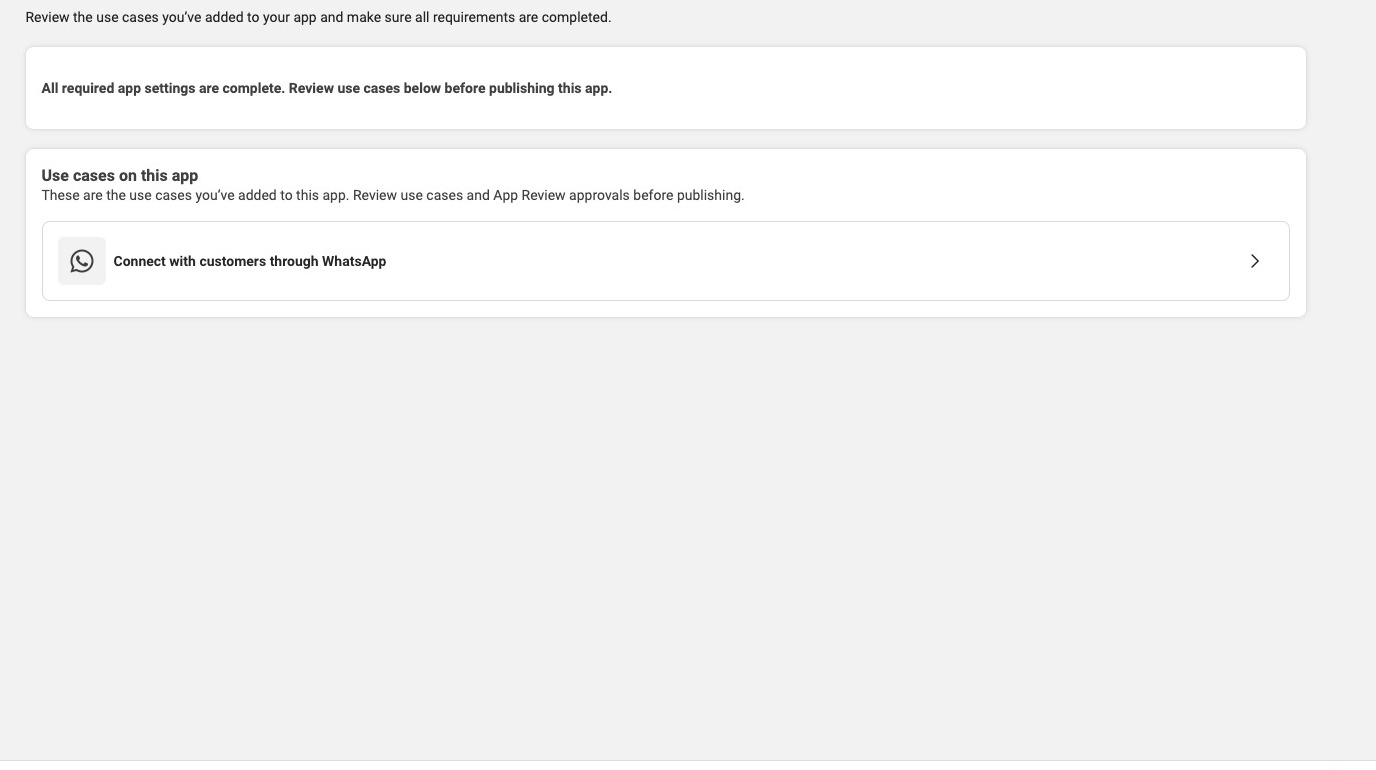
56. Once you have completed all requirements, click Publish
10. Test the integration
Tip: Once you've completed all the steps, the WhatsApp integration should be activated in Connect.
Wait a few minutes before testing to allow all the new settings to fully sync.
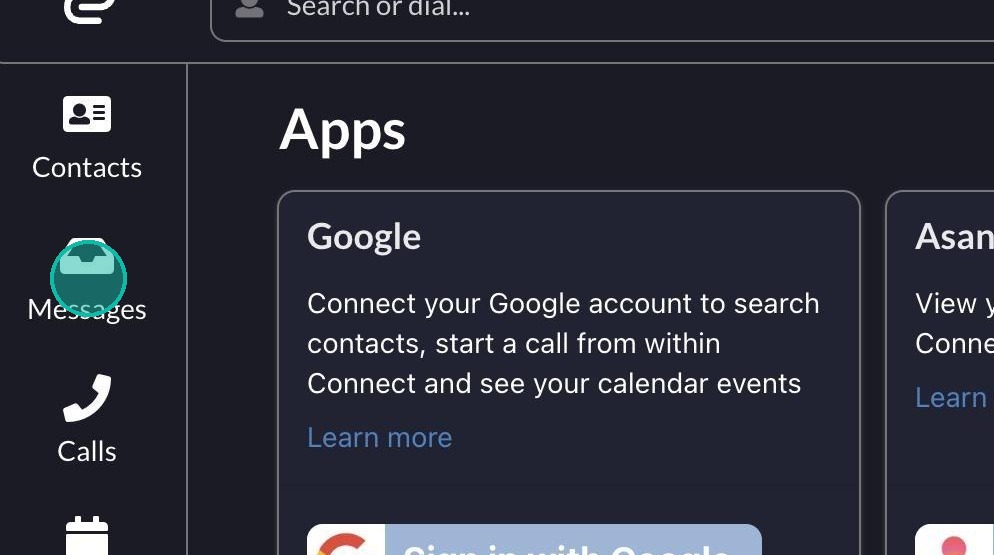
57. Click Messages.
58. Send a message to your WhatsApp business number from another WhatsApp device. The message should appear in Connect.
If the message doesn't appear, you may need to refresh your browser or log out and back into Connect to ensure your new settings have been loaded.
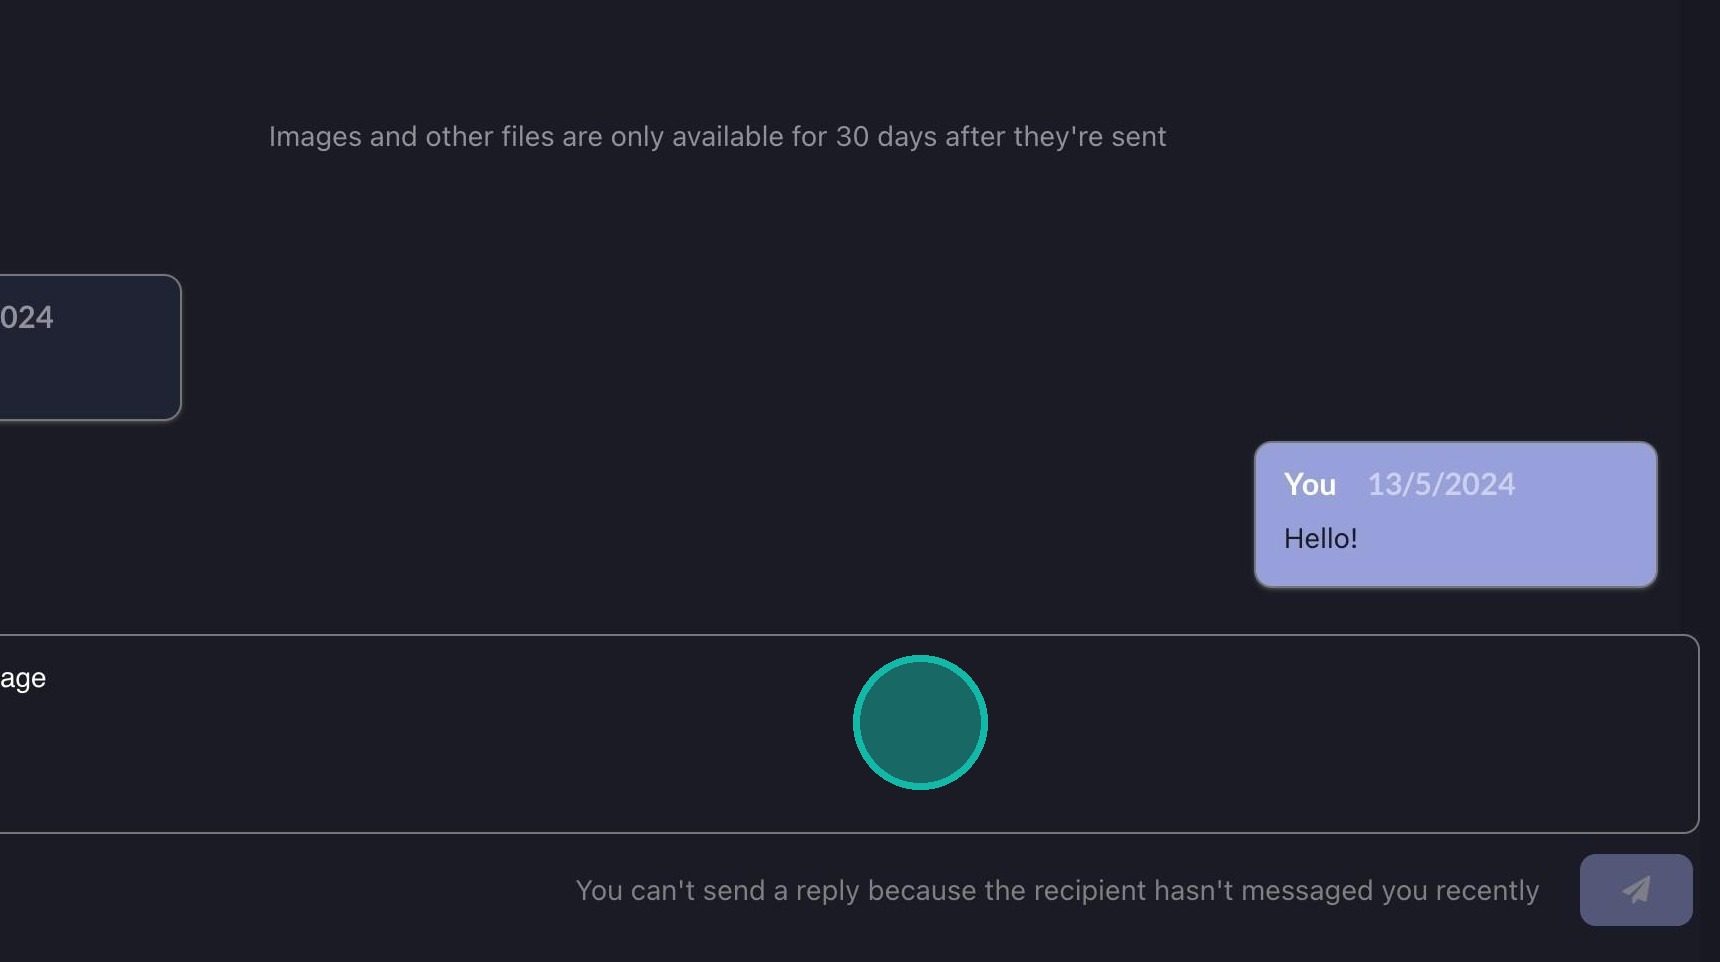
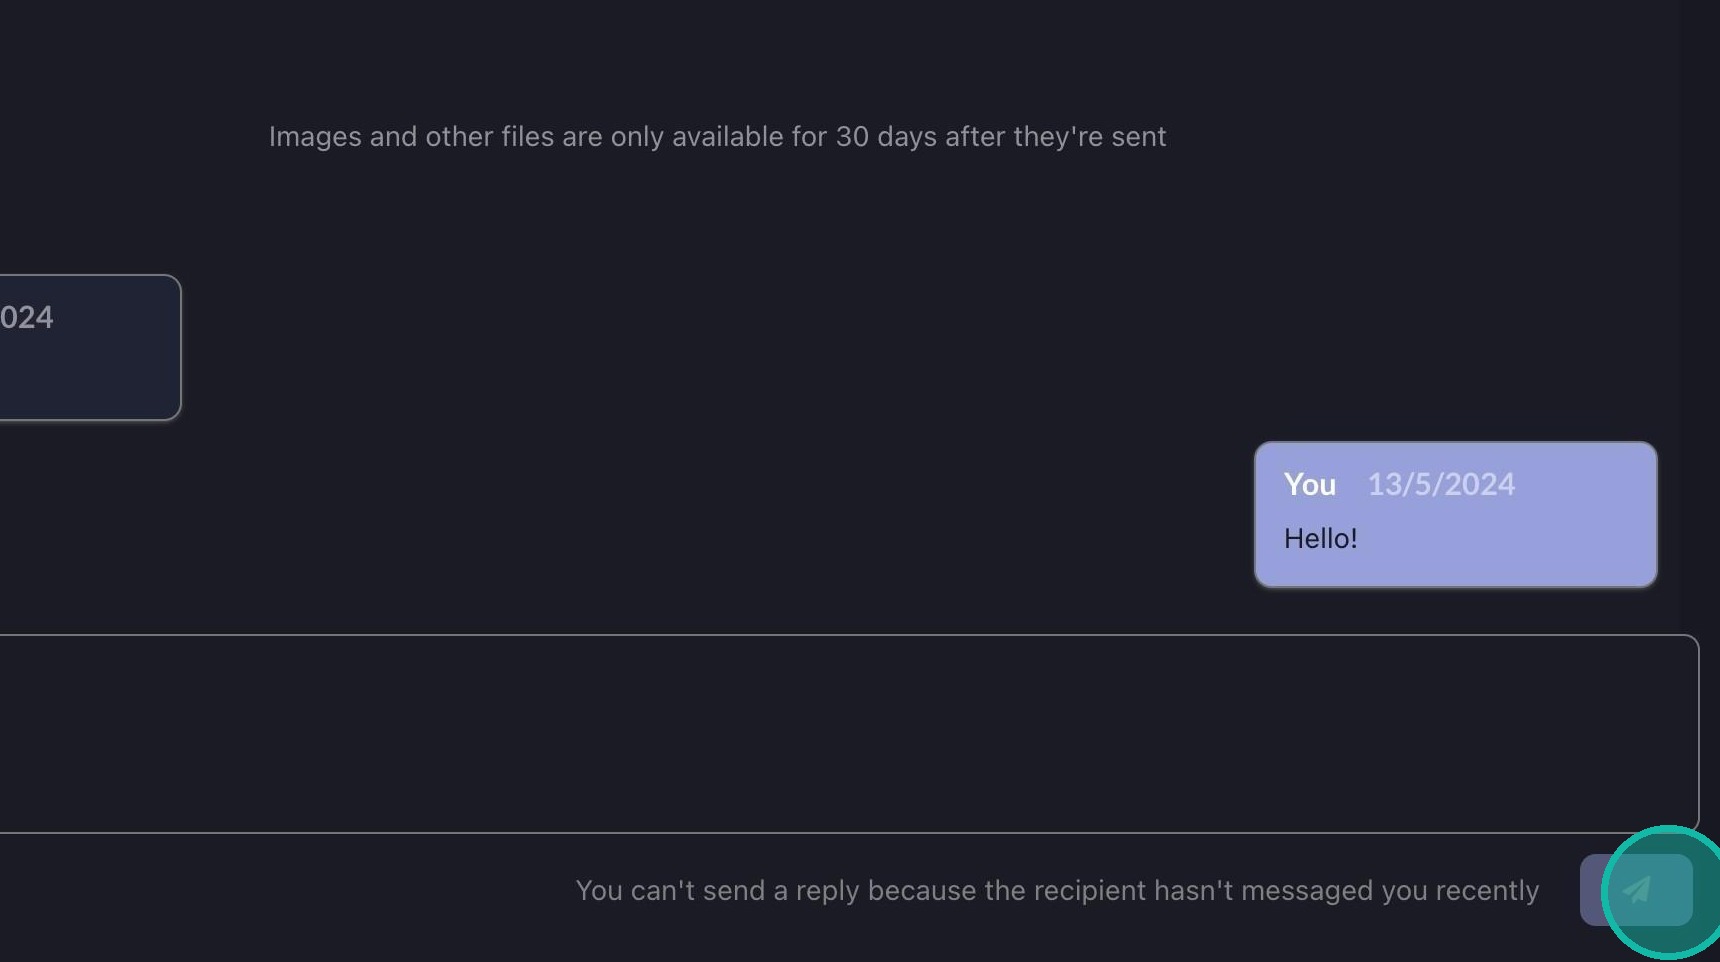
59. Type a reply and click send to check that messaging works in both directions.